Pollinator’s Paradise: How to Attract Bees and Butterflies to Your Garden

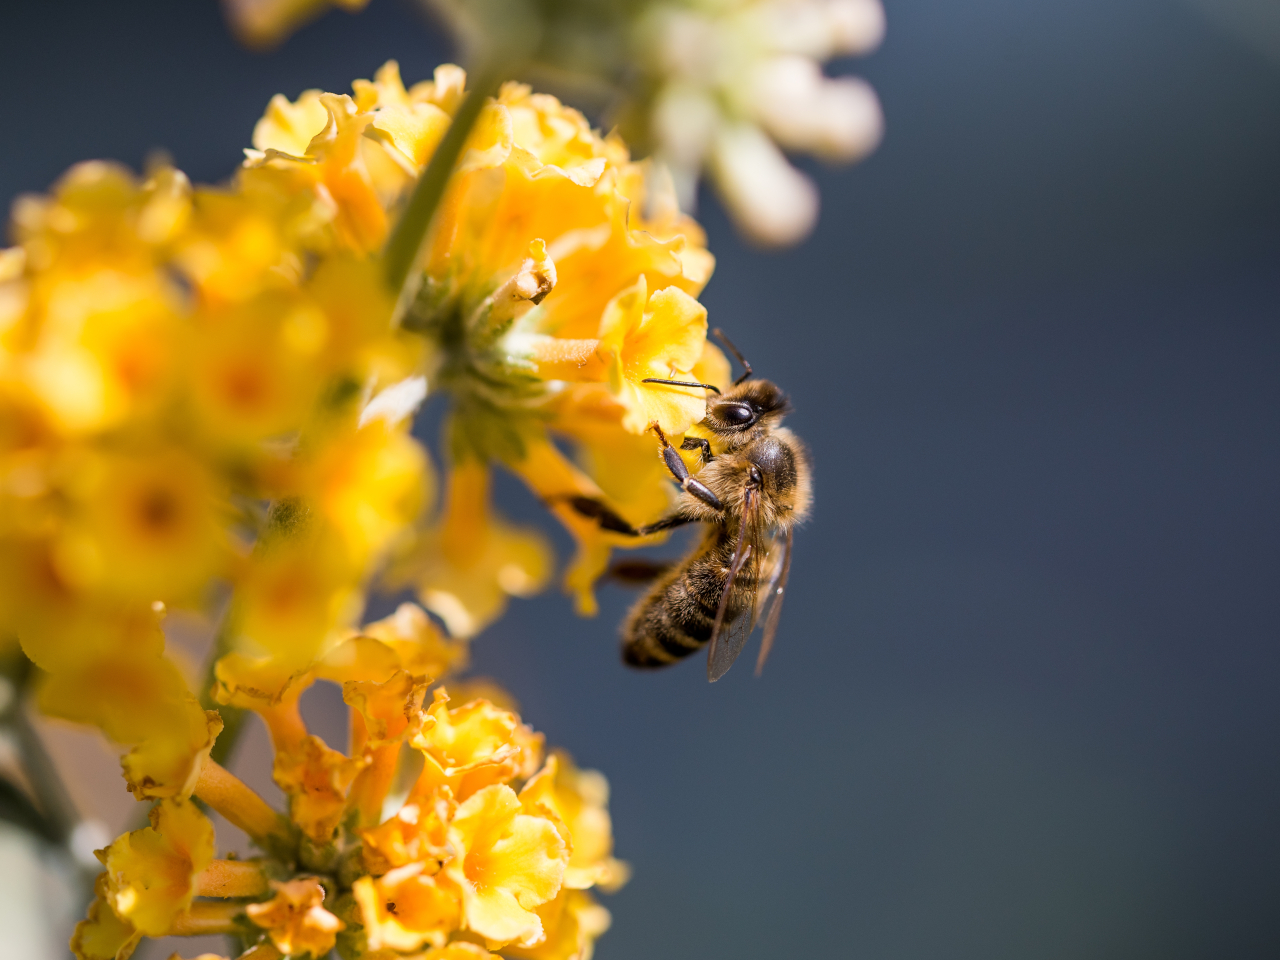
A pollinator garden serves as a sanctuary for humming bees, birds, and other beneficial insects that carry pollen from one part of a flower to another. In addition, pollinators play a crucial role in fertilizing plants, are responsible for the production of seeds, fruits, and vegetables, and make an indispensable contribution to our ecosystem. As we know, the overall population of pollinators has been on the decline, therefore it is essential to create a garden and other spaces where pollinators can thrive. Apart from bees, other wildlife species like moths, wasps, and beetles, help in the transfer of pollen and form the driving force behind the creation of a healthy habitat. This step-by-step guide will help you to create your own pollinator’s garden.

Image courtesy of: davidcharouz

Introduce Native Plants

To attract a variety of pollinators to the garden, it’s crucial to choose native plants that can thrive in the local soil and climate. Butterflies love native species of plants so consider planting a diverse selection of flowers that bloom at different times throughout the growing season. The overlapping flowering schedule will ensure that flowers are available for pollinators from spring to fall. Select plants that continuously bloom throughout the season so that they can provide pollinators with nectar and pollen all season long. In this way when one plant stops flowering the other one does. Consider perennials as they comparatively require less maintenance when compared to other plants. Additionally, they are hardy plants that can survive on average rainfall and can come back year after year, making them an ideal choice for any garden.

Choose Between Seeds or Plants

Seeds can be a cost-efficient option, especially for larger gardens, although they require a longer wait time. To use seeds, it is recommended to distribute them in the fall or late winter before the summer growing season, allowing ample time for germination. On the other hand, purchasing plants from a nursery may require a higher initial expense, but they often yield quicker results and can attract pollinators to your garden within the same growing season.

Grow Colorful Flowers

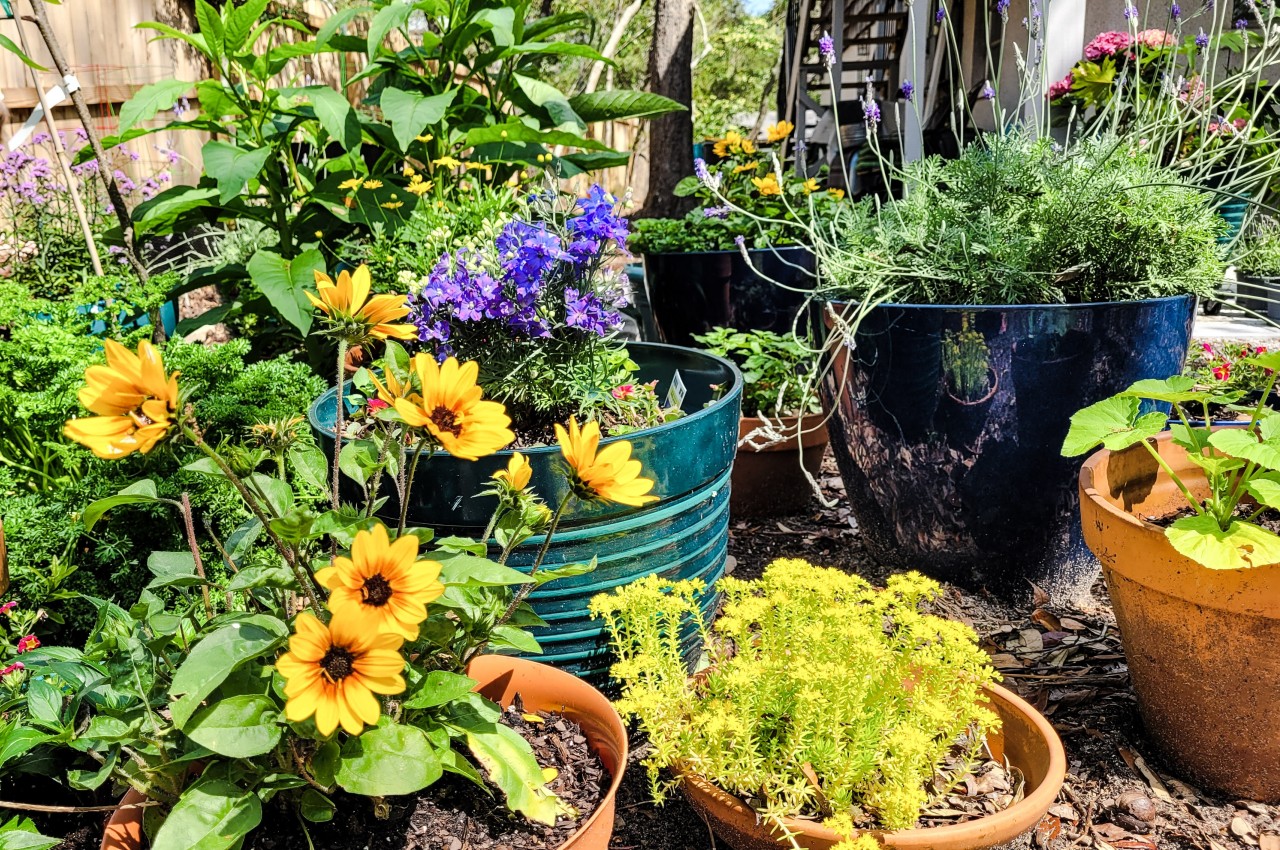
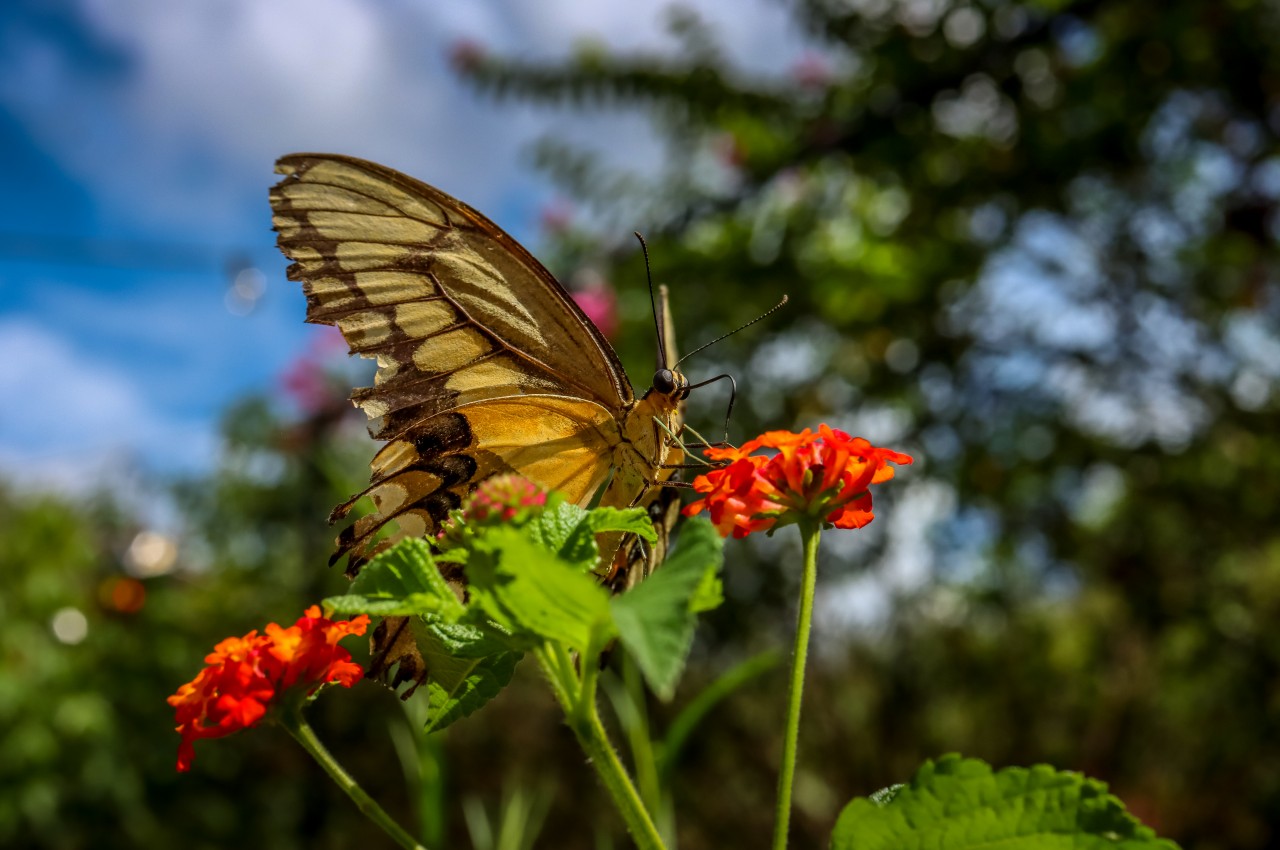
Nature has designed the flowers beautifully where colored flowers in hues of red, yellow, and orange are most appealing to bees and other flying insects. Factors like colors, shapes, and sizes make certain flowers more appealing to bees and butterflies. Note that selecting plants with colorful blooms not only adds visual appeal to a garden, but it also plays a crucial role in attracting pollinators by giving them a signal of food, particularly hummingbirds that are drawn to red and orange varieties.
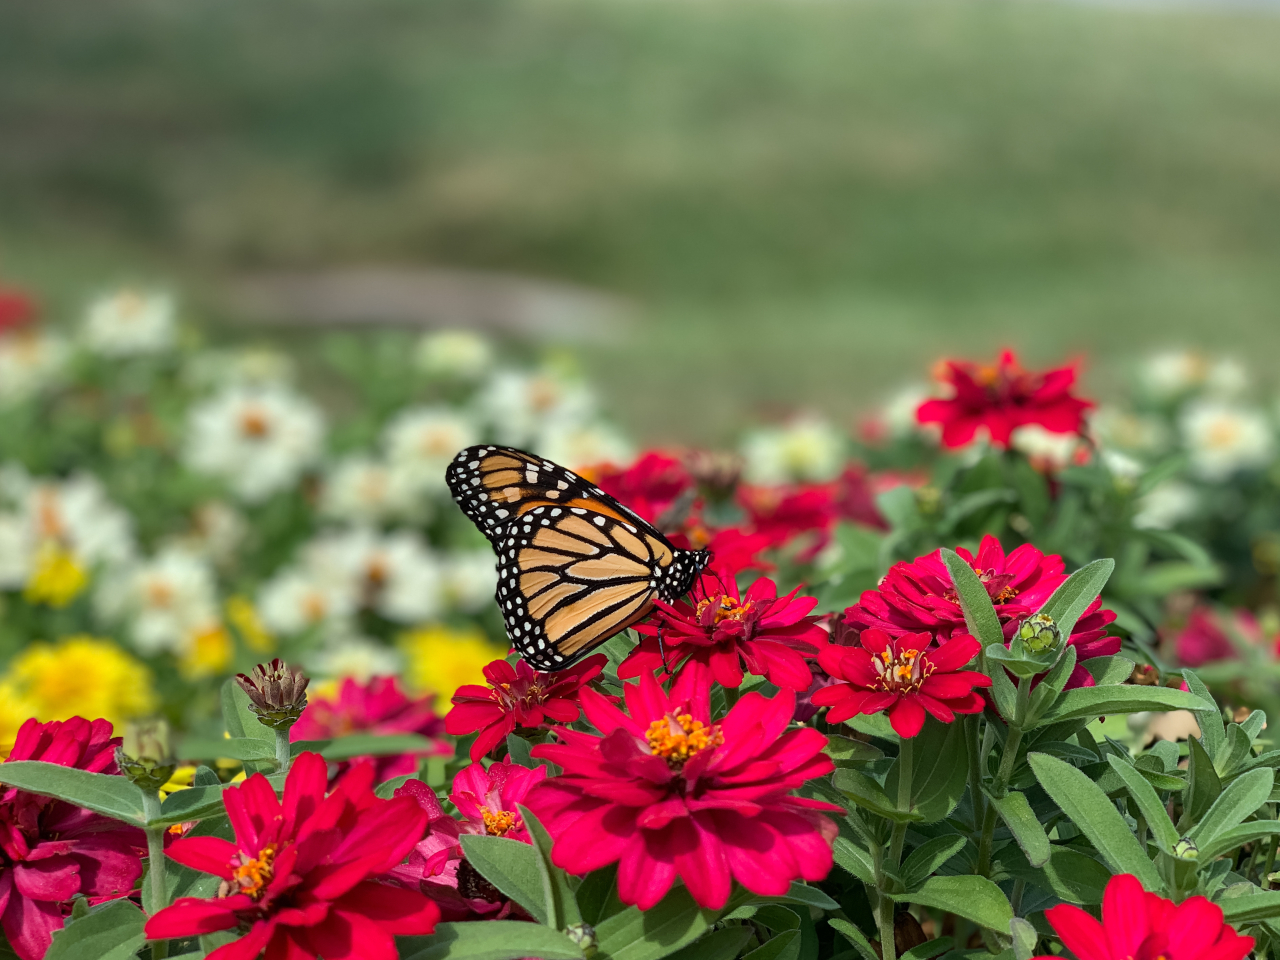
Image courtesy of: MyLove4Art

Arrange Flowers in Groups

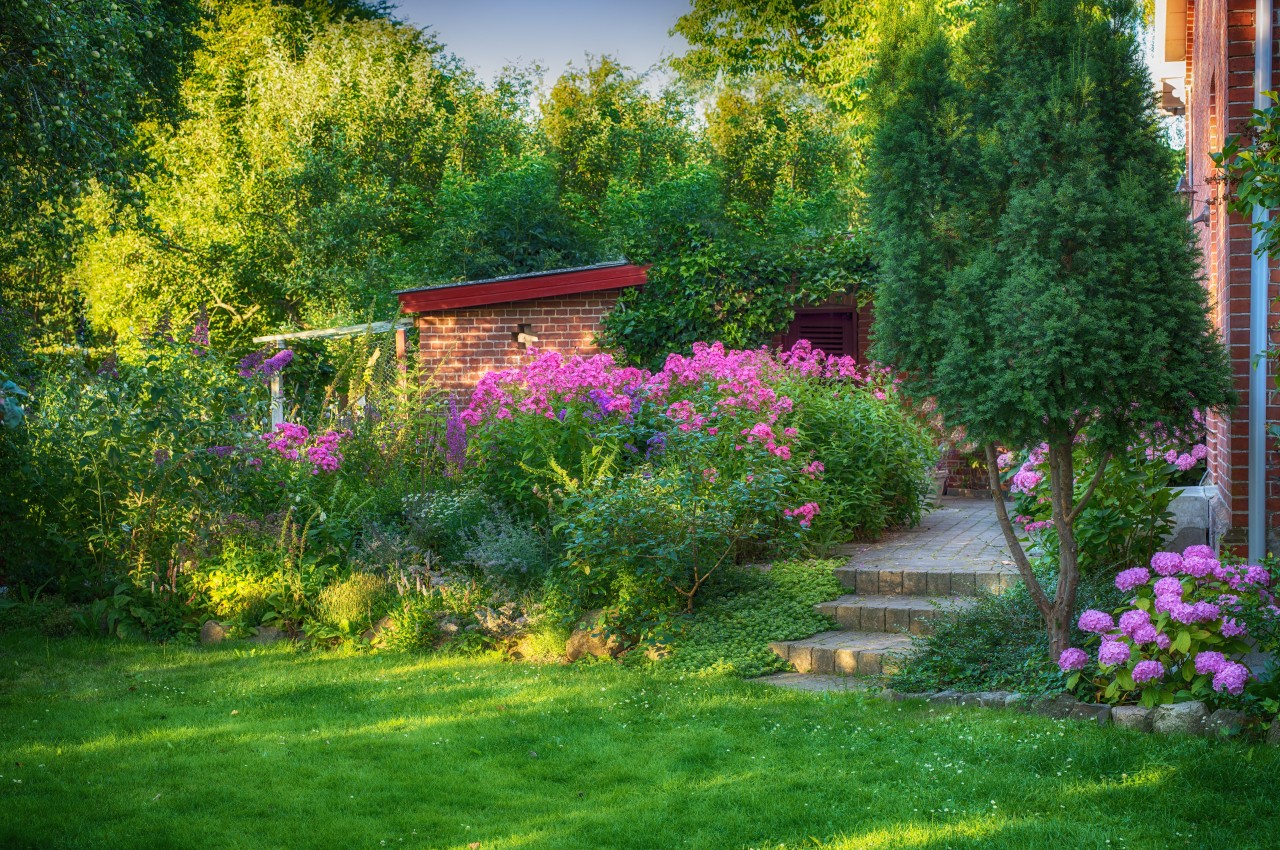
Pollinators flutter from flower to flower, aiding plants in reproduction so there should be at least three to five groups of pollinator plants. It will create beautiful layers of color and all the insects shall be spaced out and have access to plenty of food and nectar. Additionally, the shape and form of flowers are important factors to consider, as hummingbirds, butterflies, and bumblebees tend to prefer flowers with a tubular form. Make a note that small flowers may not be able to bear the weight of larger butterflies and butterflies with shorter proboscises may not reach the nectar in deep, tubular flowers. Therefore, it’s recommended to include a mix of flowering plants to attract a diverse group of these beautiful creatures to your garden.
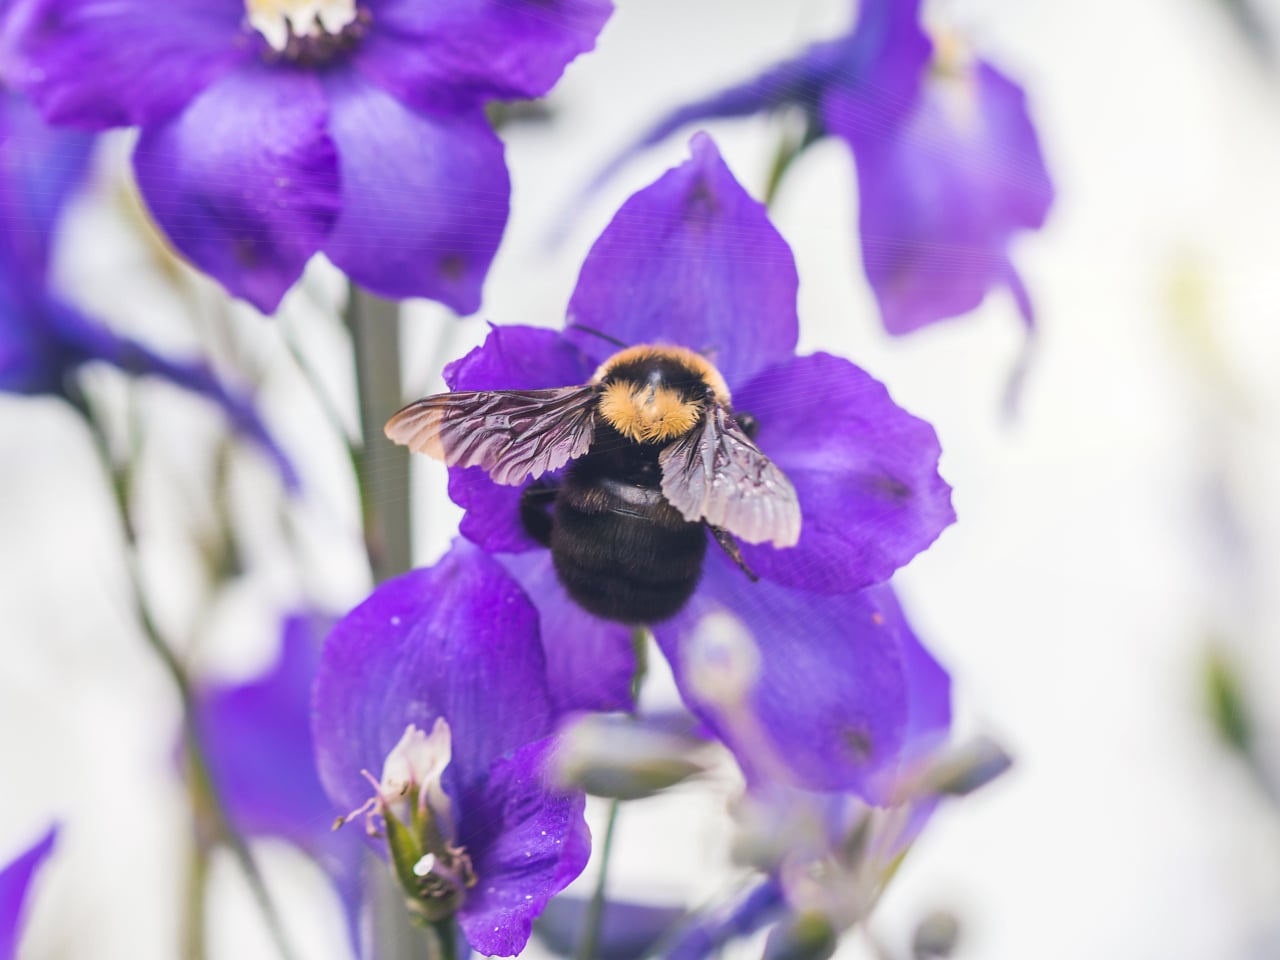
Image courtesy of: ipolly80

Create Sunny and Shady Spots

As flowering plants can thrive in both shade and sunlight, introduce a combination of shady and sunny areas. Make a note that butterflies and some other pollinators are cold-blooded and require sunlight to become active. Hence butterflies love to bask in the sun as they flit from one garden to another, pollinating plants along the way. Many of their preferred wildflowers for a pollinator’s garden flourish in areas with full or partial sun exposure, along with some shielding from the wind. One can create a balanced garden by going for foliage-based plants like grasses alongside a combination of flowering and foliage.

Say No to Pesticides

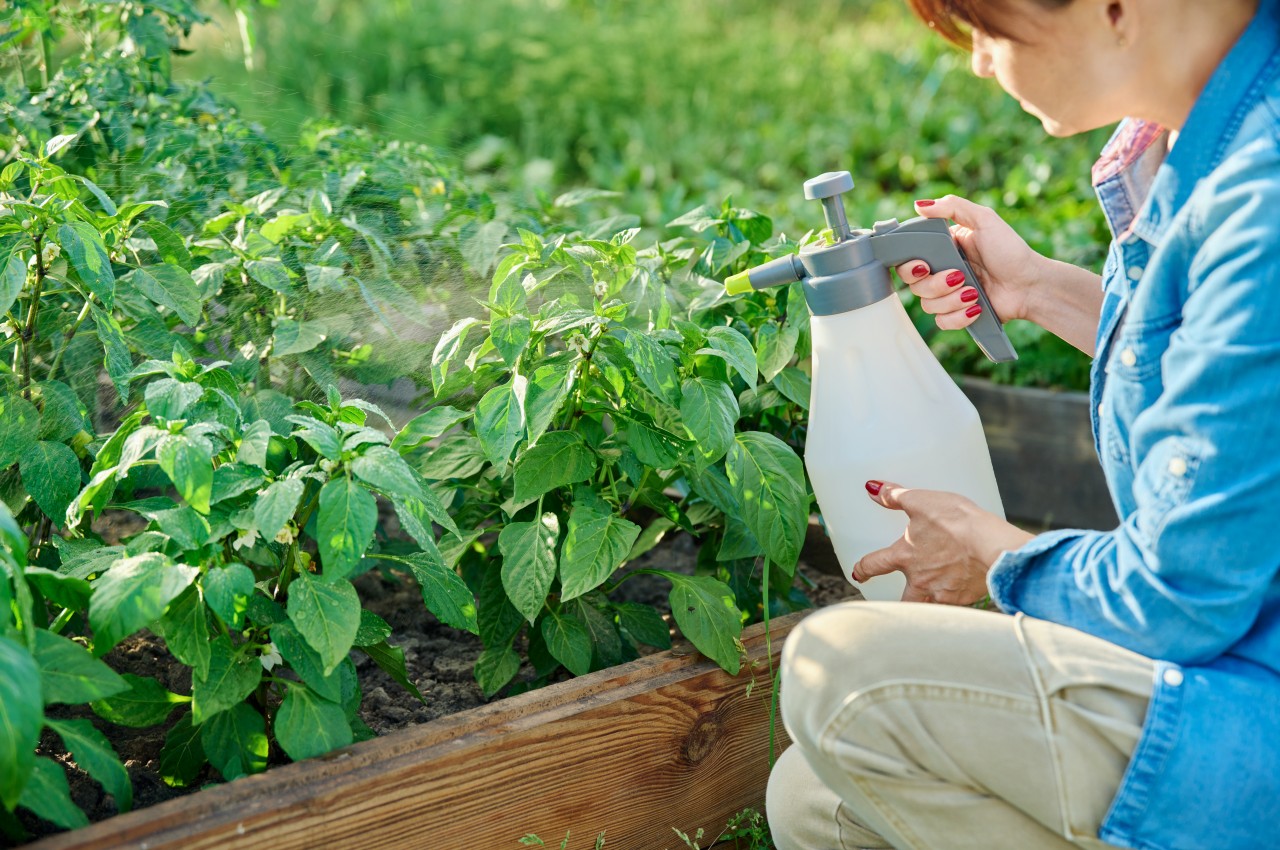
Avoid using pesticides or insecticides on plants and explore alternative solutions instead of resorting to chemical sprays to prevent environmental contamination. Some of the less-toxic alternatives include diatomaceous earth, neem oil, and Bacillus thuringiensis (Bt), which can effectively combat pests. Plant lemon grass to keep mosquitoes at bay and avoid planting plants like the rose plant that require the use of pesticides to protect them from bugs.

Include a Bird Bath

Pollinators need water so introduce a bird bath that will help insects to perch water so set up a shallow dish, bowl, or birdbath with half-submerged stones as perches. Add small rocks or sand on the edges of the wet patch to provide perches for butterflies to drink without landing in the water. Surround it with plants or hide it at ground level to reduce evaporation rates and keep the water there longer. Note that if the bird bath is deep the insects may drown. Consider installing bird feeders and nesting boxes to attract local birds.

What are the best Flowers for attracting pollinators to the garden?

One can enhance the chances of attracting pollinators by choosing the right flowers. Certain species of flowering plants contain nectar and pollen that makes them attractive to pollinators, such as bees, butterflies, and hummingbirds. Here is a selection of the best flowers for attracting pollinators to your garden:

• Butterfly bushes (Buddleia) are irresistible to butterflies and easy to care for but can be invasive. Opt for sterile cultivars and consider their sprawling growth when choosing a planting spot. Dwarf types are available for a neater look.
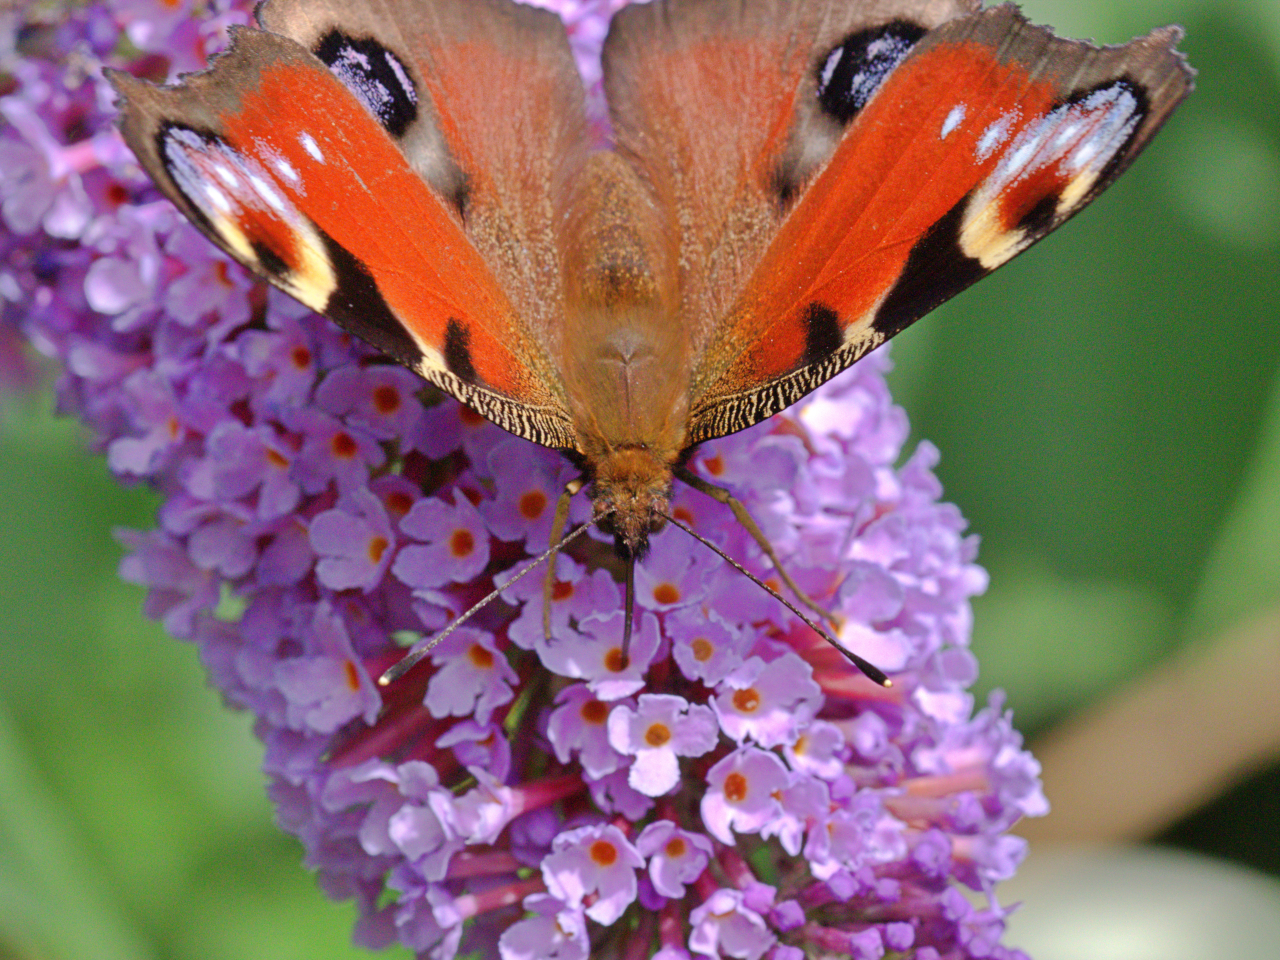
Image courtesy of: antony-robinson

• Coneflower (Echinacea) is a top butterfly and bee-attracting flower that adds a pop of color to your garden and stands out when planted among low-growing perennials.
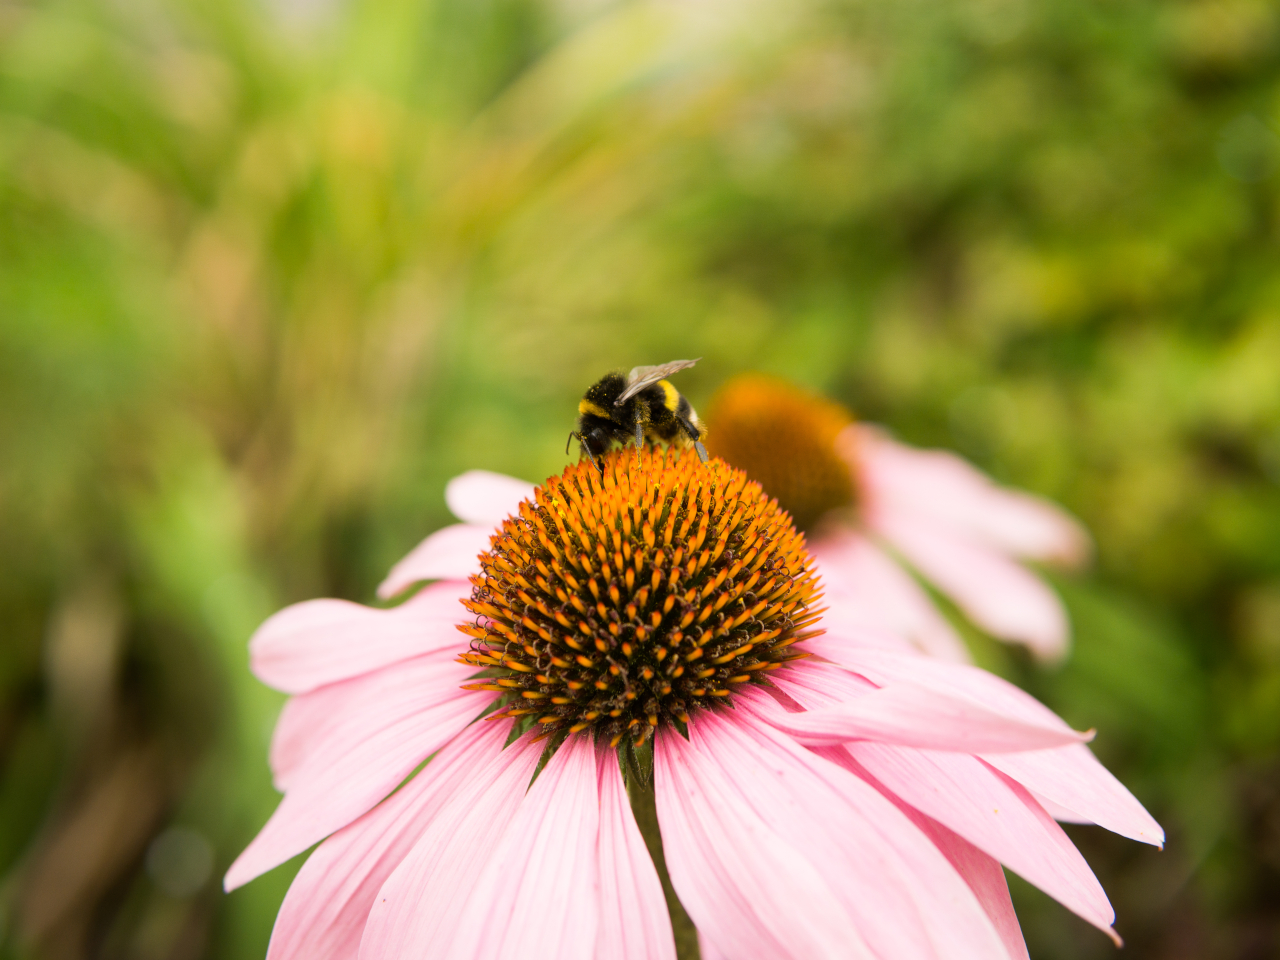
Image courtesy of: Annu1tochka

• Pot marigolds are a fast-growing plant that produces blooms lasting up to eight weeks during summer.
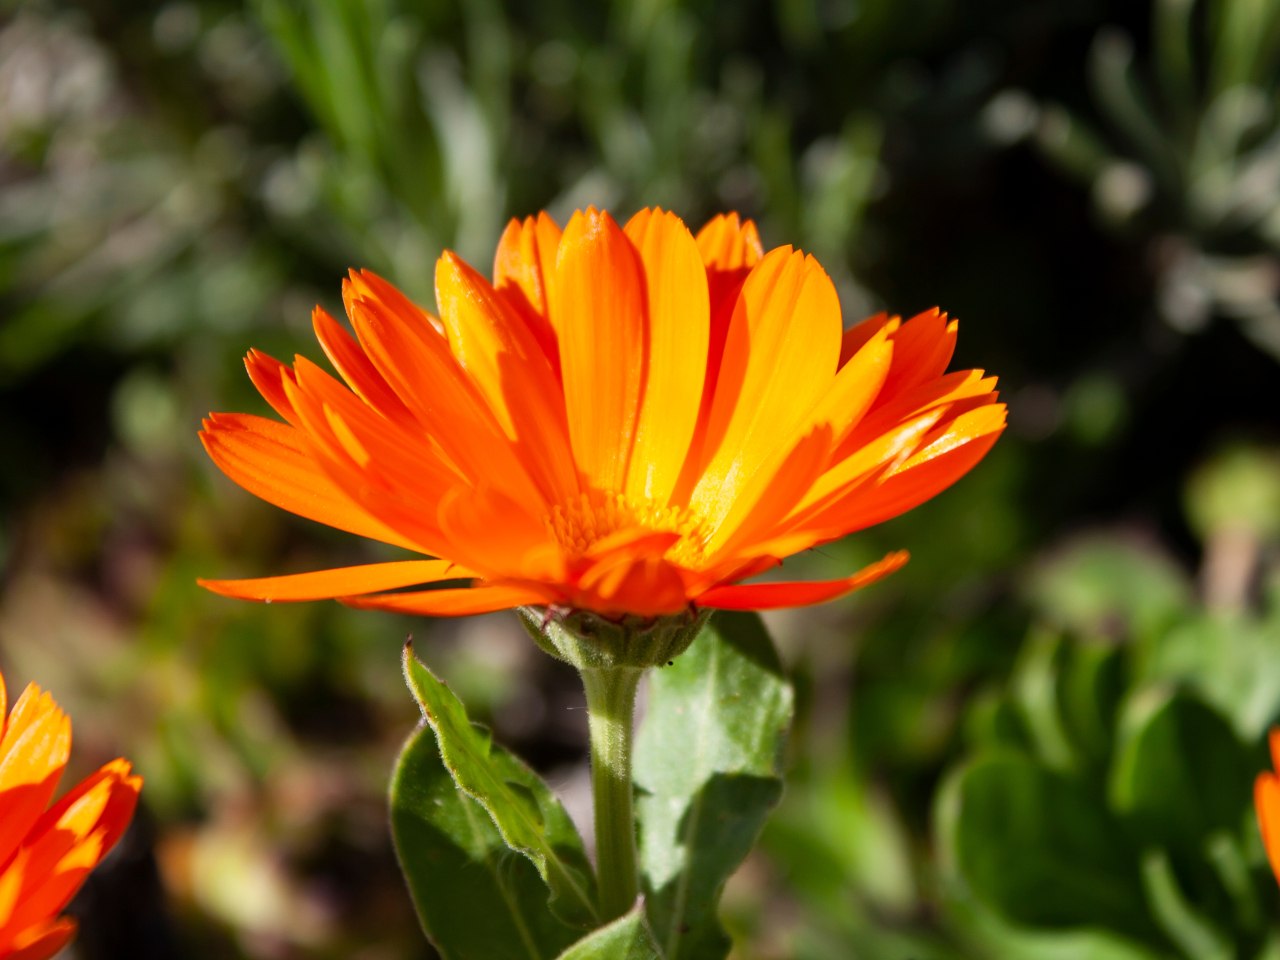
Image courtesy of: jozrilic

• Black-eyed Susan, an iconic wildflower of North America, was one of the earliest domesticated garden flowers with its stunning golden yellow blooms and striking black centers that captivate the eye. It is one of the favorite flowers of bees, butterflies, and hummingbirds.
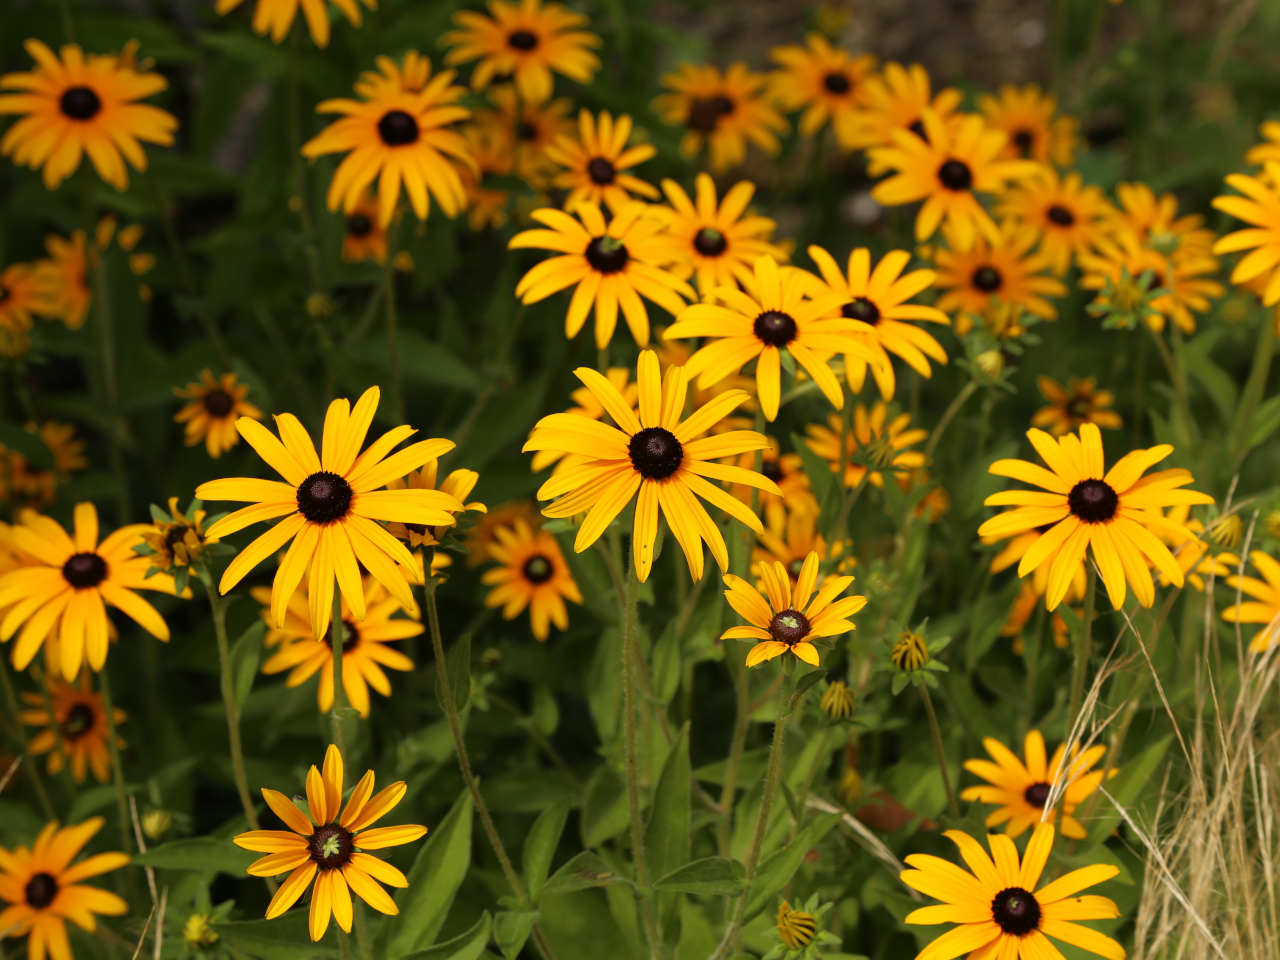
Image courtesy of: wirestock

• Lavender is a perennial with a sweet fragrance and is a great choice for attracting pollinators. The plant bears tall and fragrant purple spikes of blooms, originating from the Mediterranean, it is drought-resistant and can tolerate heat.
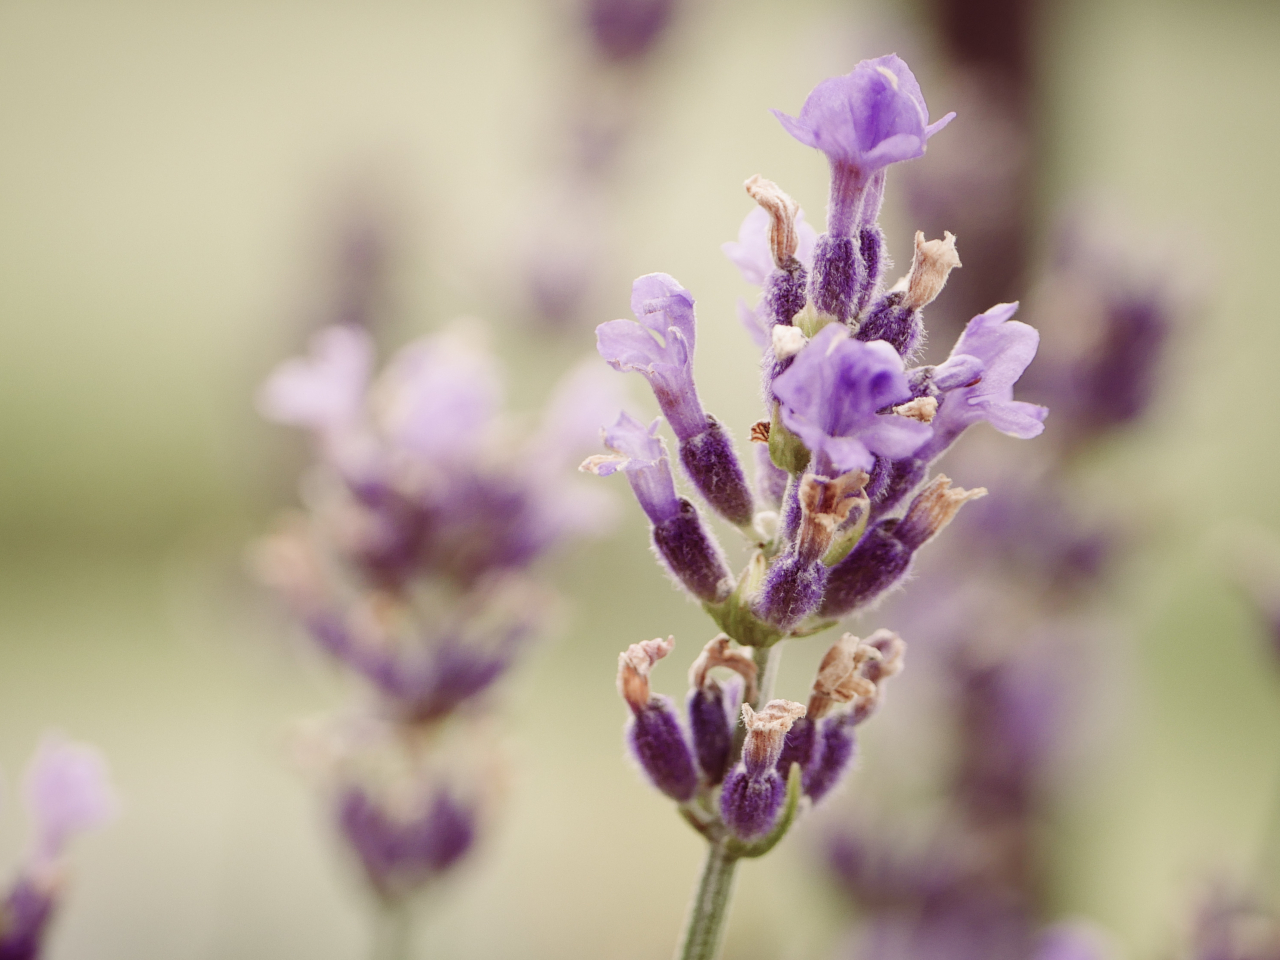
Image courtesy of: wirestock

• Sunflowers look beautiful and are a vibrant and delightful addition to a garden, luring bees and butterflies with their bright colors. The best part about sunflowers is that their large bloom works like a magnet for butterflies and bees.
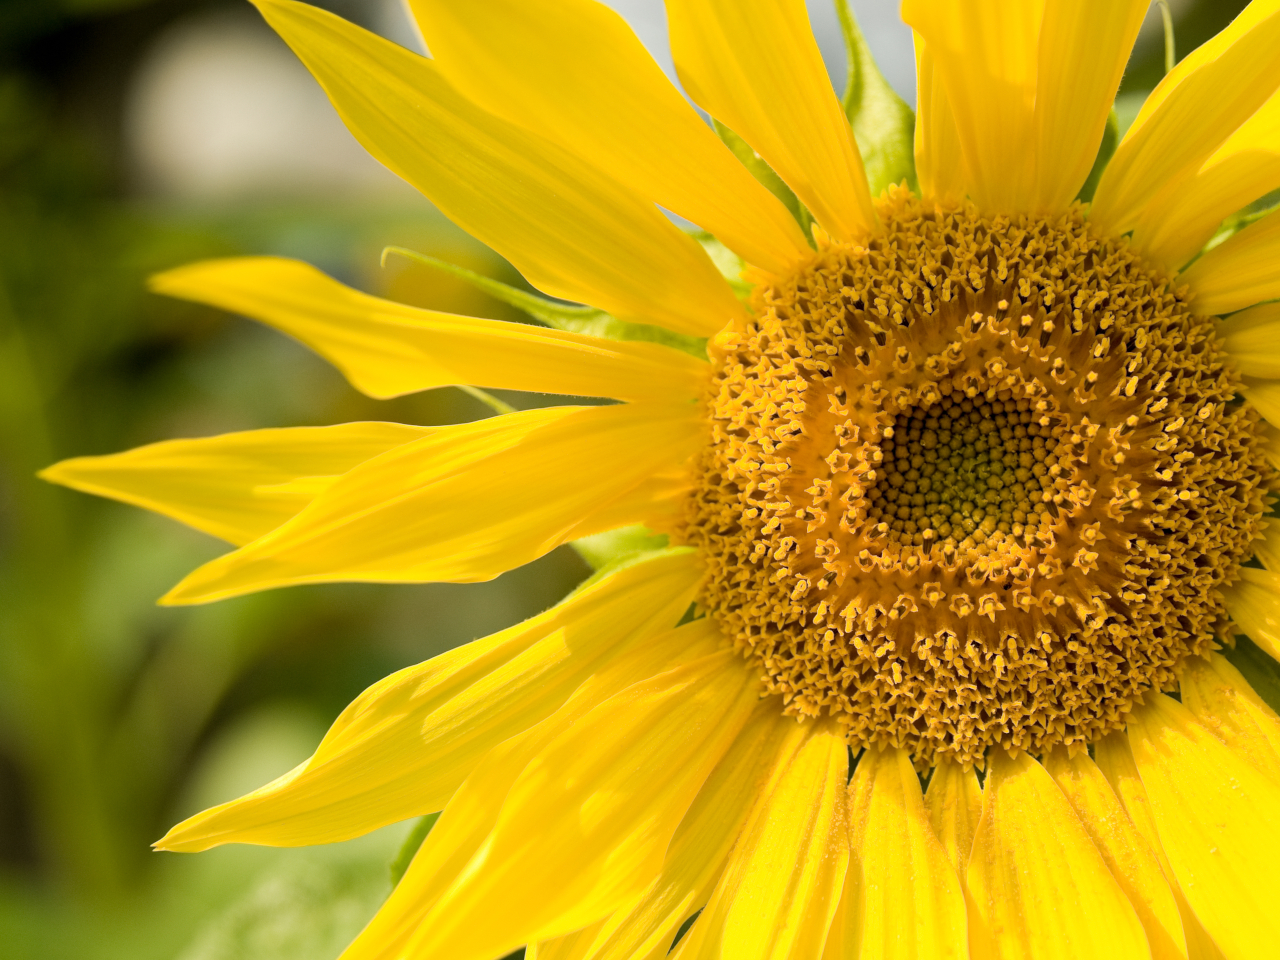
Image courtesy of: nelsonart

• Penta’s flowers, perched atop deep green leaves, are irresistible to butterflies and hummingbirds, with plants growing up to 18-24 inches tall and 10-15 inches wide.
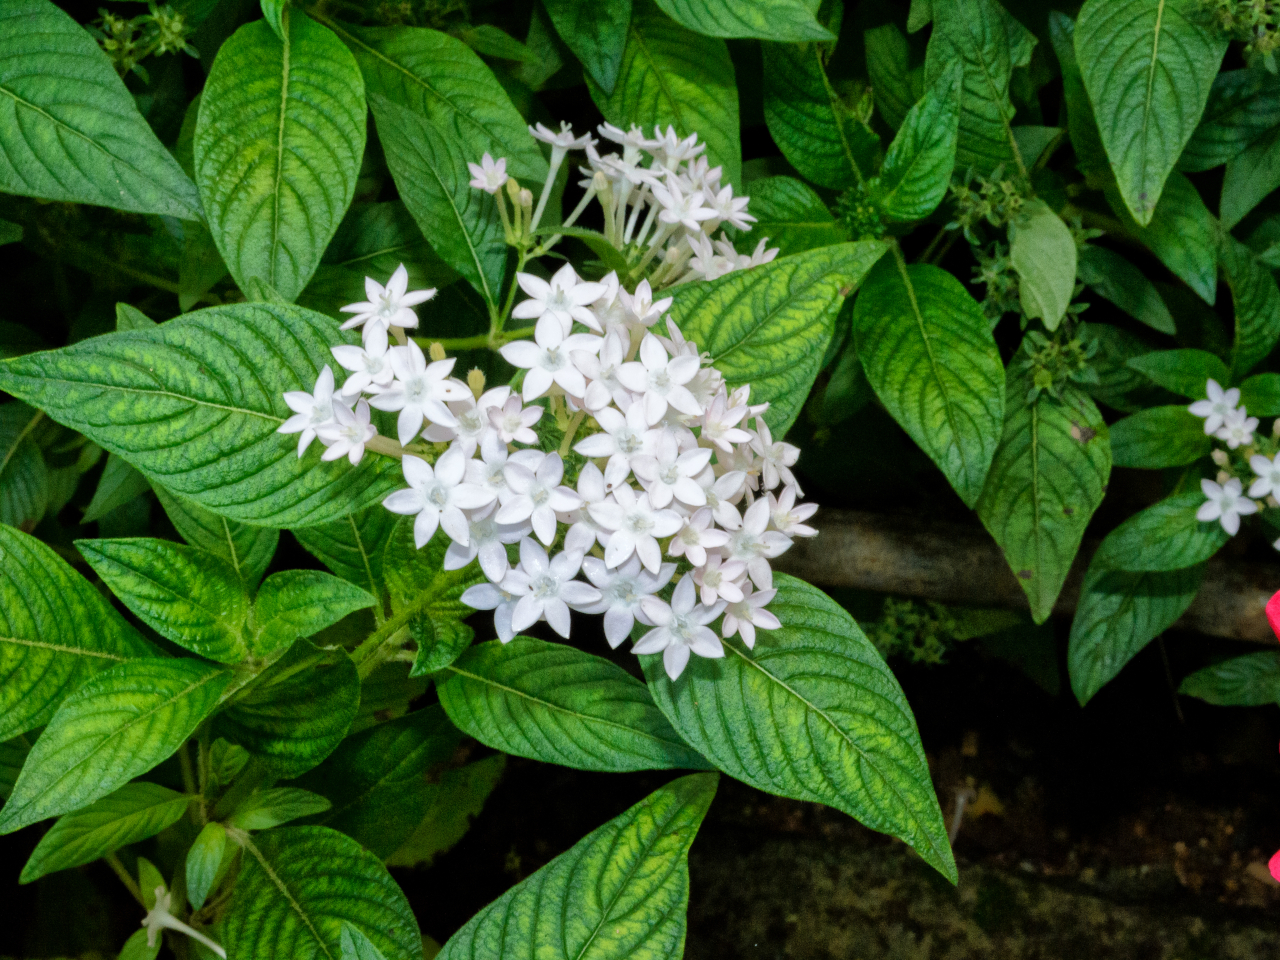
Image courtesy of: wirestock

• Joe-Pye Weed, a tall plant with lush foliage, is perfect for adding architectural interest to flower borders and attracting many butterflies, with the ‘Gateway’ variety reaching up to six feet in height.
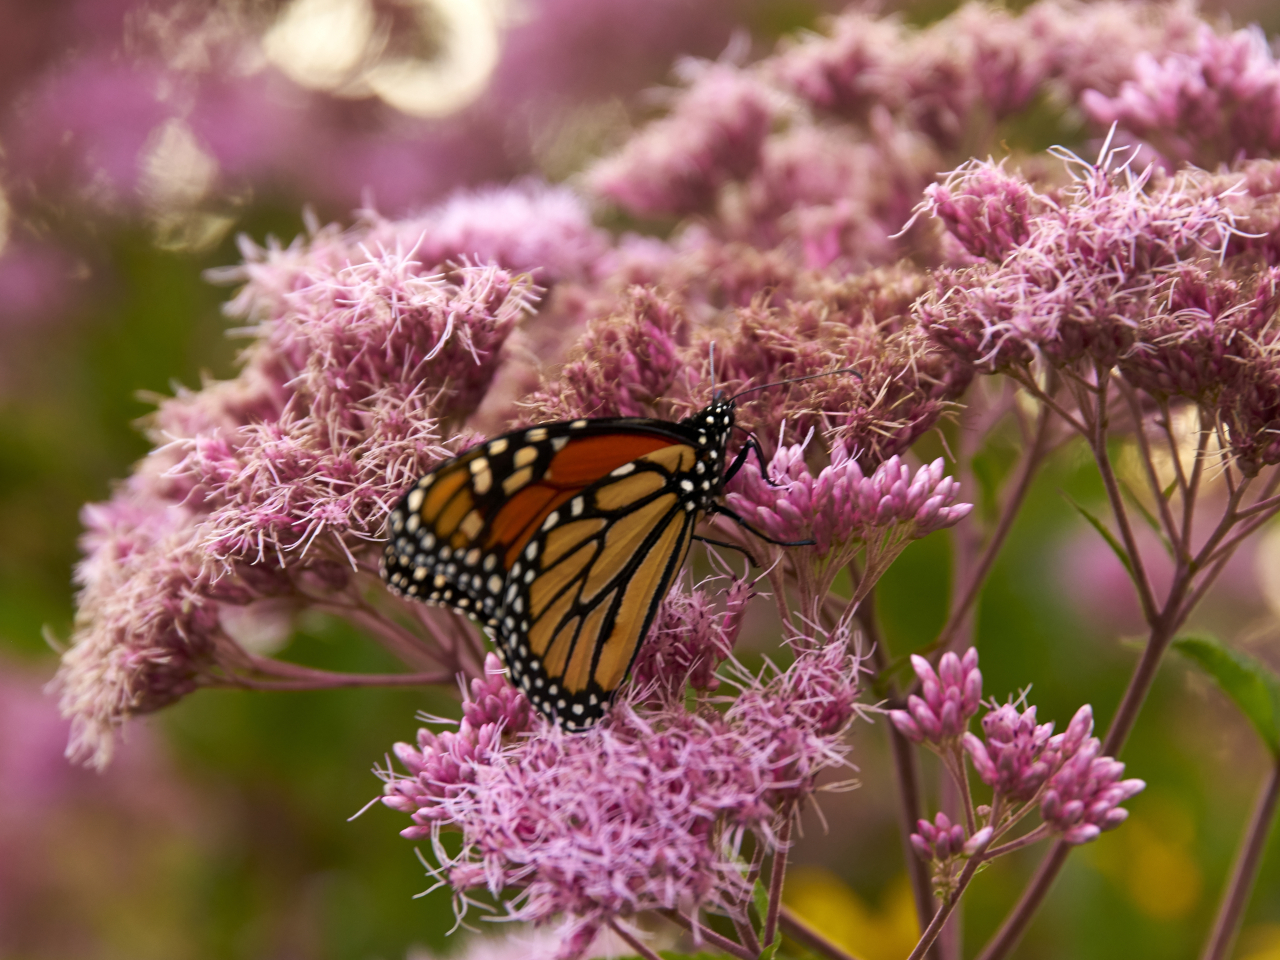
Image courtesy of: wirestock

Watching butterflies and other pollinators enjoying your garden may take some patience, but the result is well worth it. It’s important to maintain your garden by regularly weeding and watering it to ensure its vitality.

The post Pollinator’s Paradise: How to Attract Bees and Butterflies to Your Garden first appeared on Yanko Design.
20 Best Succulents for Beginners: Easy-to-Grow Varieties You’ll Love

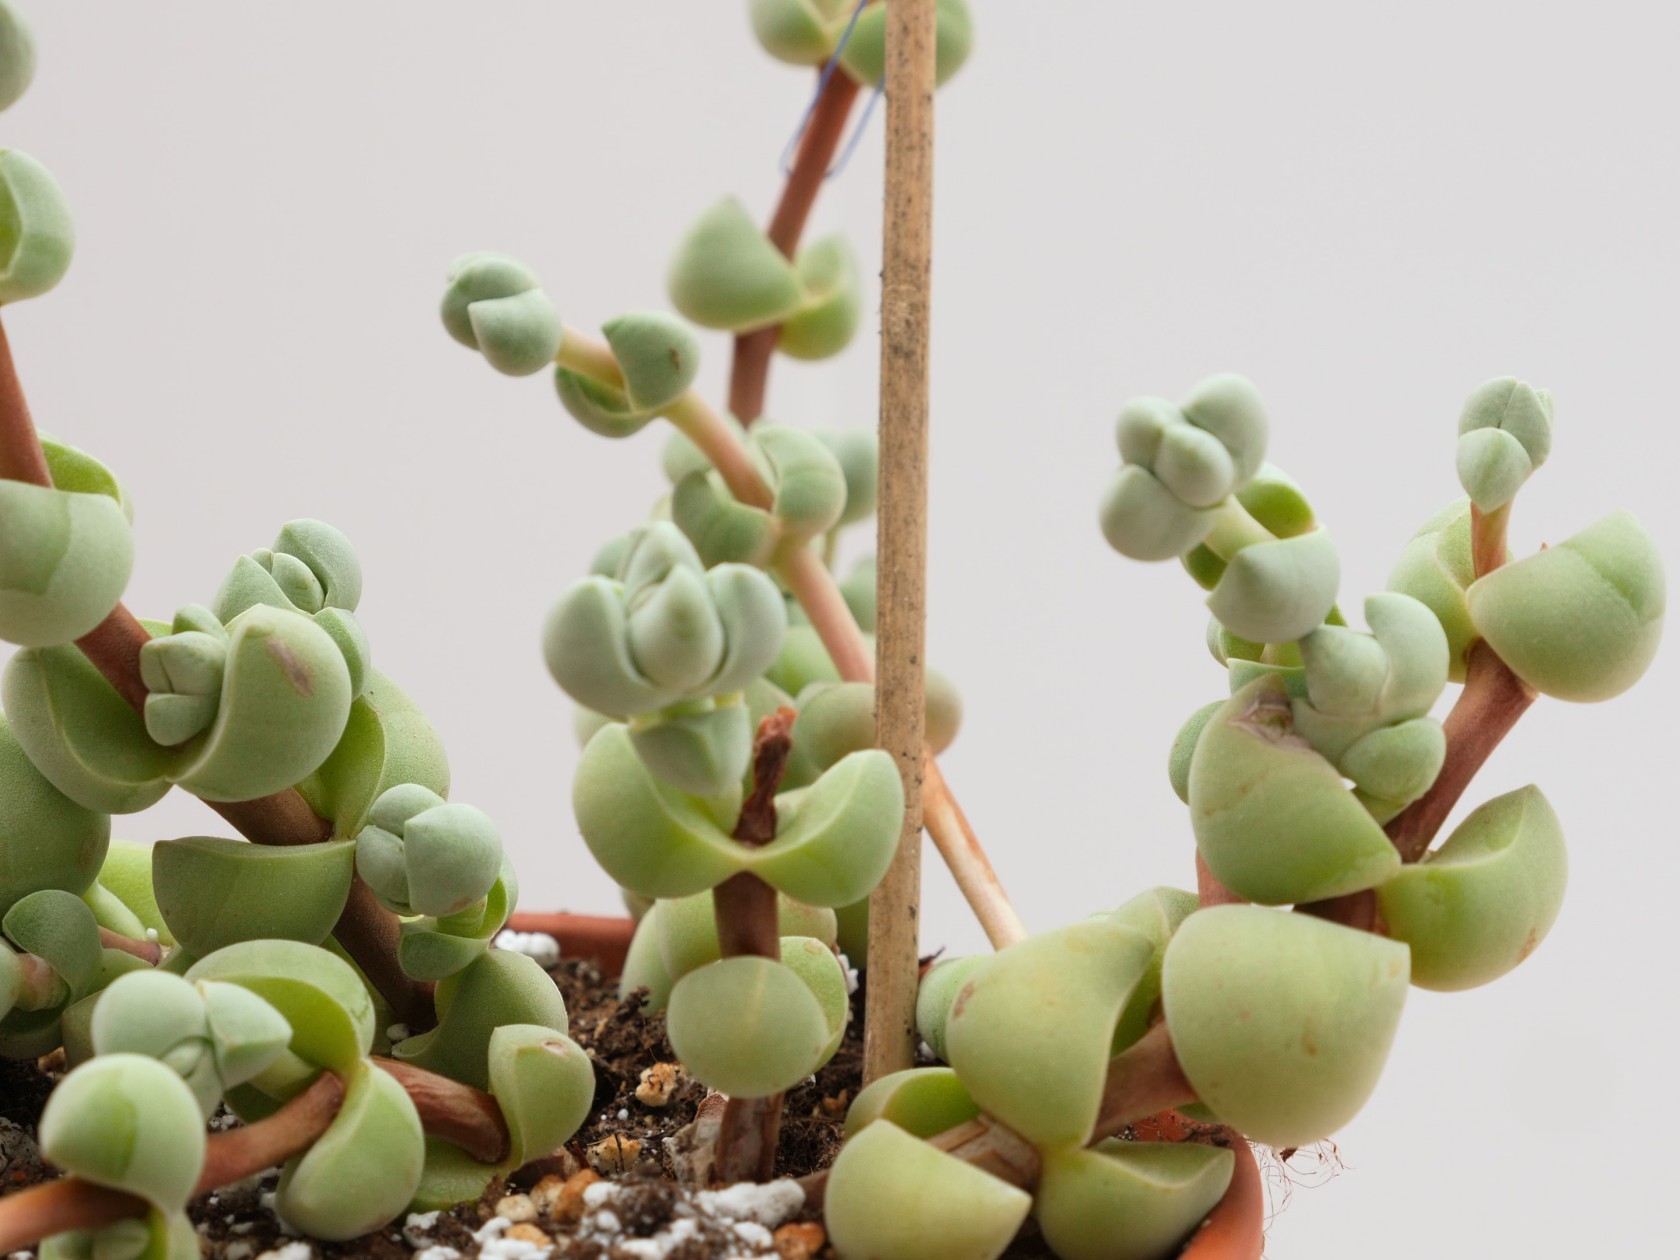
Introducing a touch of nature into your home not only enhances its beauty but also elevates the atmosphere with positivity. If you’re in search of attractive and low-maintenance plants, then nothing beats the beauty of indoor succulents. These delightful additions not only bring visual appeal but also contribute to a serene and inviting ambiance.

Image courtesy of: BlackBoxGuild

What are Succulents?

Succulents, known for storing water in their leaves, often have thick foliage, though the thickness varies among species. They thrive in dry climates and dislike high humidity. Proper watering is key for growth and flowering, as they can withstand drought by using stored water and nutrients but may rot if overwatered. Most prefer warmth and can’t survive freezing temperatures, which can lead to damage or decay. While some tolerate freezing to an extent, they still prefer warmth. Changes in temperature, water, or sunlight can alter their color, with some “blushing” or changing hues in response to increased sunlight.

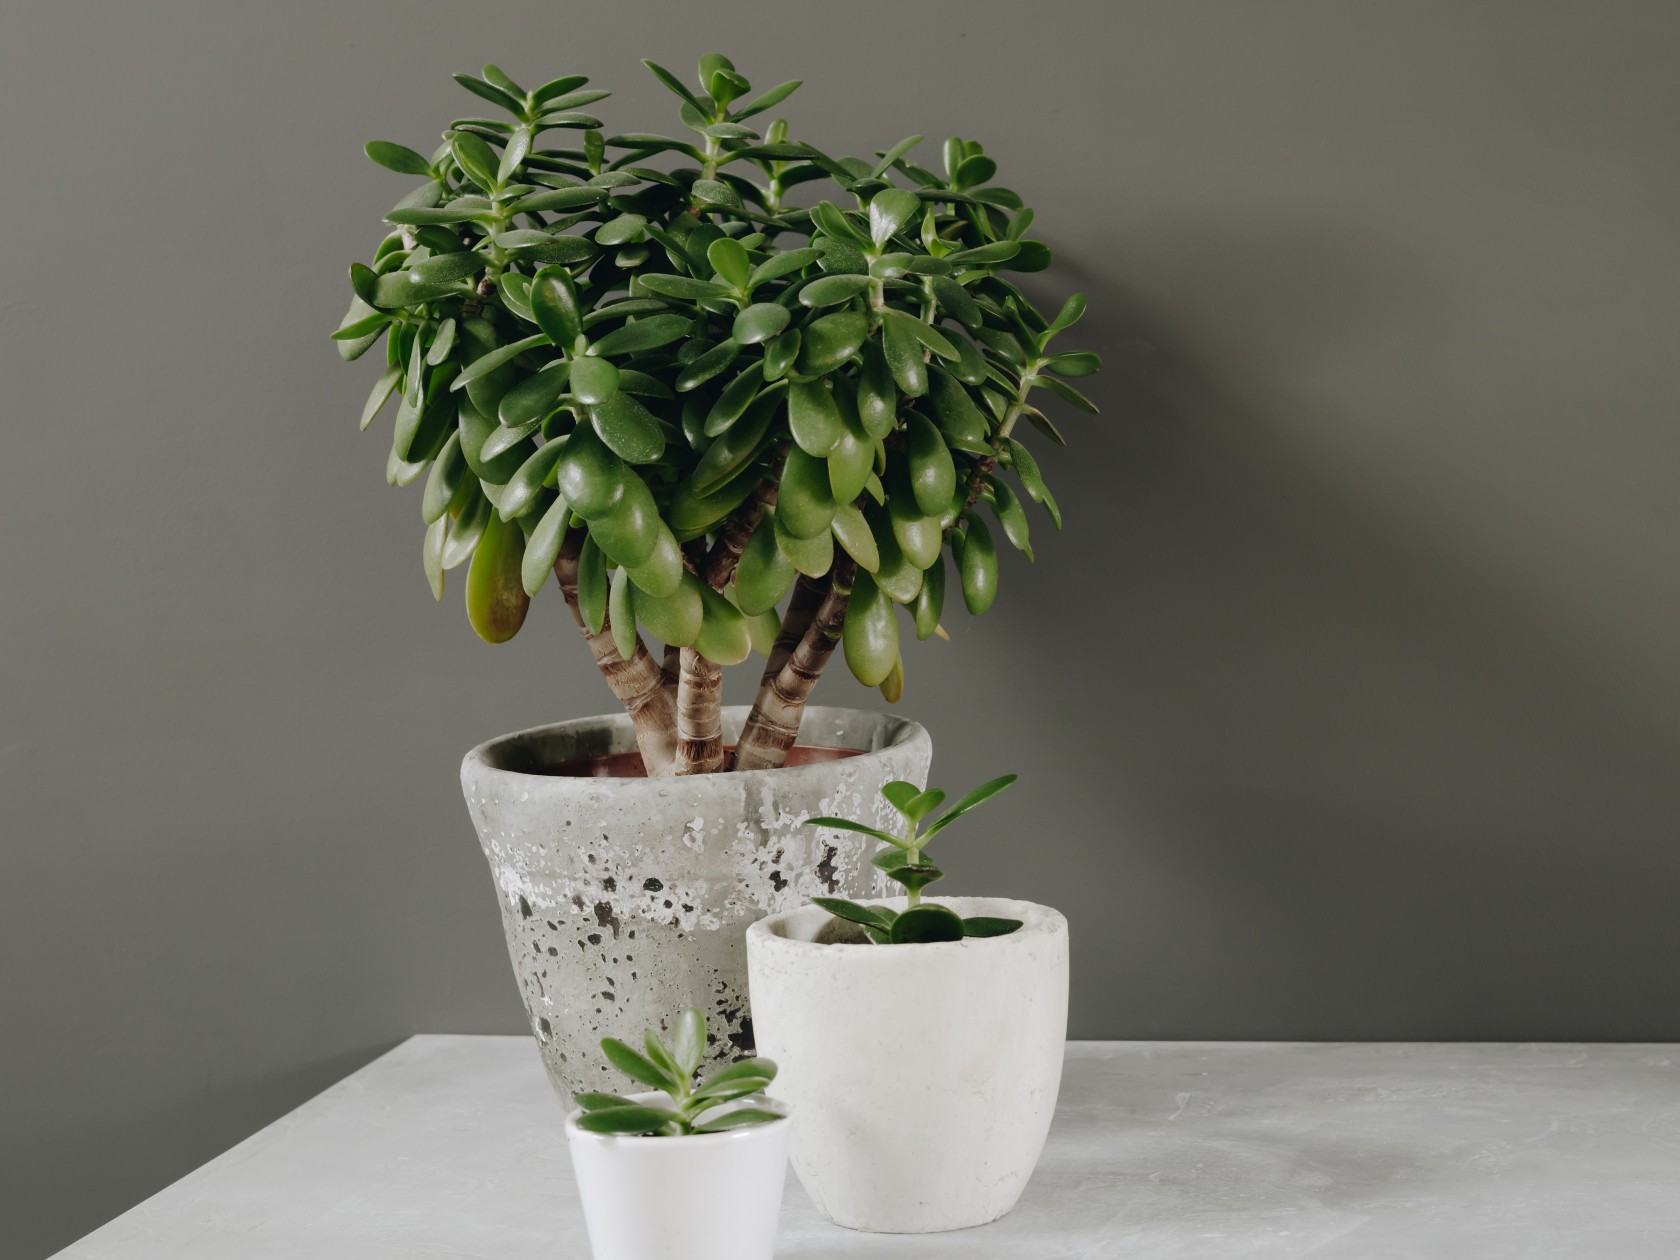
1. Jade Plant (crassula ovata)

Image courtesy of: klenova

Like a bonsai, the jade plant features a thick trunk and branch structure resembling a miniature tree. Its glossy, dark green leaves grow oval, with some varieties displaying a reddish tint at the leaf tips. Under suitable conditions, mature jade plants may bloom beautiful white or pink star-shaped flowers.

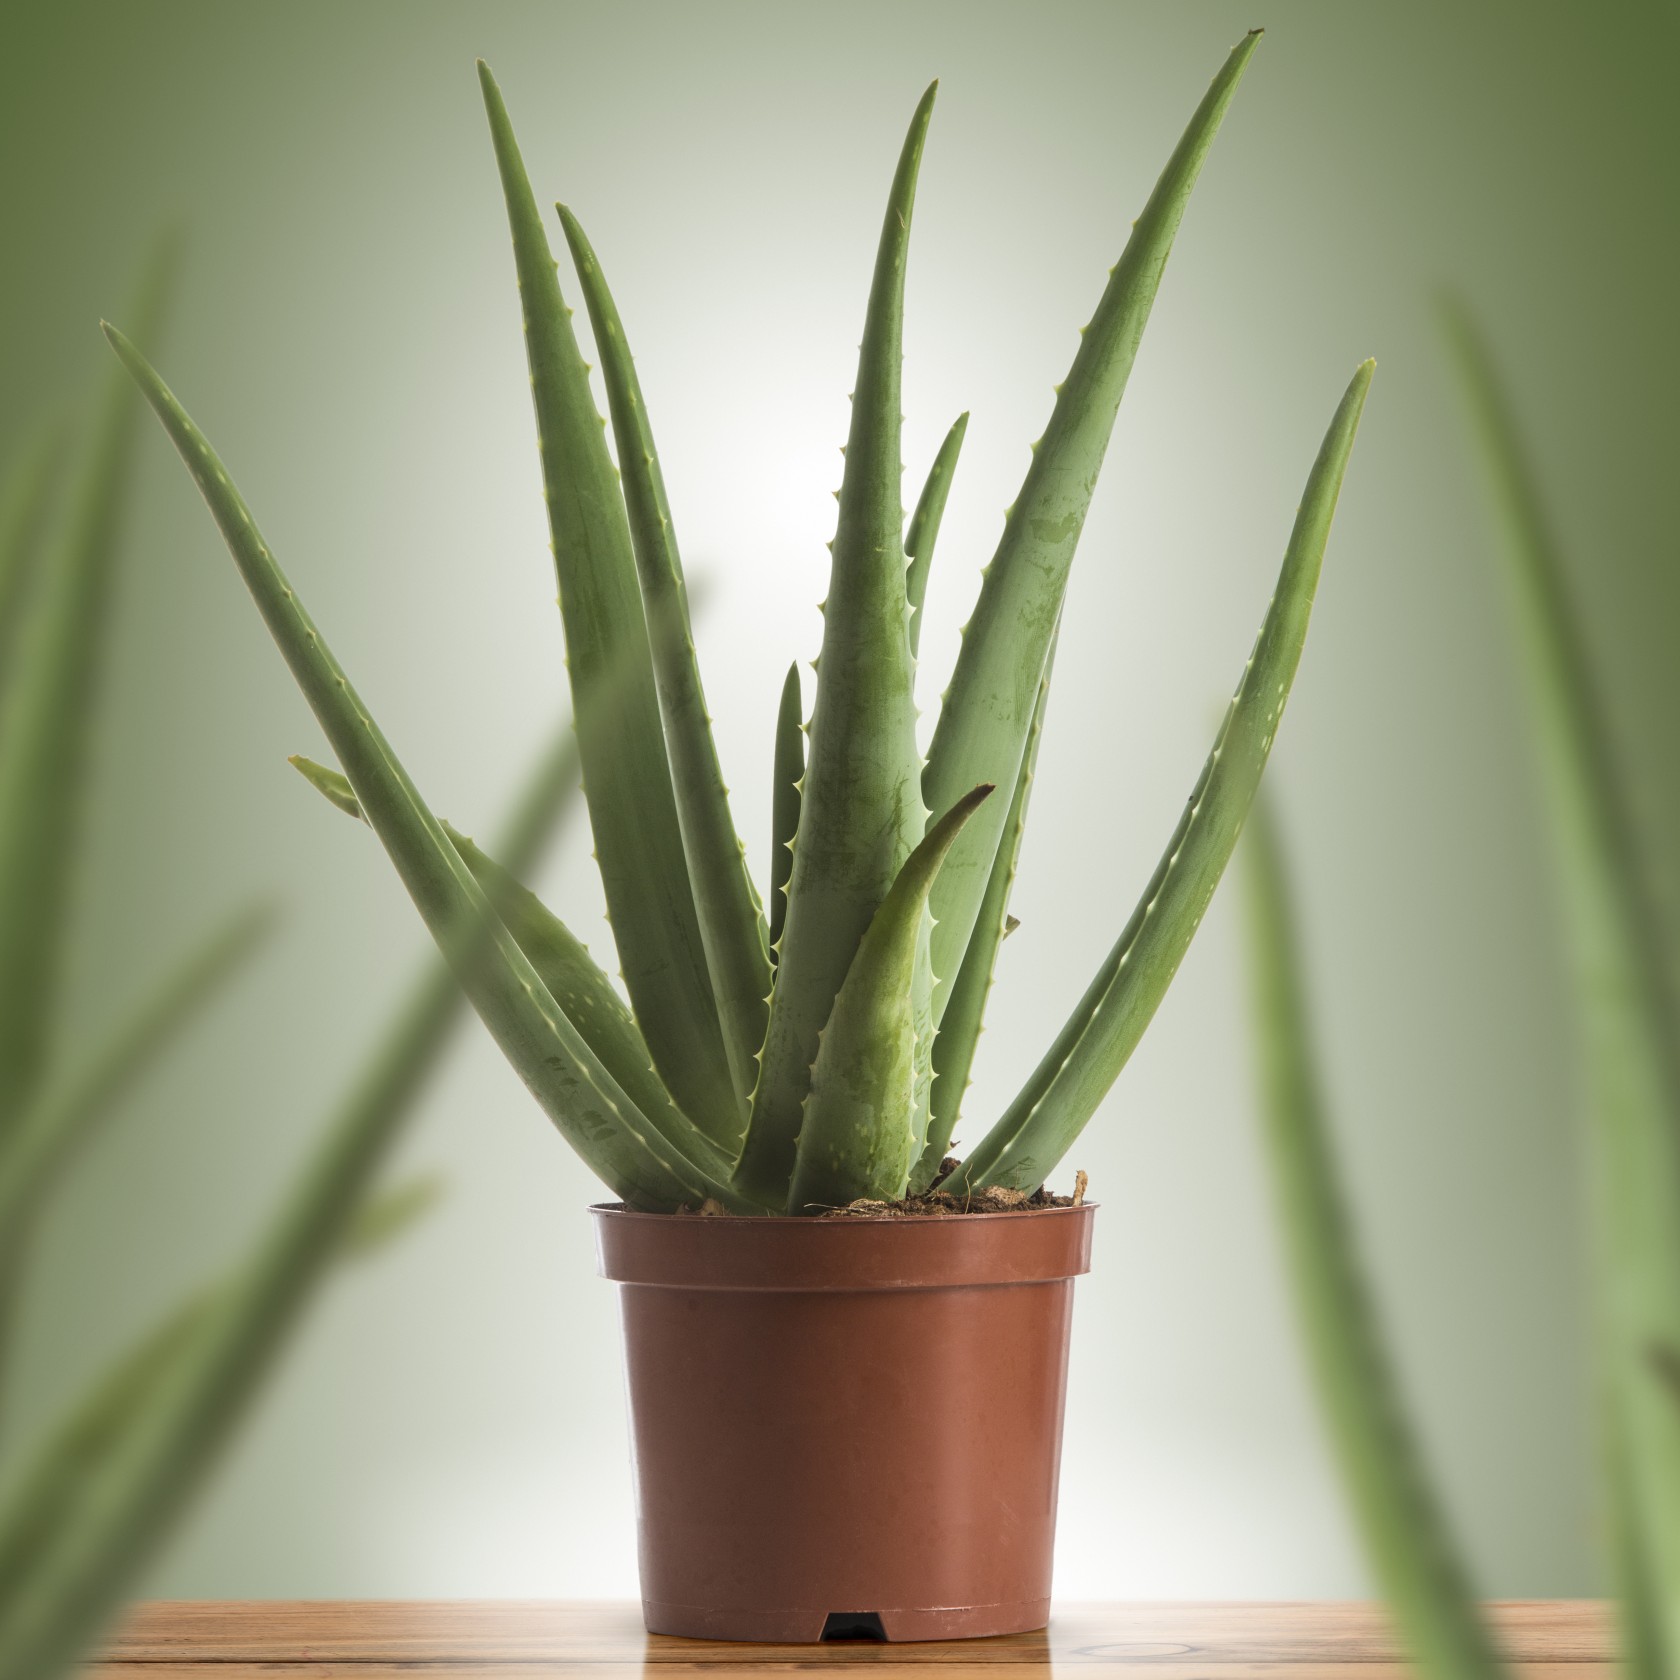
2. Aloe Vera (Aloe barbadensis Miller)

Image courtesy of: Olivier_Le_Moal

Aloe vera is a must-have for anyone wanting a succulent in their garden, thanks to its rich history in traditional medicine, beauty, and nutrition. Even if you’re not into medicinal herbs, you can still benefit from aloe vera’s widespread availability. Plus, it’s low-maintenance—just avoid overwatering for a healthy plant.

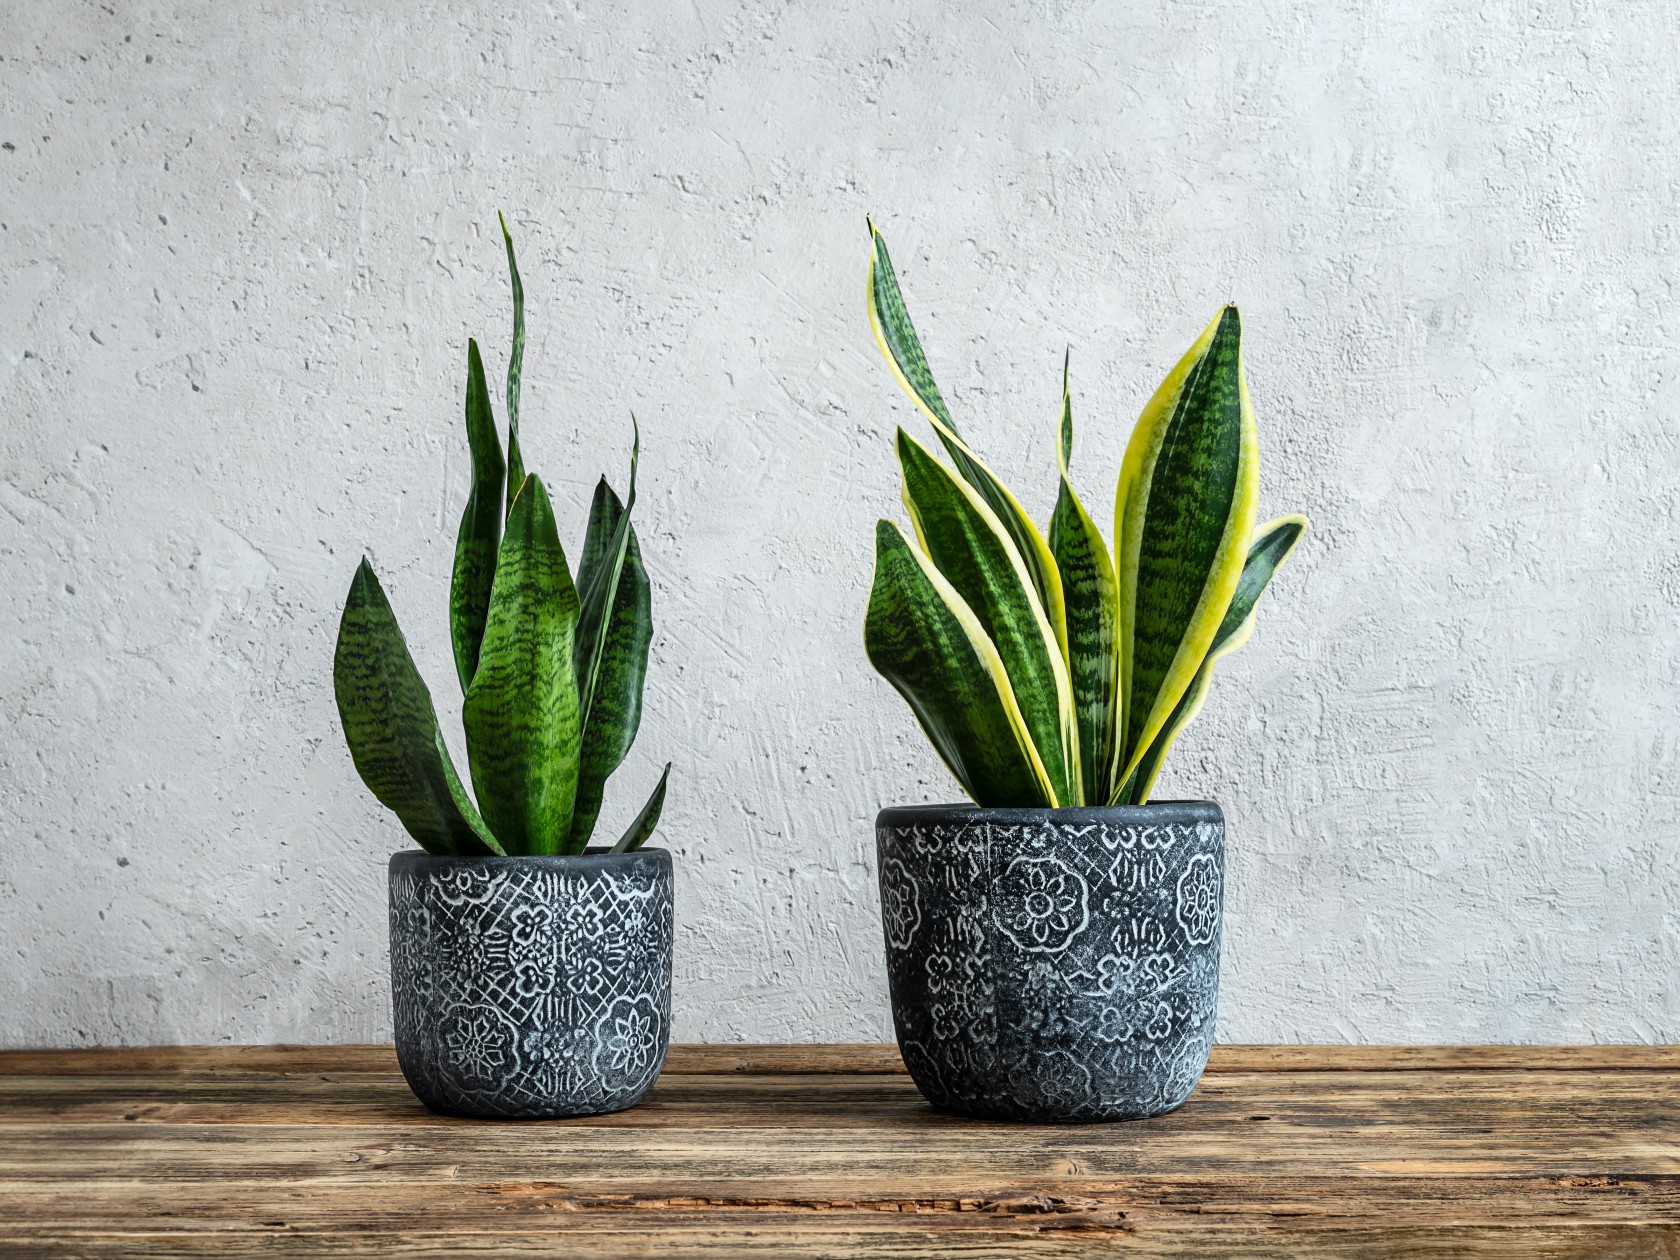
3. Snake Plant (Dracaena Trifasciata)

Image courtesy of: tsableaux

Snake Plants, classified as succulents, are adept at water retention despite their upright leaves. To prevent yellowing or wilting, refrain from overwatering and only hydrate them when the soil is dry.

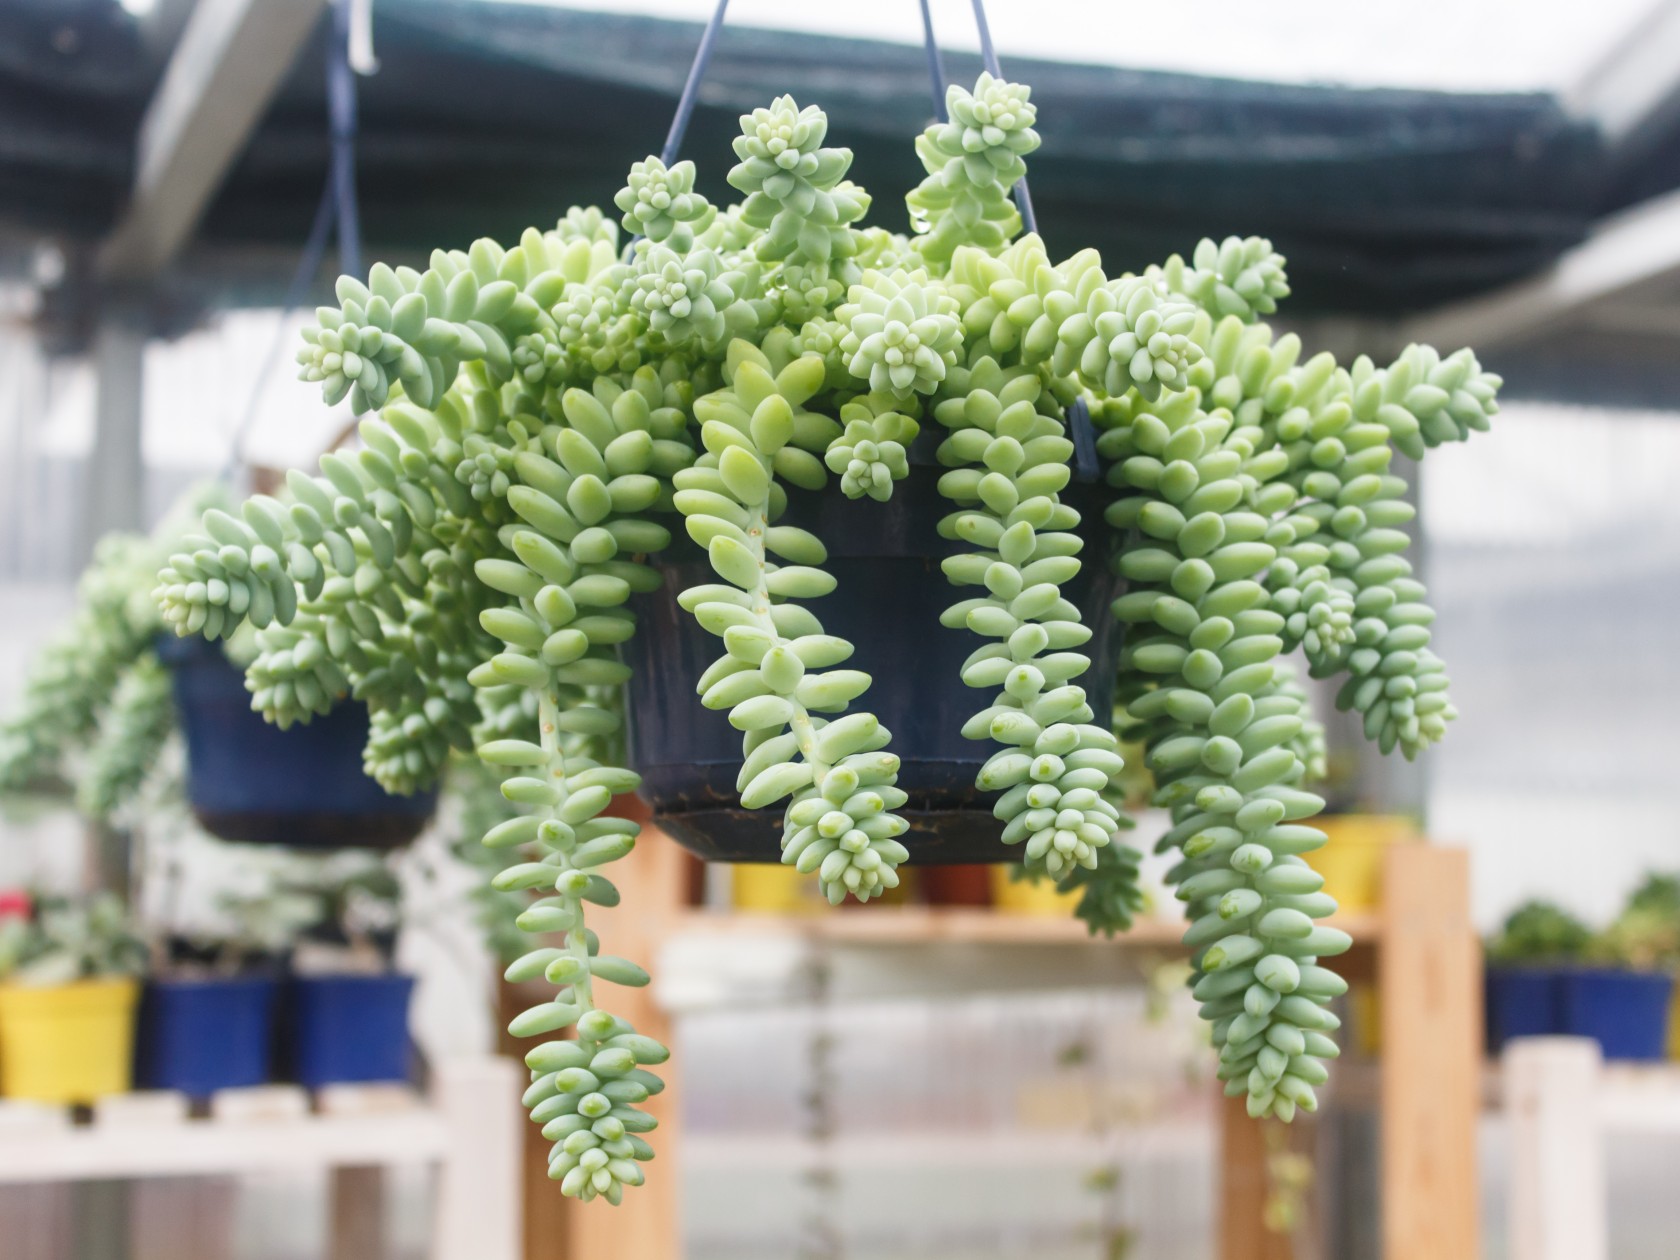
4. Burro’s Tail (Sedum Morganianum)

Image courtesy of: uladzimirz

The donkey tail plant, also known as Sedum morganianum, is easy to grow and care for, making it a popular choice for beginners. Being a cactus, it is easy to care for—just place it in a well-draining pot and water occasionally.

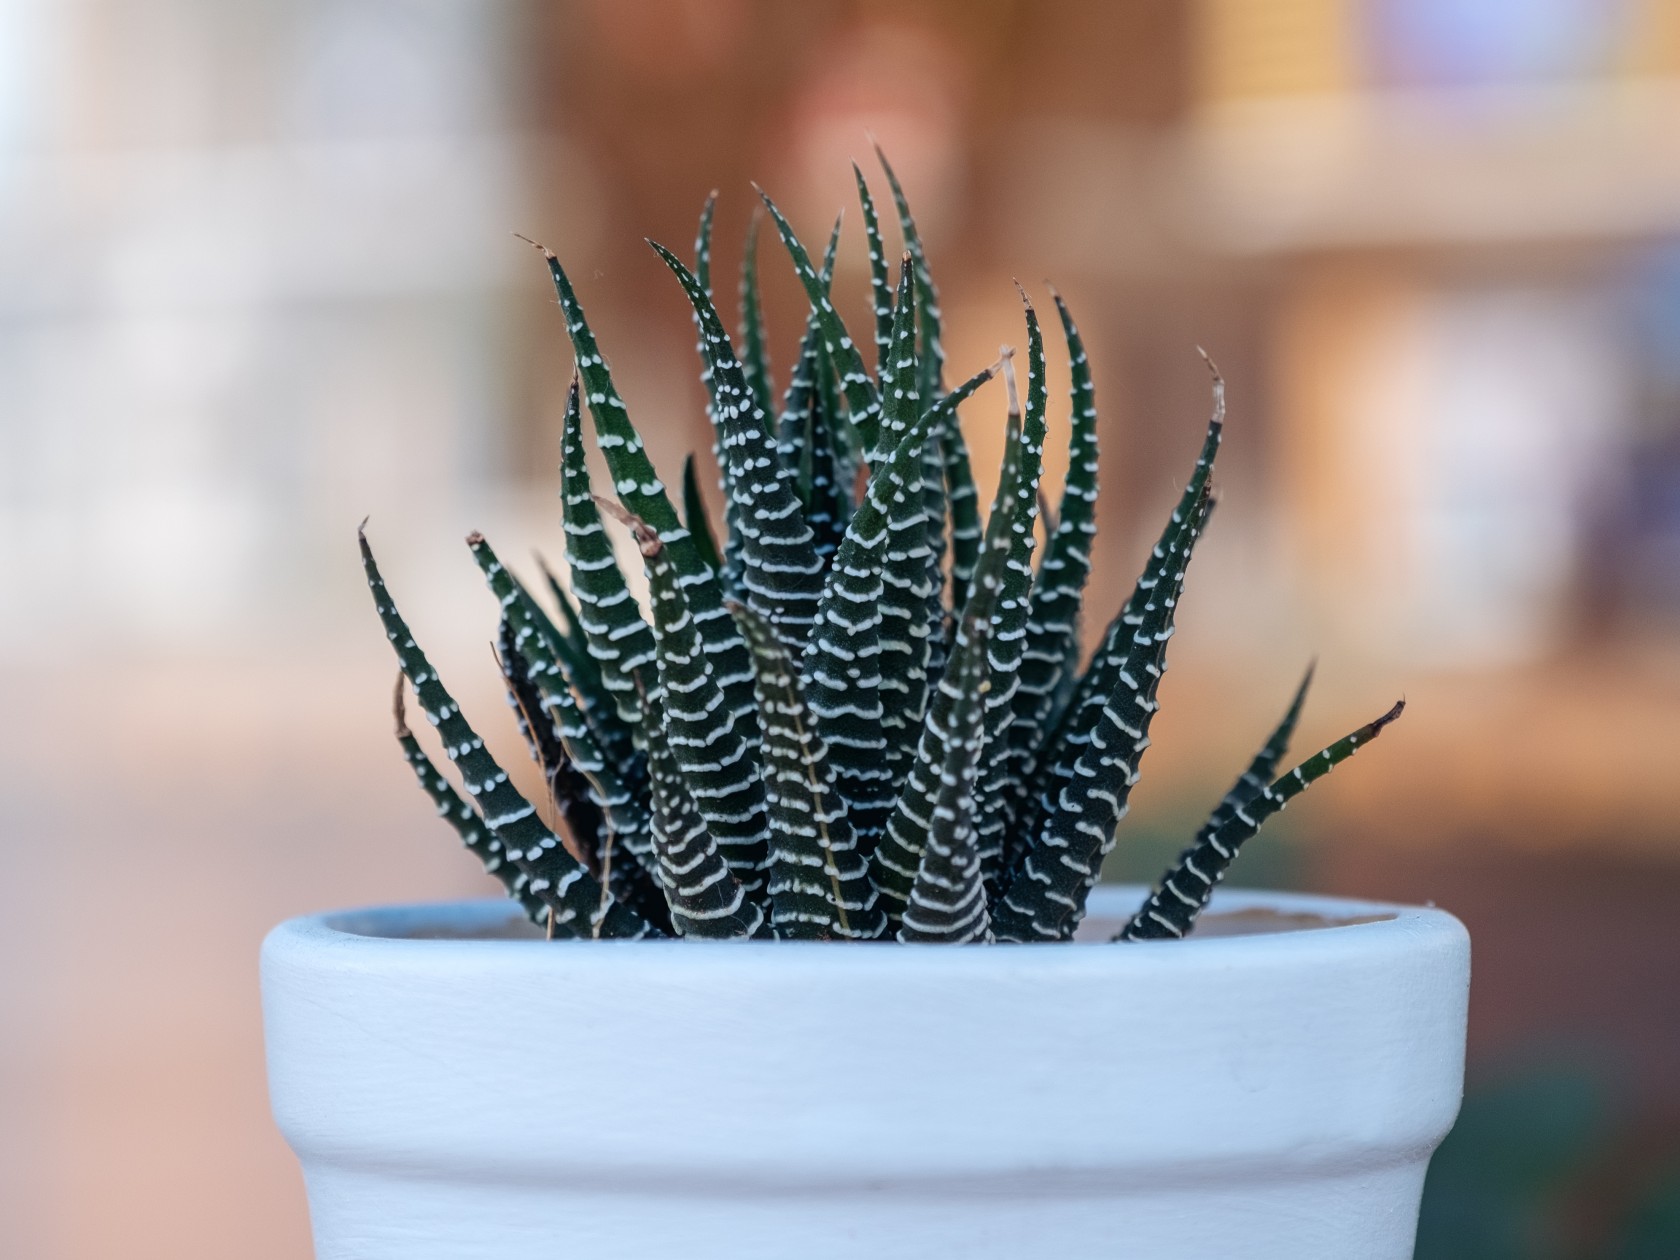
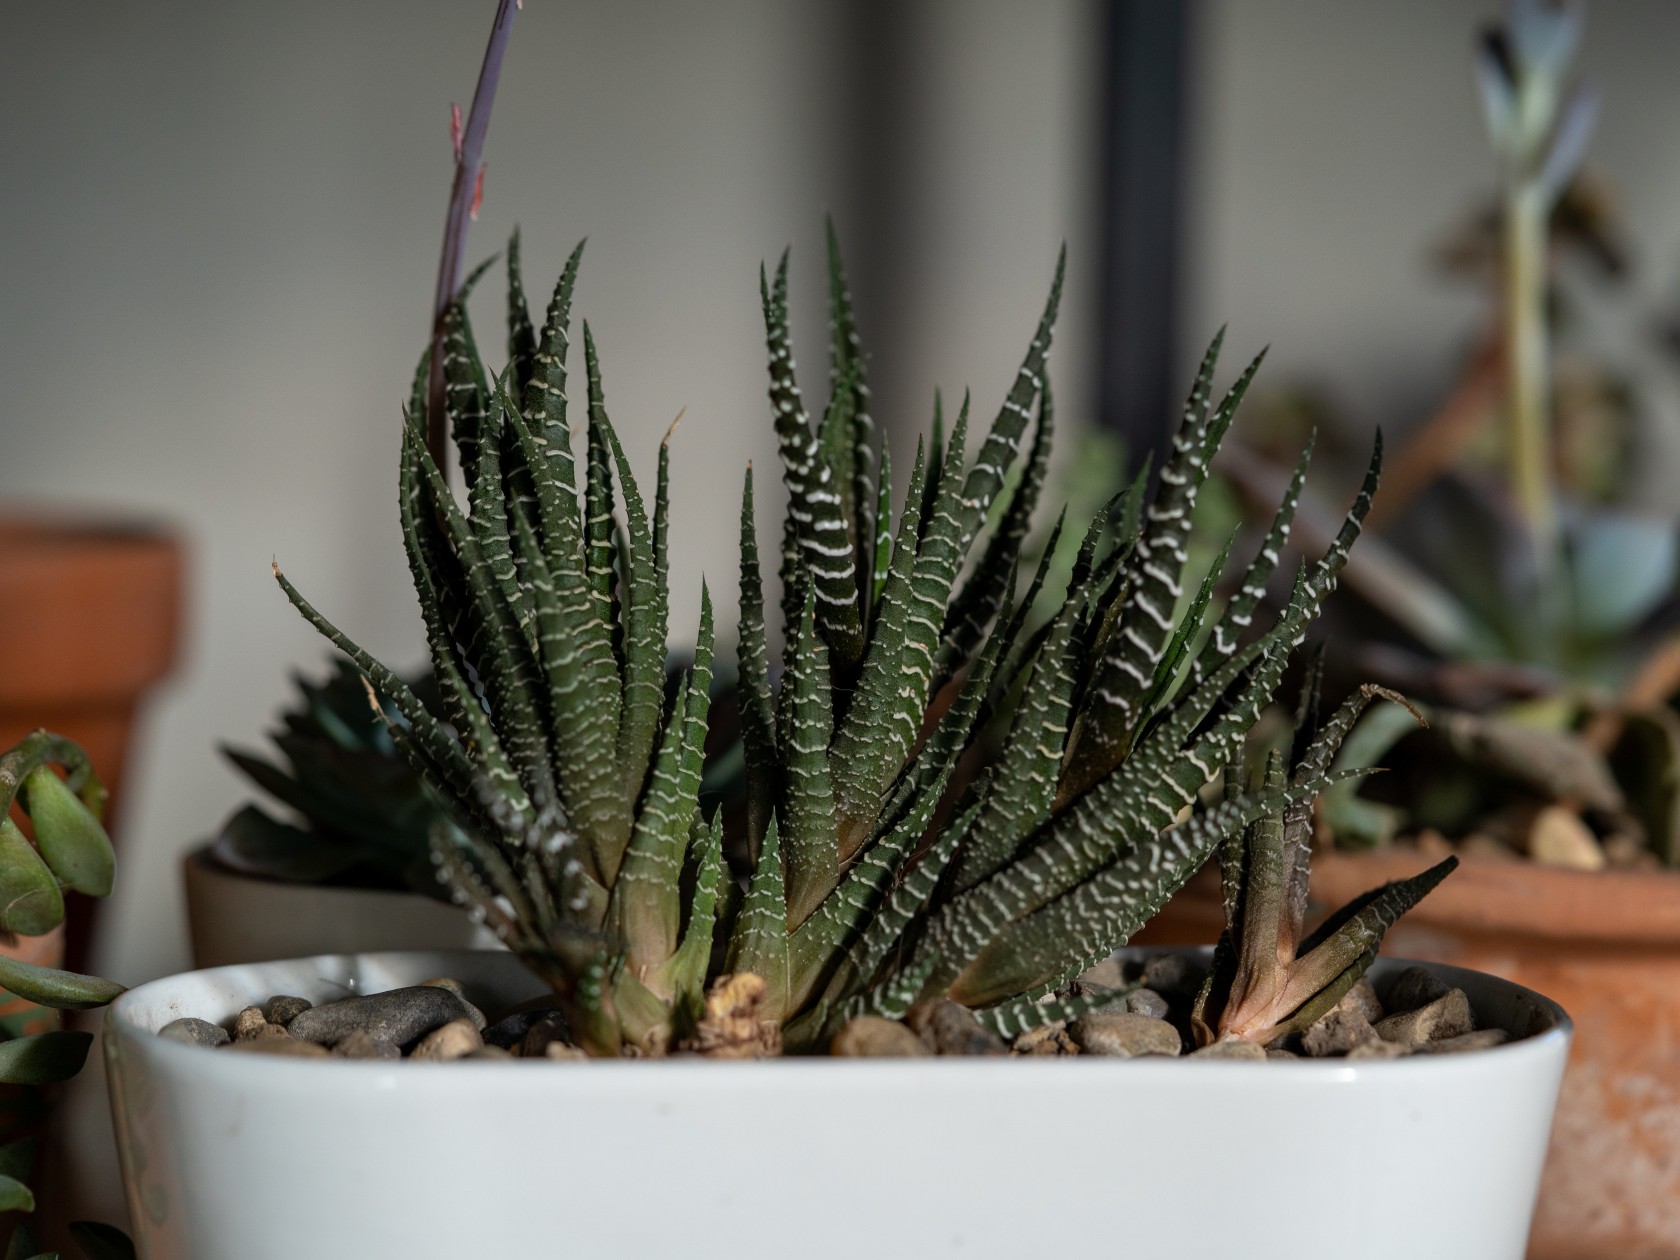
5. Zebra Plant (Fasciated Haworthia)

Image courtesy of: Farknot

The zebra plant looks beautiful with its striking white or silvery bands on lush green leaves. Its thick, fleshy foliage makes it highly adaptable to different conditions, making it an excellent choice for any environment. Just ensure it gets plenty of bright light, whether from a bulb or the sun, making it perfect for indoor gardens.

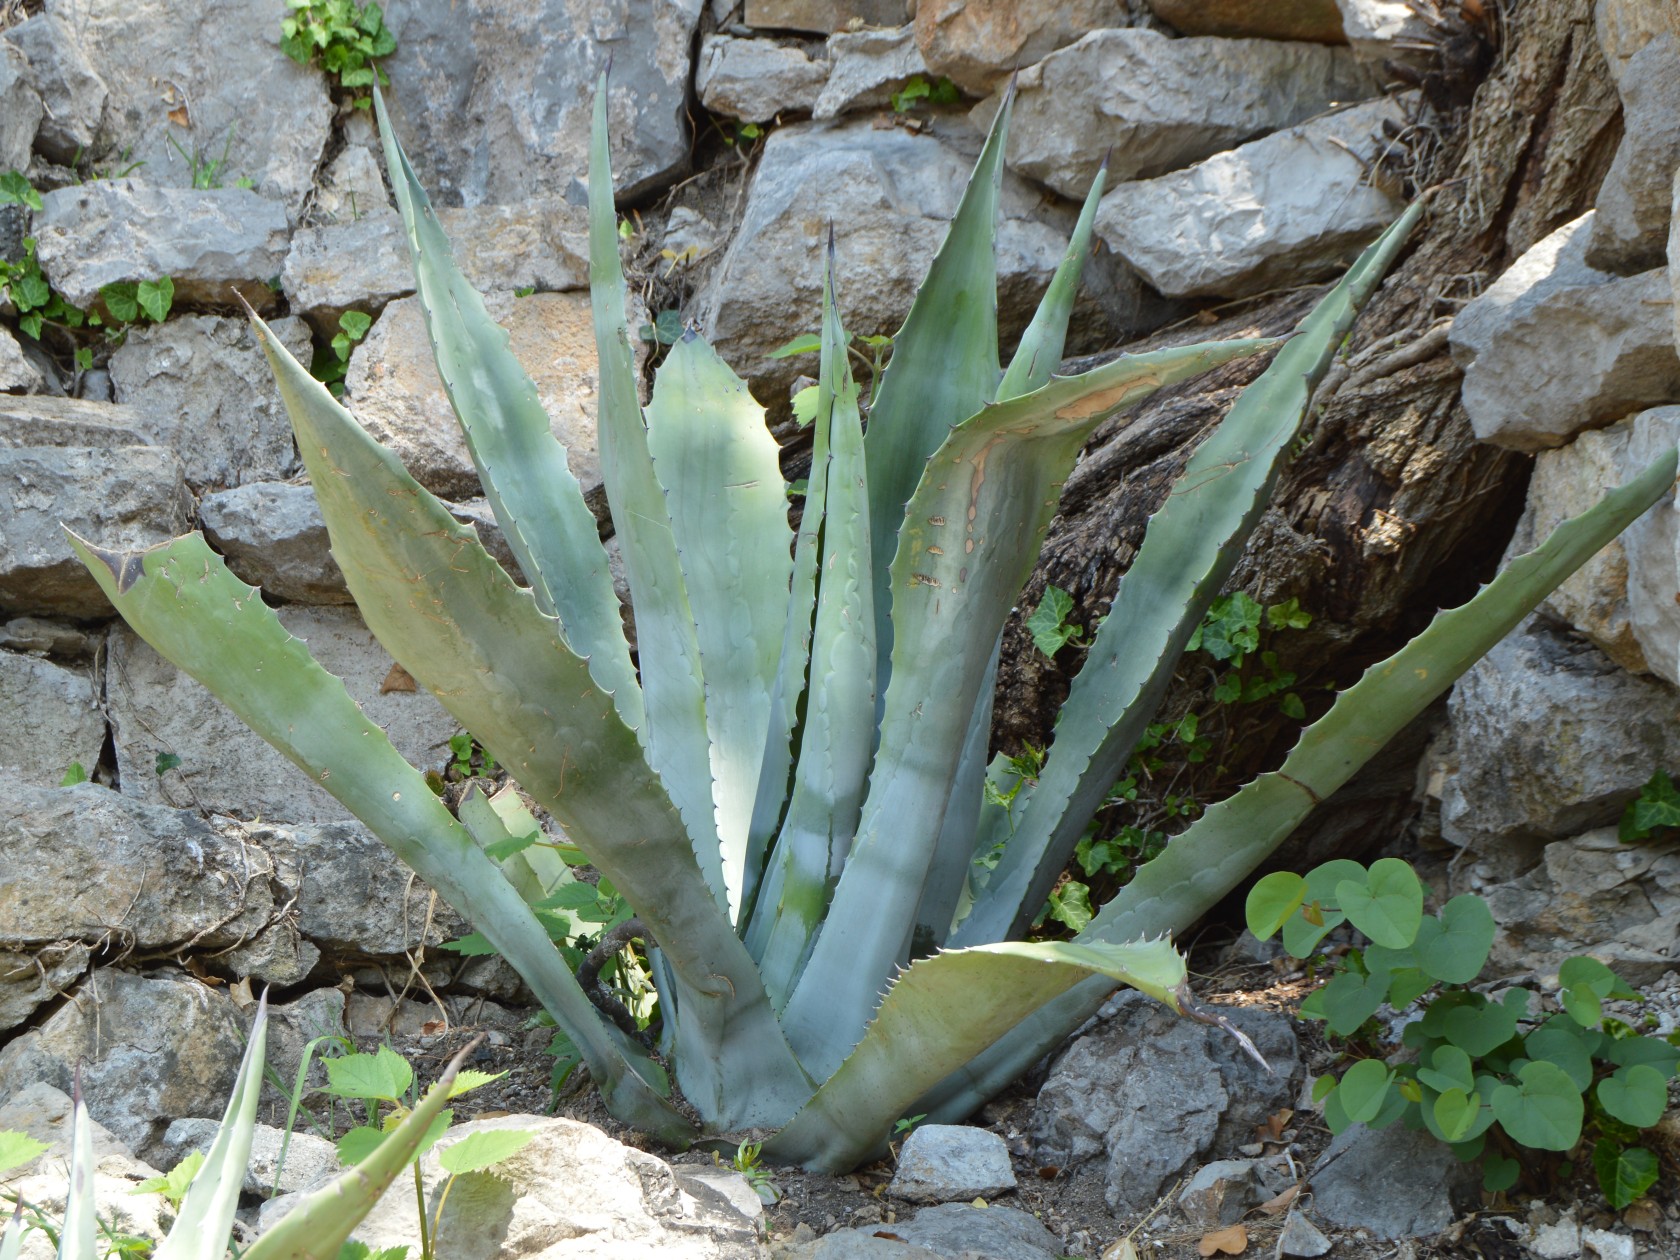
6. Whale’s Tongue Agave (Agave ovatifolia)

Image courtesy of: ClaireLuci

The striking appearance of the Whale’s Tongue Agave makes it an interesting addition to any garden. Make a note that it can grow to be up to five feet tall and six feet wide.

7. Zebra haworthia’s (Haworthia fasciata)

Image courtesy of: wirestock

Zebra haworthia, with its striking stripes and spiky foliage, may appear rare, but it’s readily available at garden centers and easy to care for. Just place it near a window for a few hours of bright, indirect light daily, and let the soil dry completely between waterings. It’s also perfect for terrariums or growing alongside other succulents because of its small size.

8. Panda Plant (Kalanchoe tomentosa)

By Agnieszka Kwiecień, Nova

Panda plants, native to Madagascar, have fuzzy gray-green leaves with soft, silvery hairs and brown or rust-colored spots at the tips. They grow slowly, reaching about 2 feet tall indoors. It is recommended to provide bright light near a window and allow the soil to dry between waterings, being careful not to wet the leaves to prevent rot.

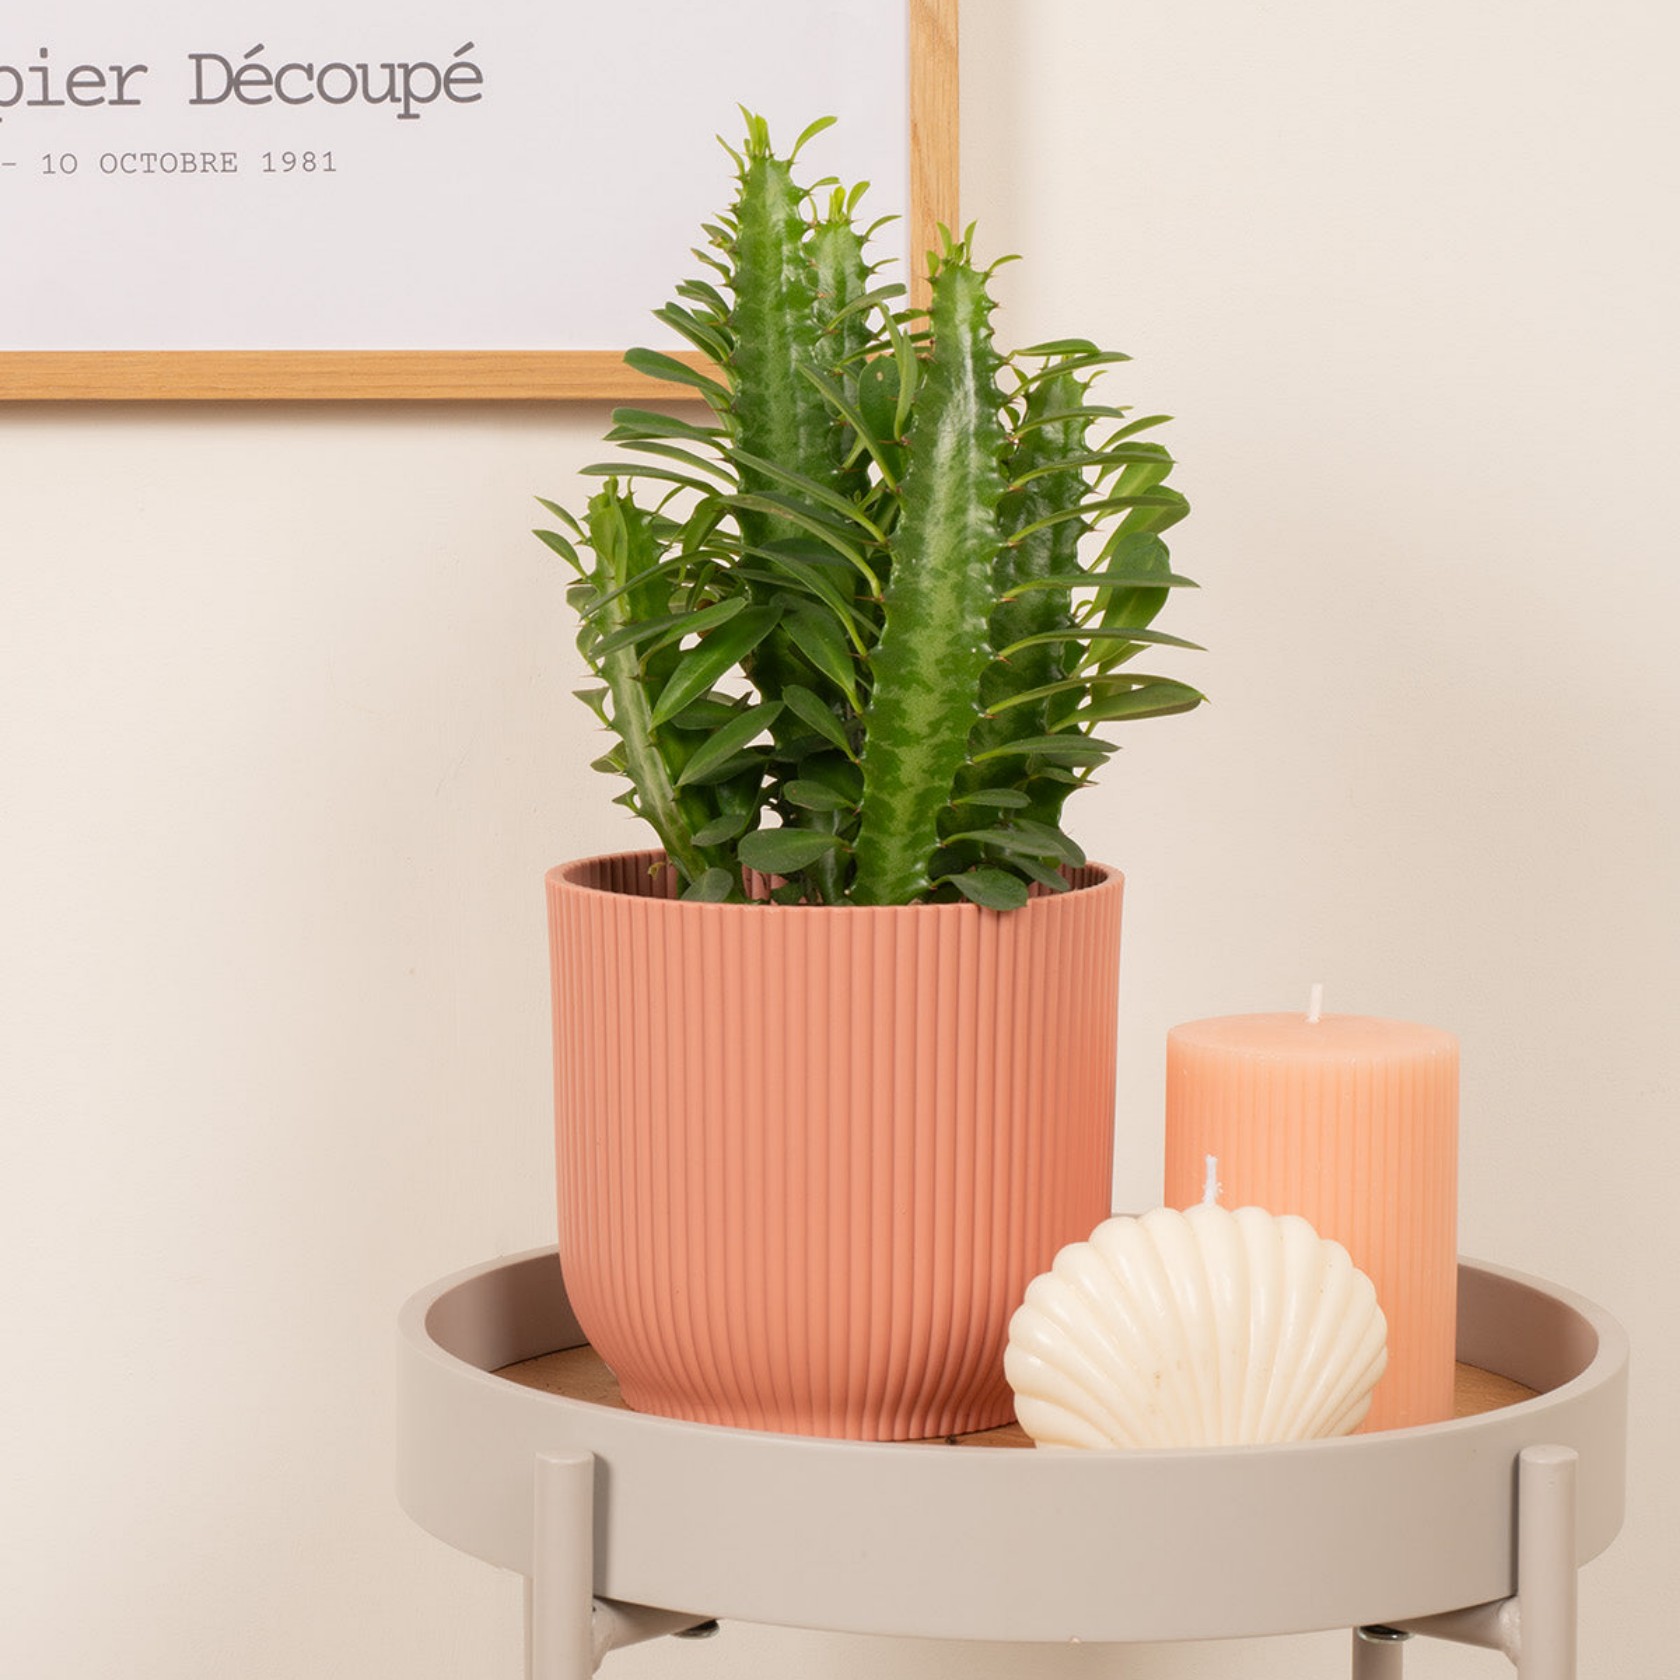
9. African Milk Tree (Euphorbia trigona)

Image courtesy of: Prickle

This eye-catching succulent, requiring minimal attention, includes unique varieties like the Rubra with green and magenta hues. Care entails ample direct sunlight, light watering, and adaptability to various soils, but it’s toxic to pets.

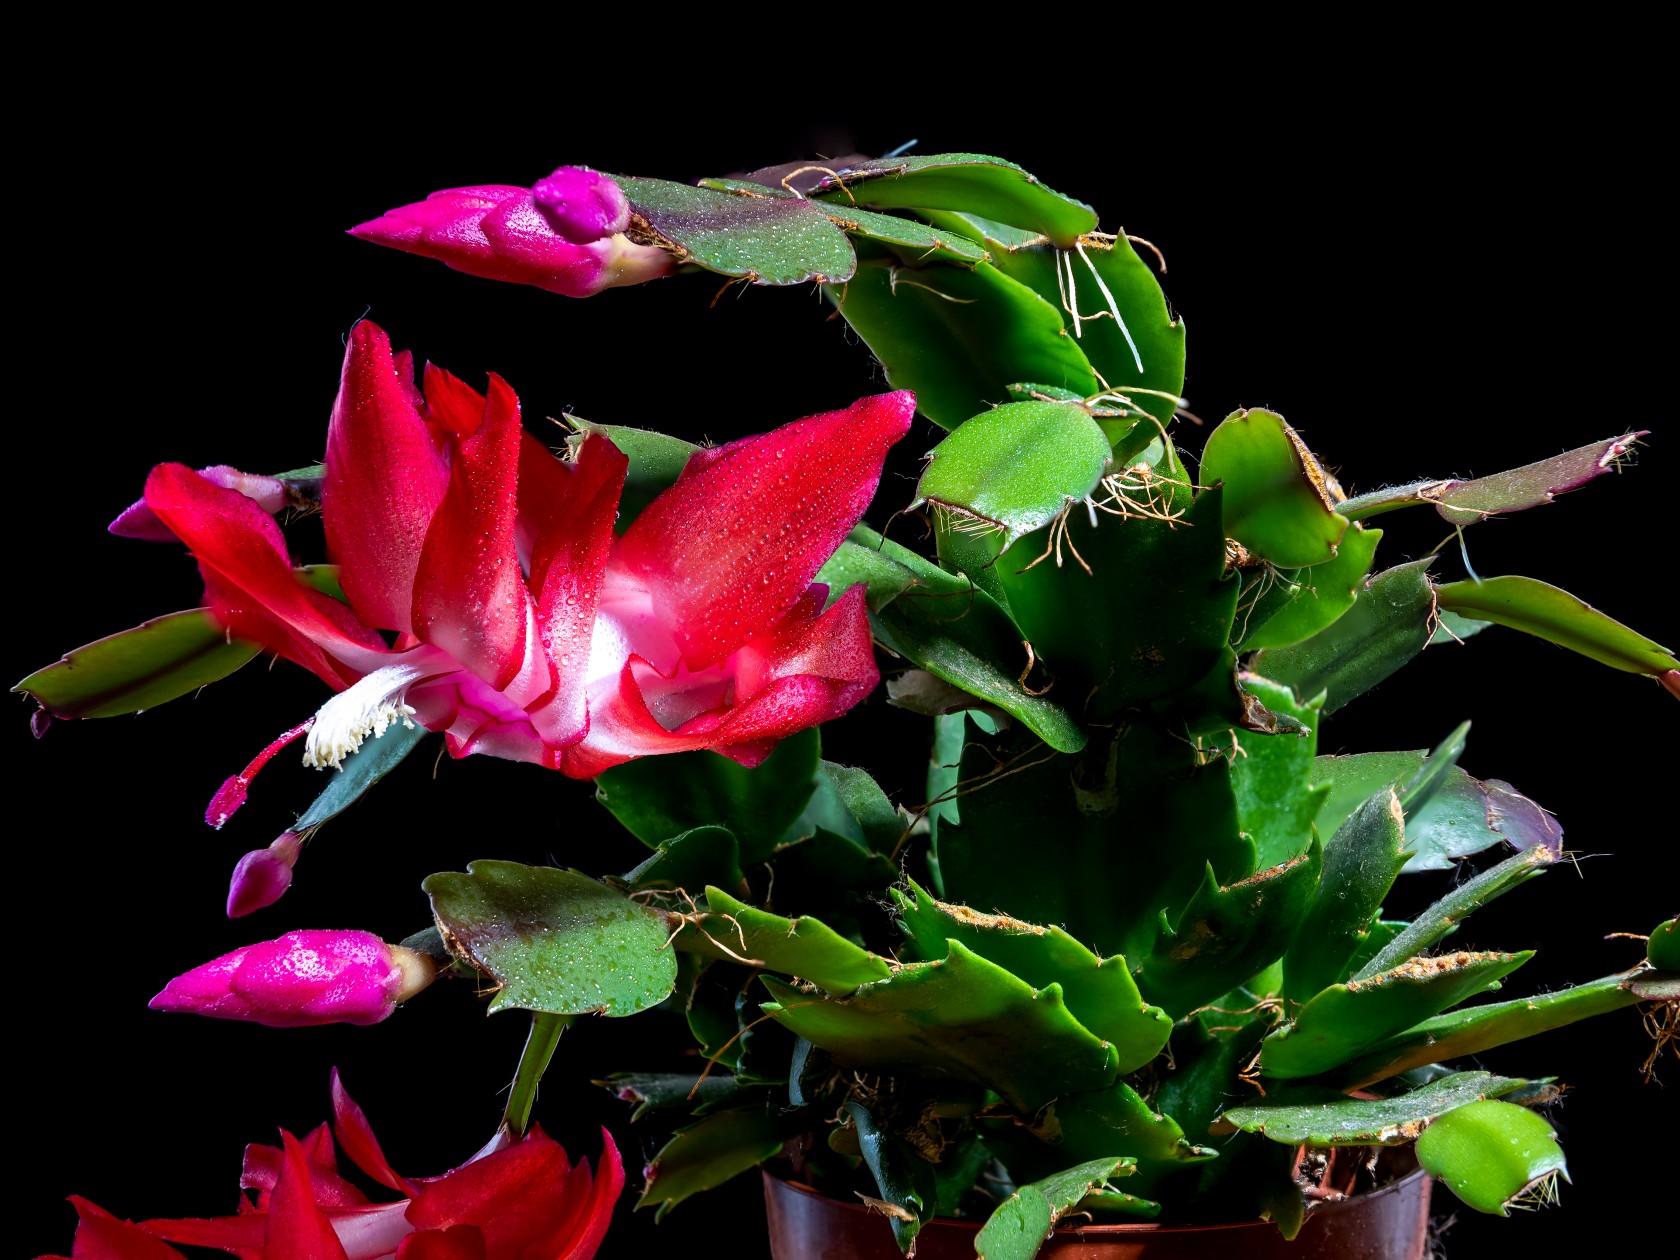
10. Christmas Cactus (Schlumbergera)

Image courtesy of: Multipedia

This houseplant, aptly named for its winter blooming, especially around Christmas, thrives with regular watering and enjoys occasional misting during its growing season in the spring. It prefers bright, indirect light and well-draining cacti mix soil.

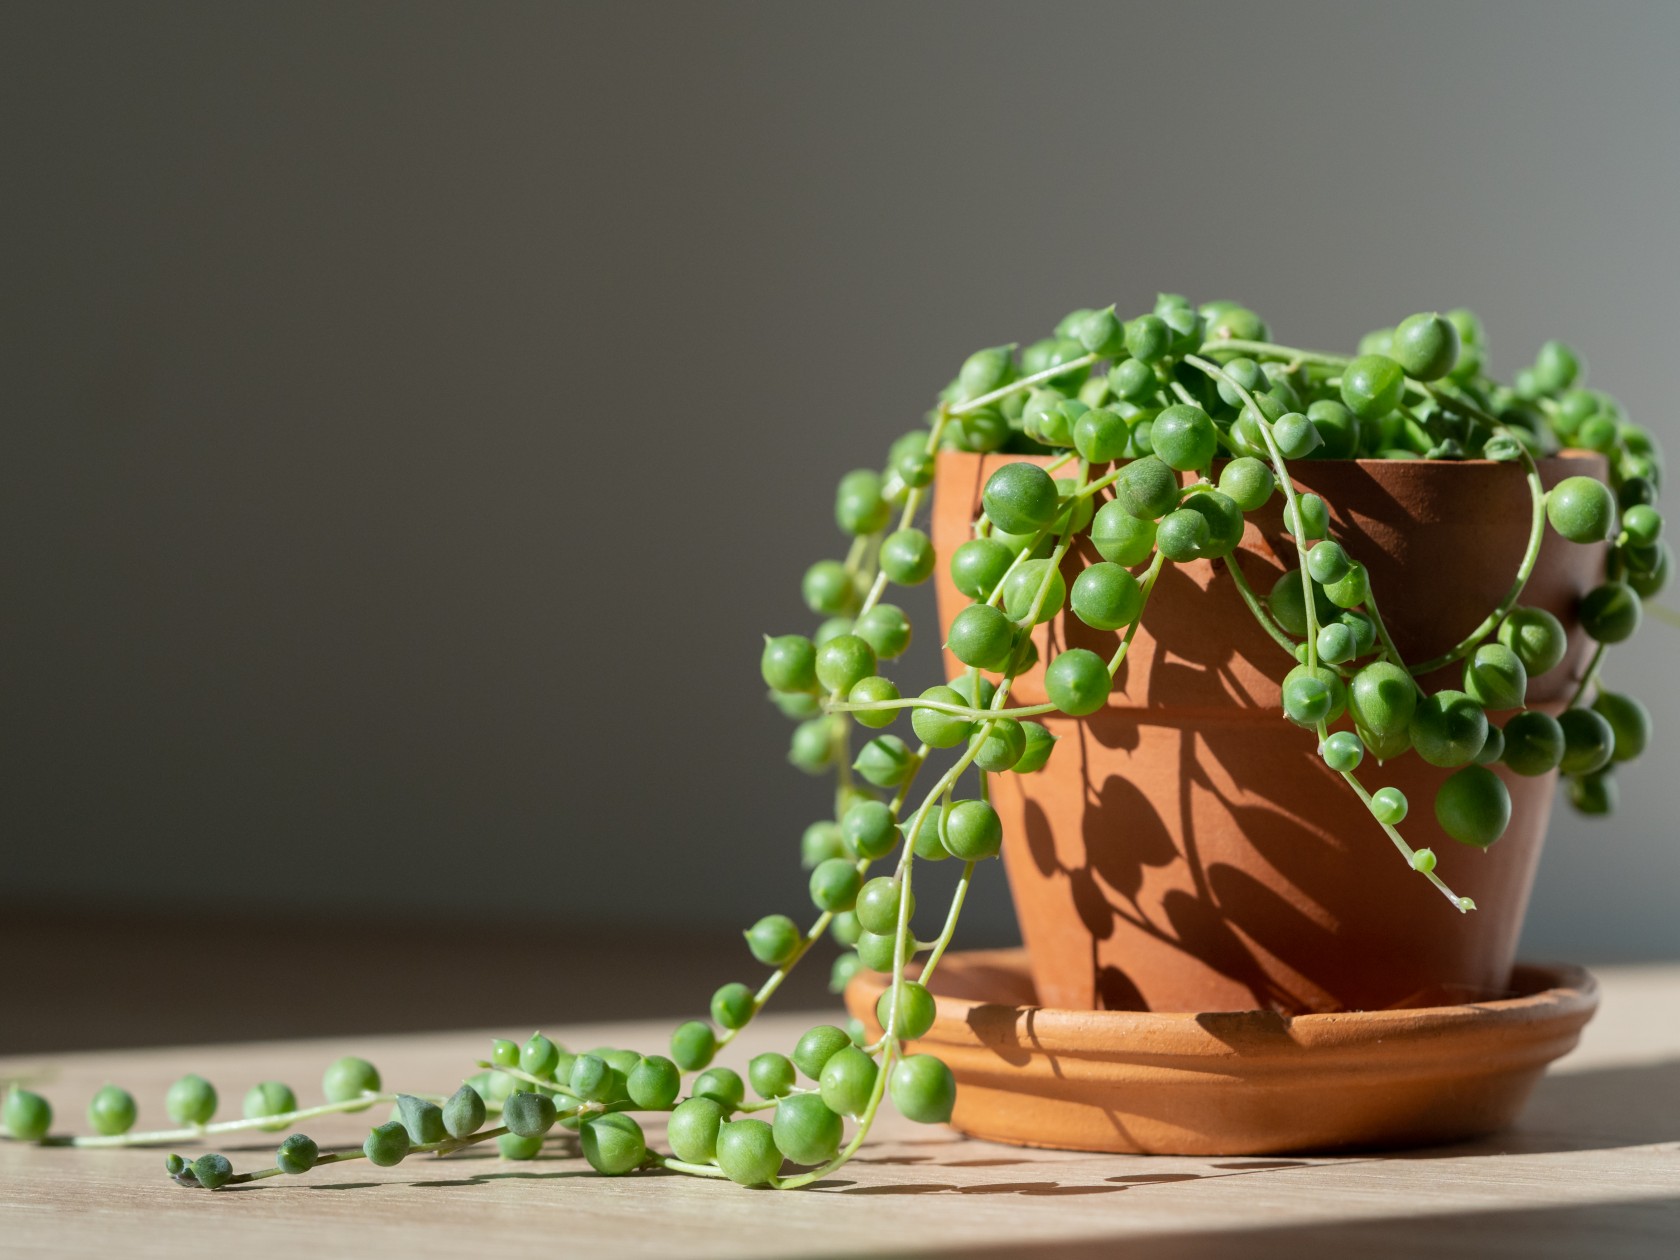
11. String of Pearls Green (Senecio Rowleyanus)

Image courtesy of: varyapigu

The String of Pearls is a unique succulent with long, trailing stems adorned with small, pearl-like leaves. Its cascading growth makes it perfect for hanging baskets or as a trailing accent indoors or outdoors. Easy to care for, it requires bright, indirect light and infrequent watering.

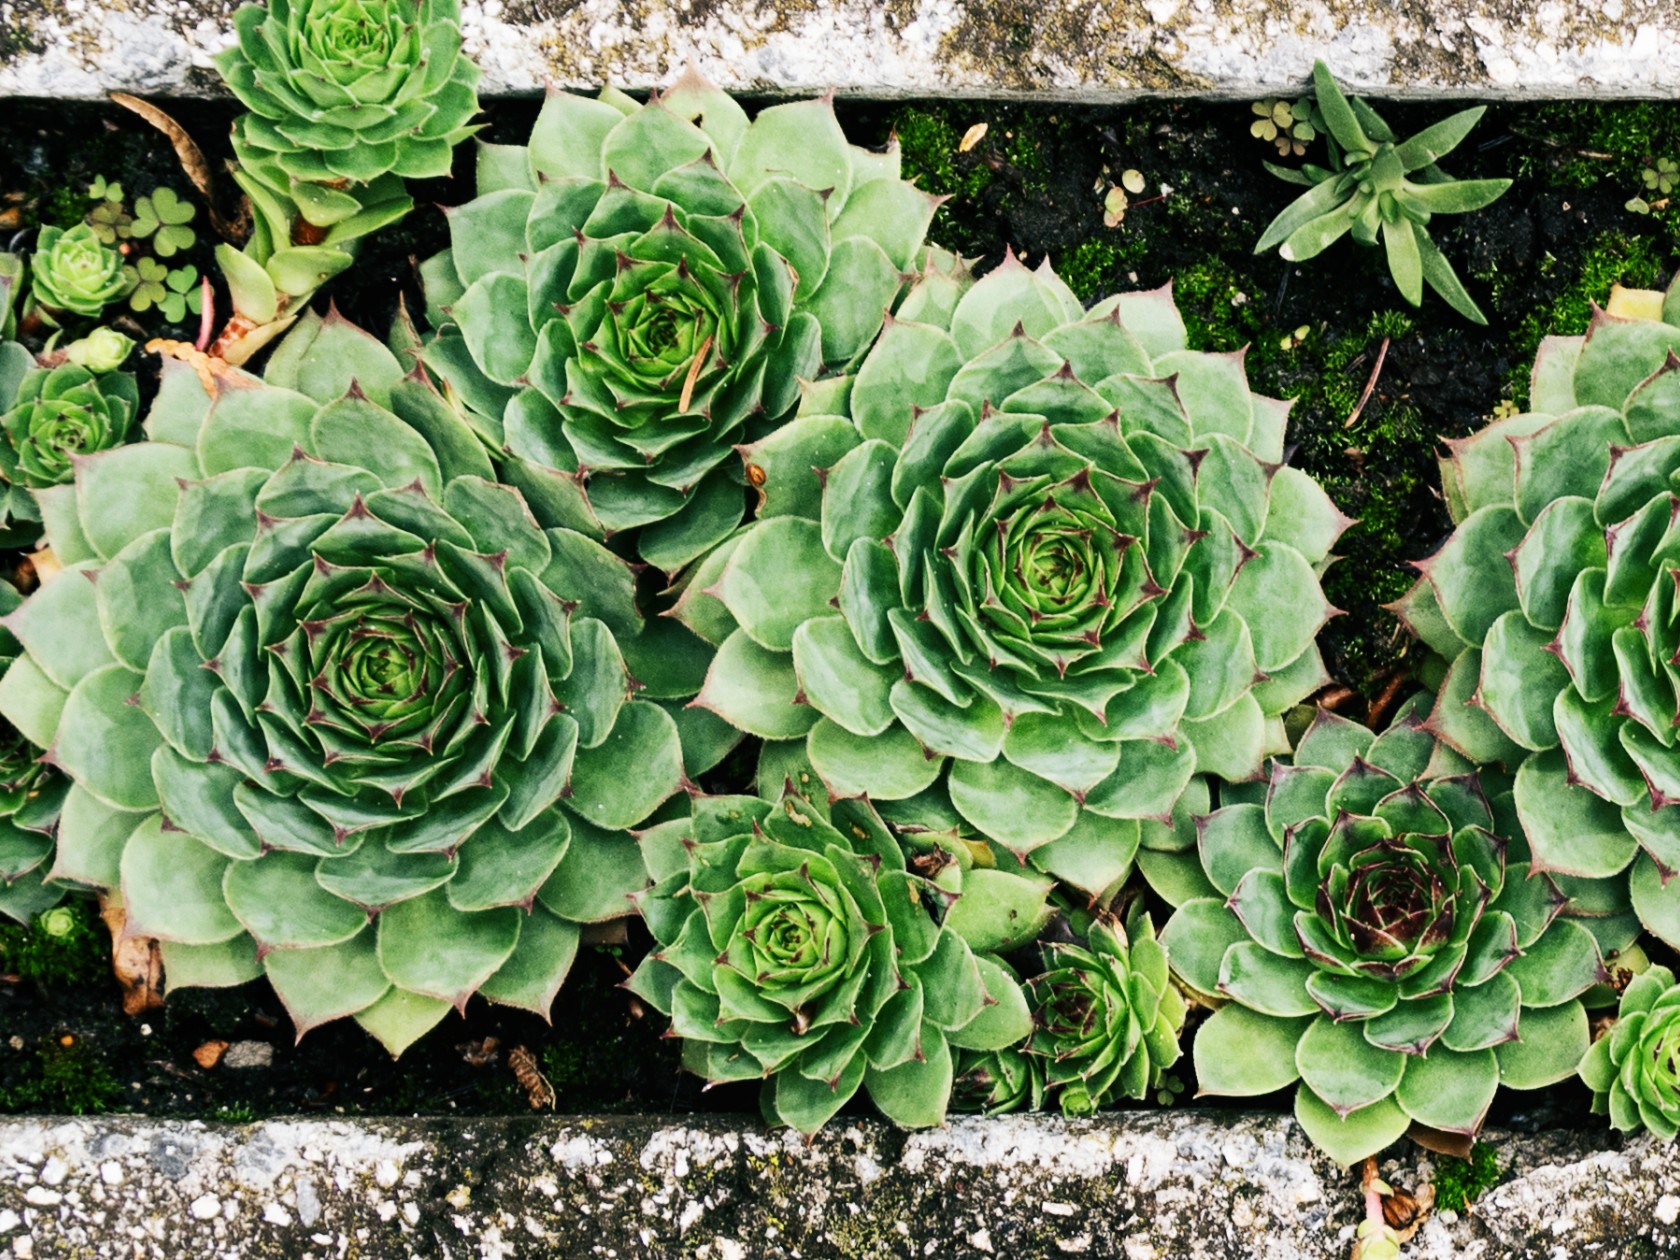
12. Hens-and-Chicks (empervivum tectorum)

Image courtesy of: 30thte

Hens-and-chicks is well-known for its low maintenance and drought tolerance. The “hen” rosette is connected to its “chicks” via delicate roots, thriving in containers or rock gardens. Typically reaching 3 to 6 inches tall and 6 to 12 inches wide, it prefers bright light and well-draining soil, such as cacti or succulent mixes.

13. Echeveria

Image courtesy of: lma_stock

Echeveria, with its striking rosettes resembling giant roses, thrives in containers or mixed with other succulents in the ground. It also does well indoors with sufficient bright light and prefers part to full sun exposure.

14. Angelina Stonecrop (Sedum Angelina)

Image courtesy of: Sugar Creek Gardens

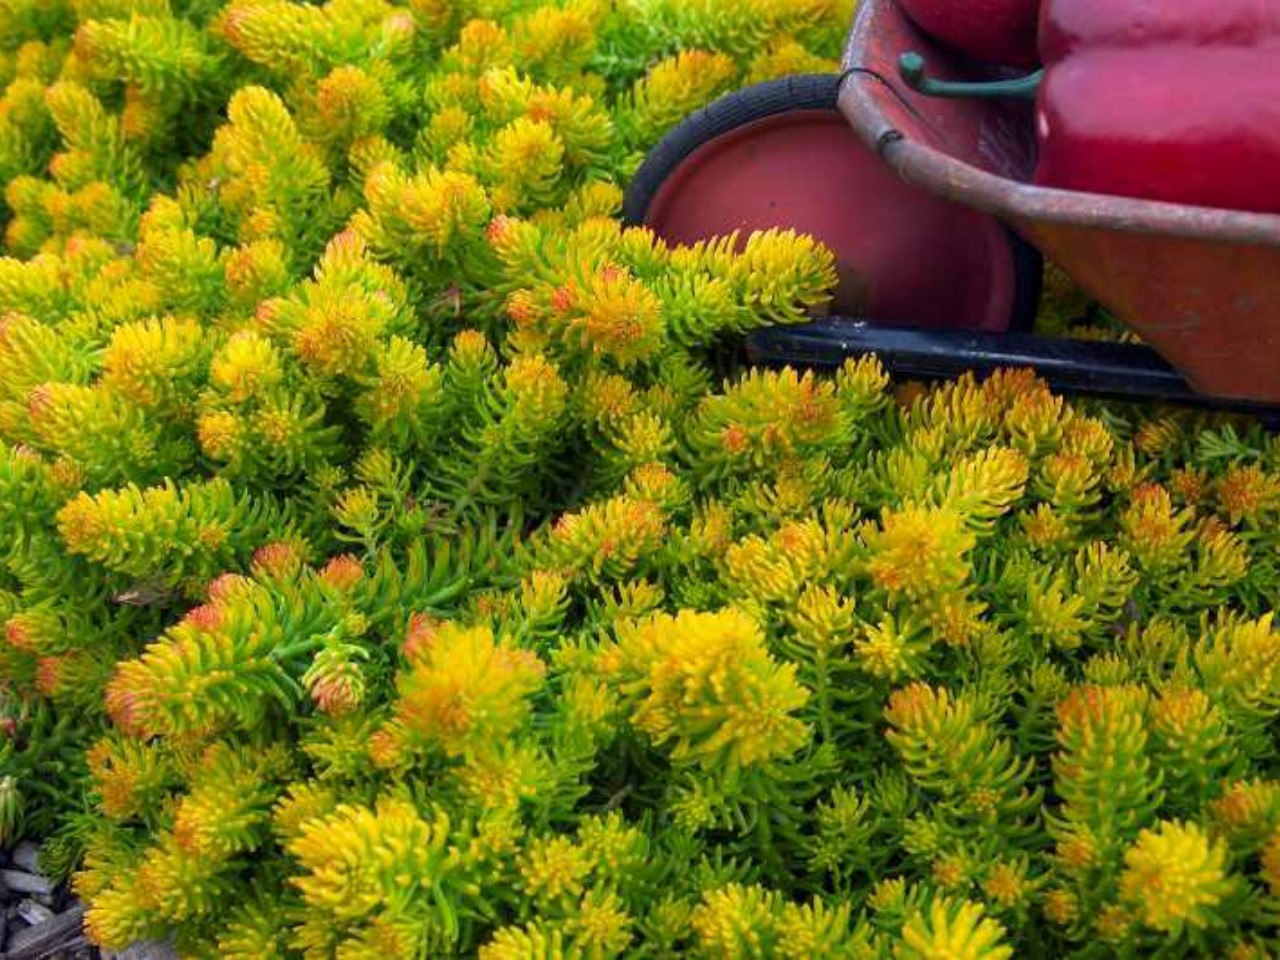
The Angelina Stonecrop is an evergreen perennial featuring succulent foliage that creates a dense, low-growing mat. Thriving in rocky or gravelly terrain, it produces small yellow flowers during the summer months. As autumn approaches, its foliage transforms into a warm orange or rust hue.

15. String of Bananas (Senecio radicans)

Image courtesy of: ellinnur

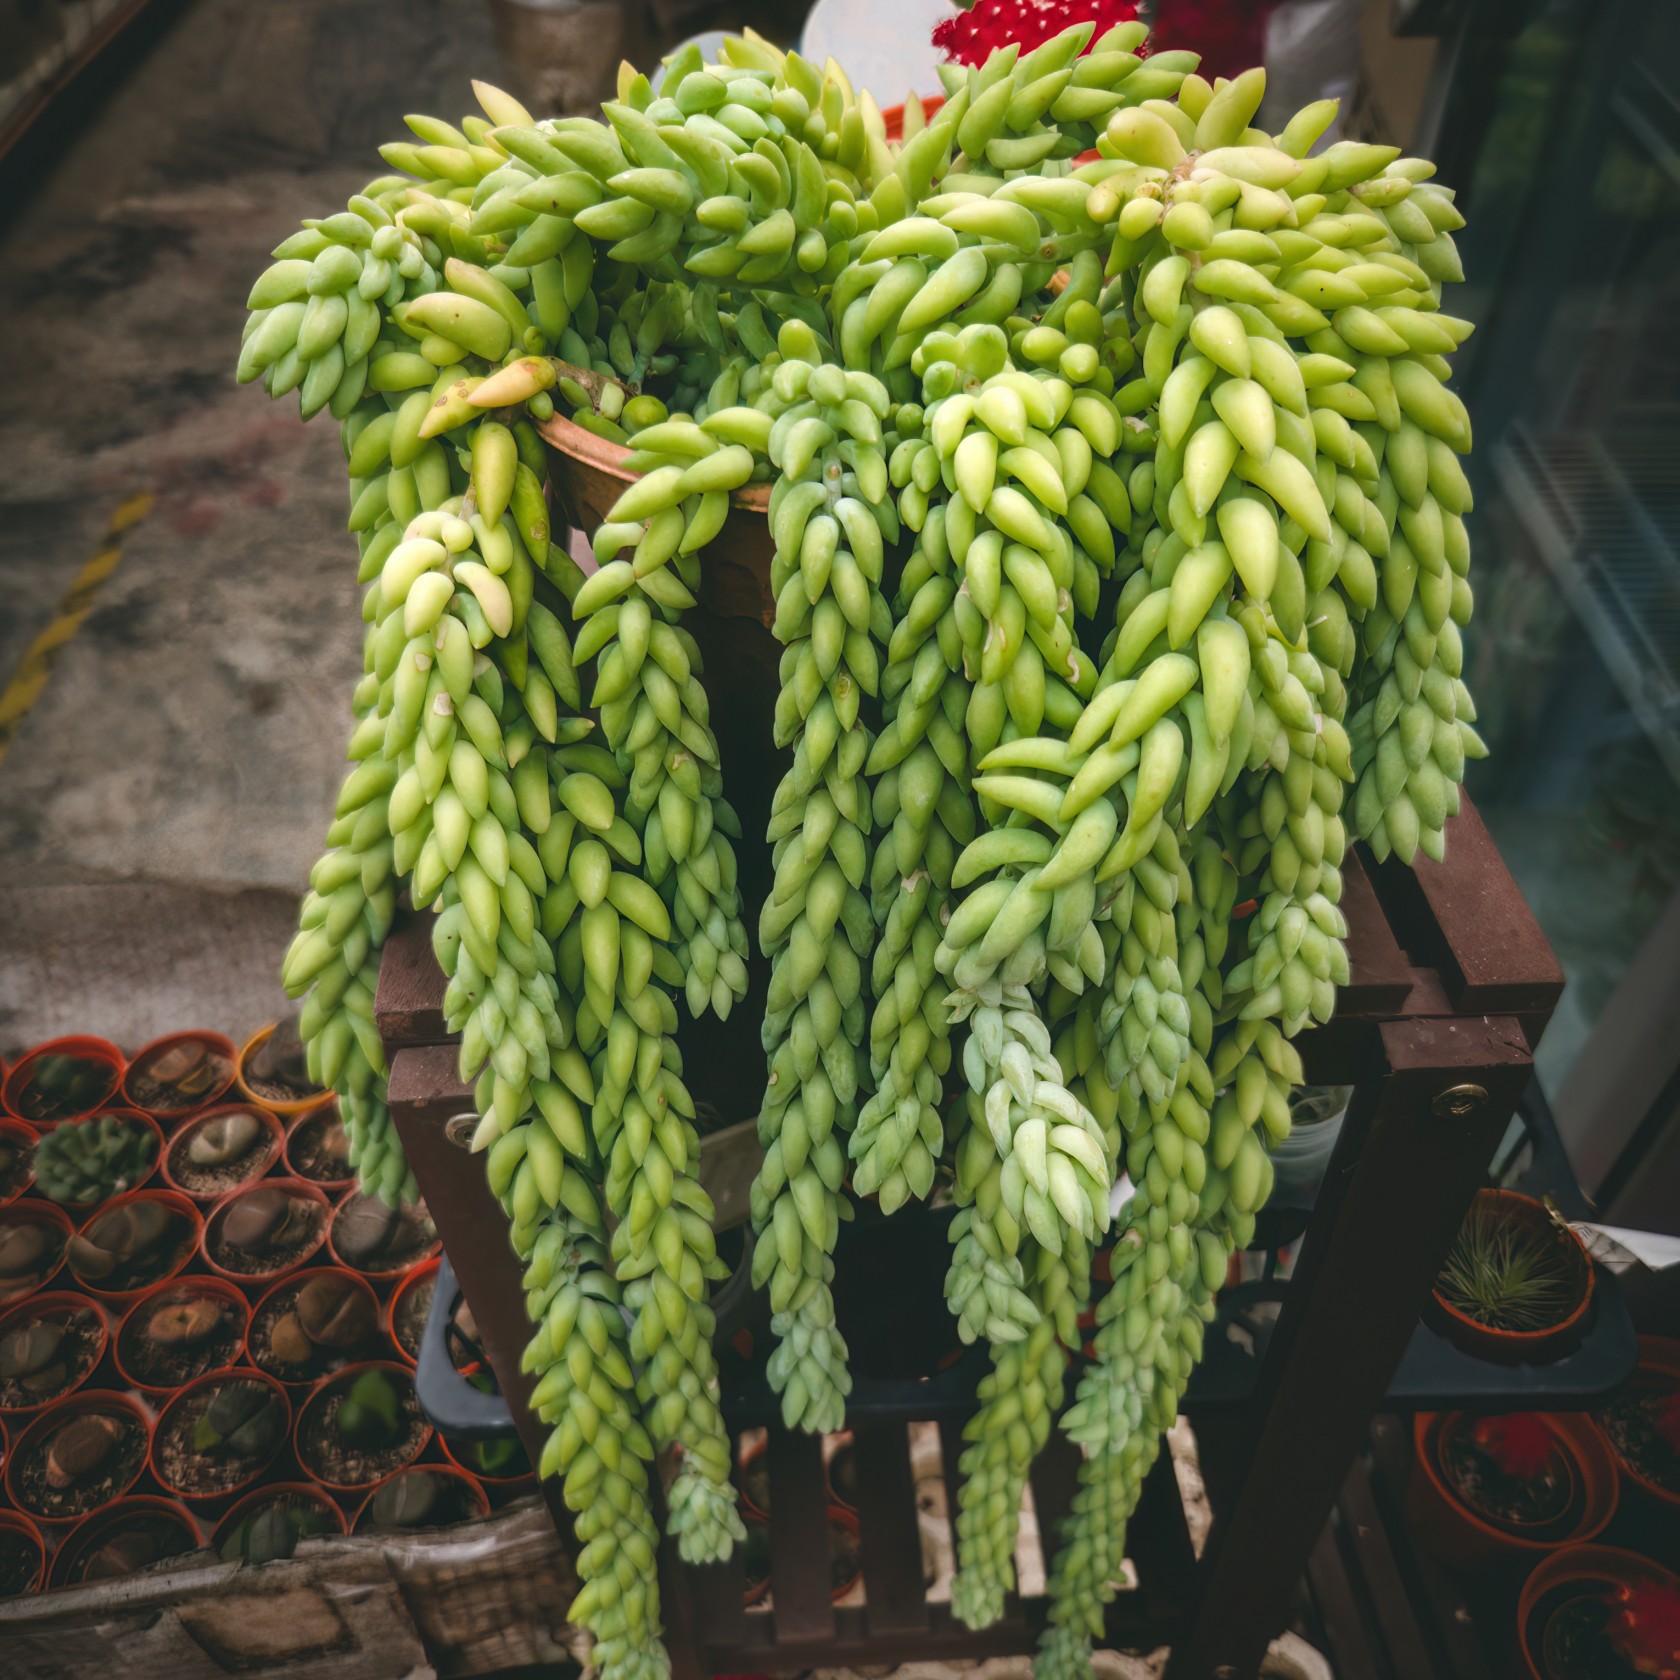
The trailing indoor succulent plant features long tendrils of small banana-like leaves, ideal for standalone or mixed plantings. Regular pruning encourages thick, lush growth. It thrives in filtered sunlight and should be watered when the soil is dry to the touch.

16. Ponytail palm (Beaucarnea recurvata)

Image courtesy of: trimarchi_photo

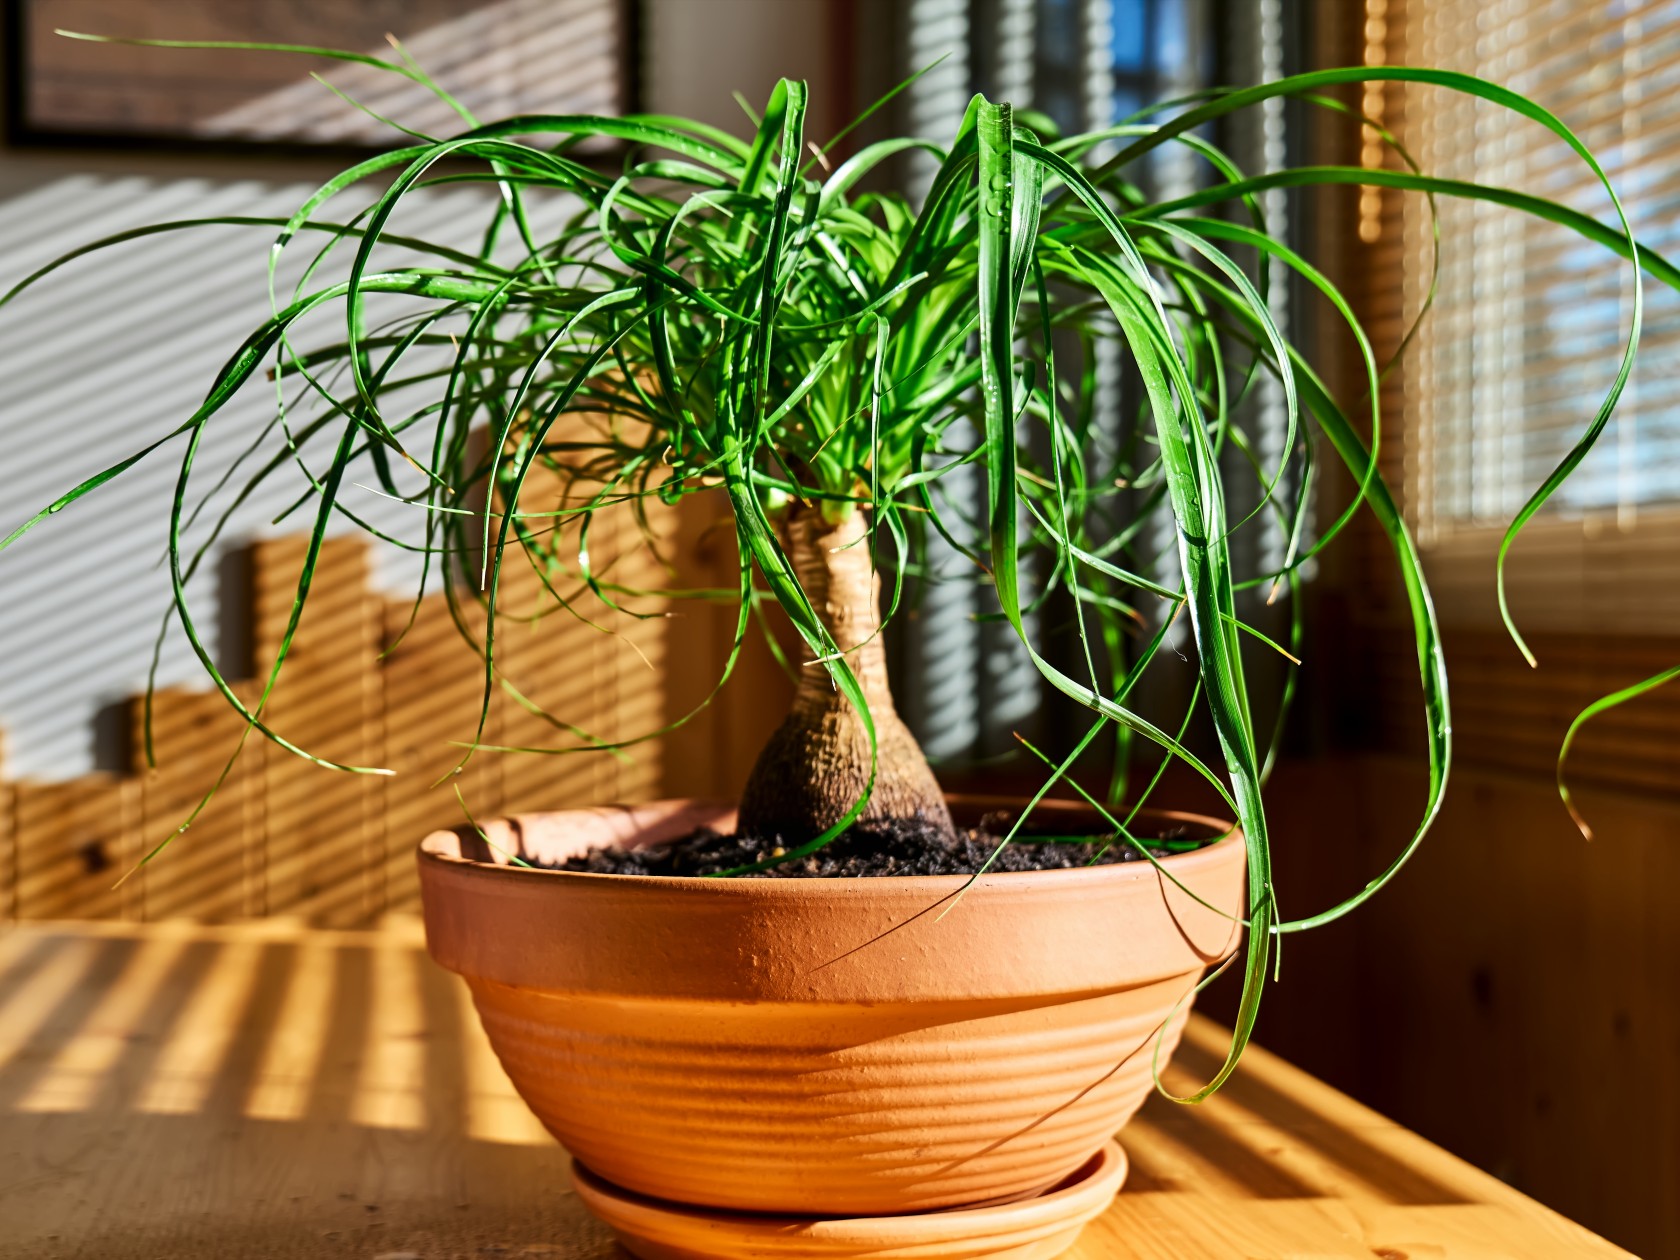
The Ponytail palm, often mistaken for a palm tree but a succulent, is highly prized as one of the most appealing large houseplants. Its distinctive swollen stem base, resembling an elephant’s foot, has earned it the nickname “Elephant Foot Palm.” Thriving in sunny spots or bright indirect sunlight, it’s a low-maintenance plant that thrives on neglect, requiring infrequent watering.

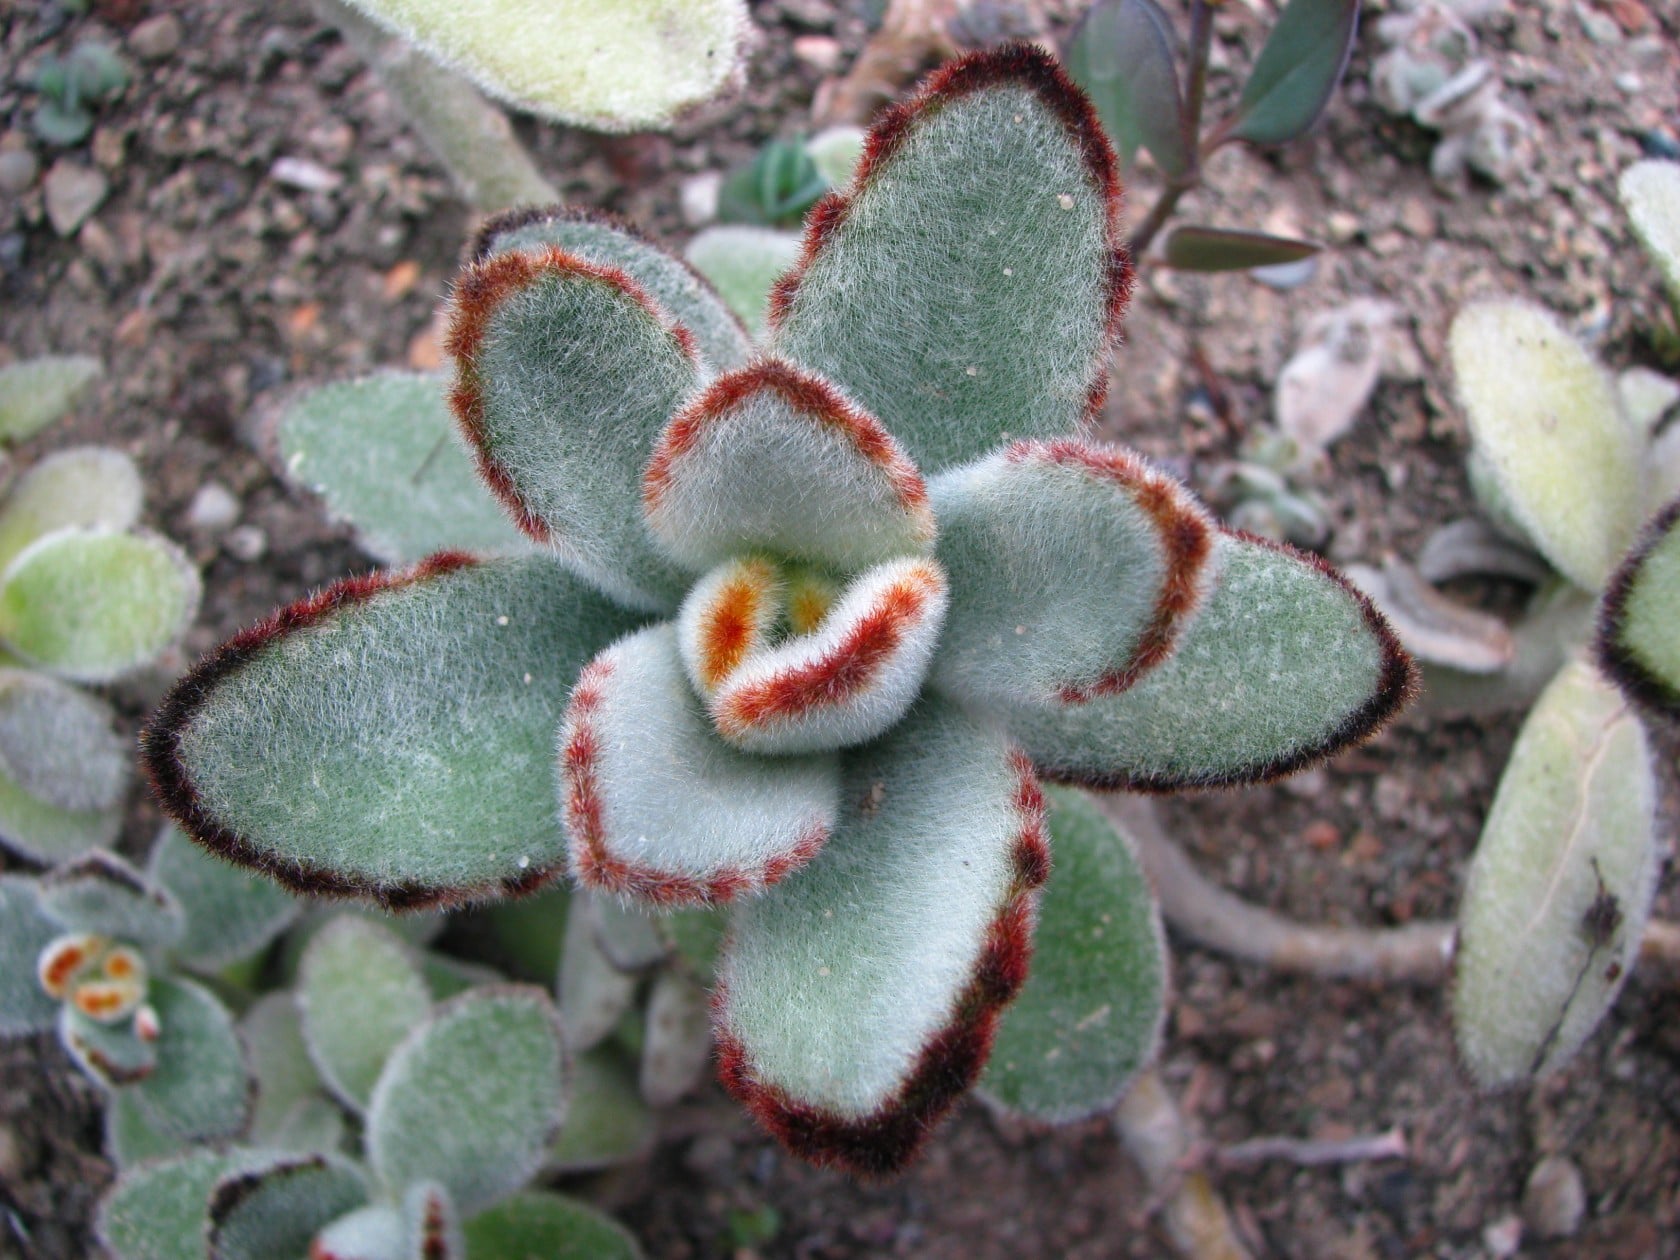
17. Bear Paws (Cotyledon tomentosa)

Image courtesy of: Abu Shawka

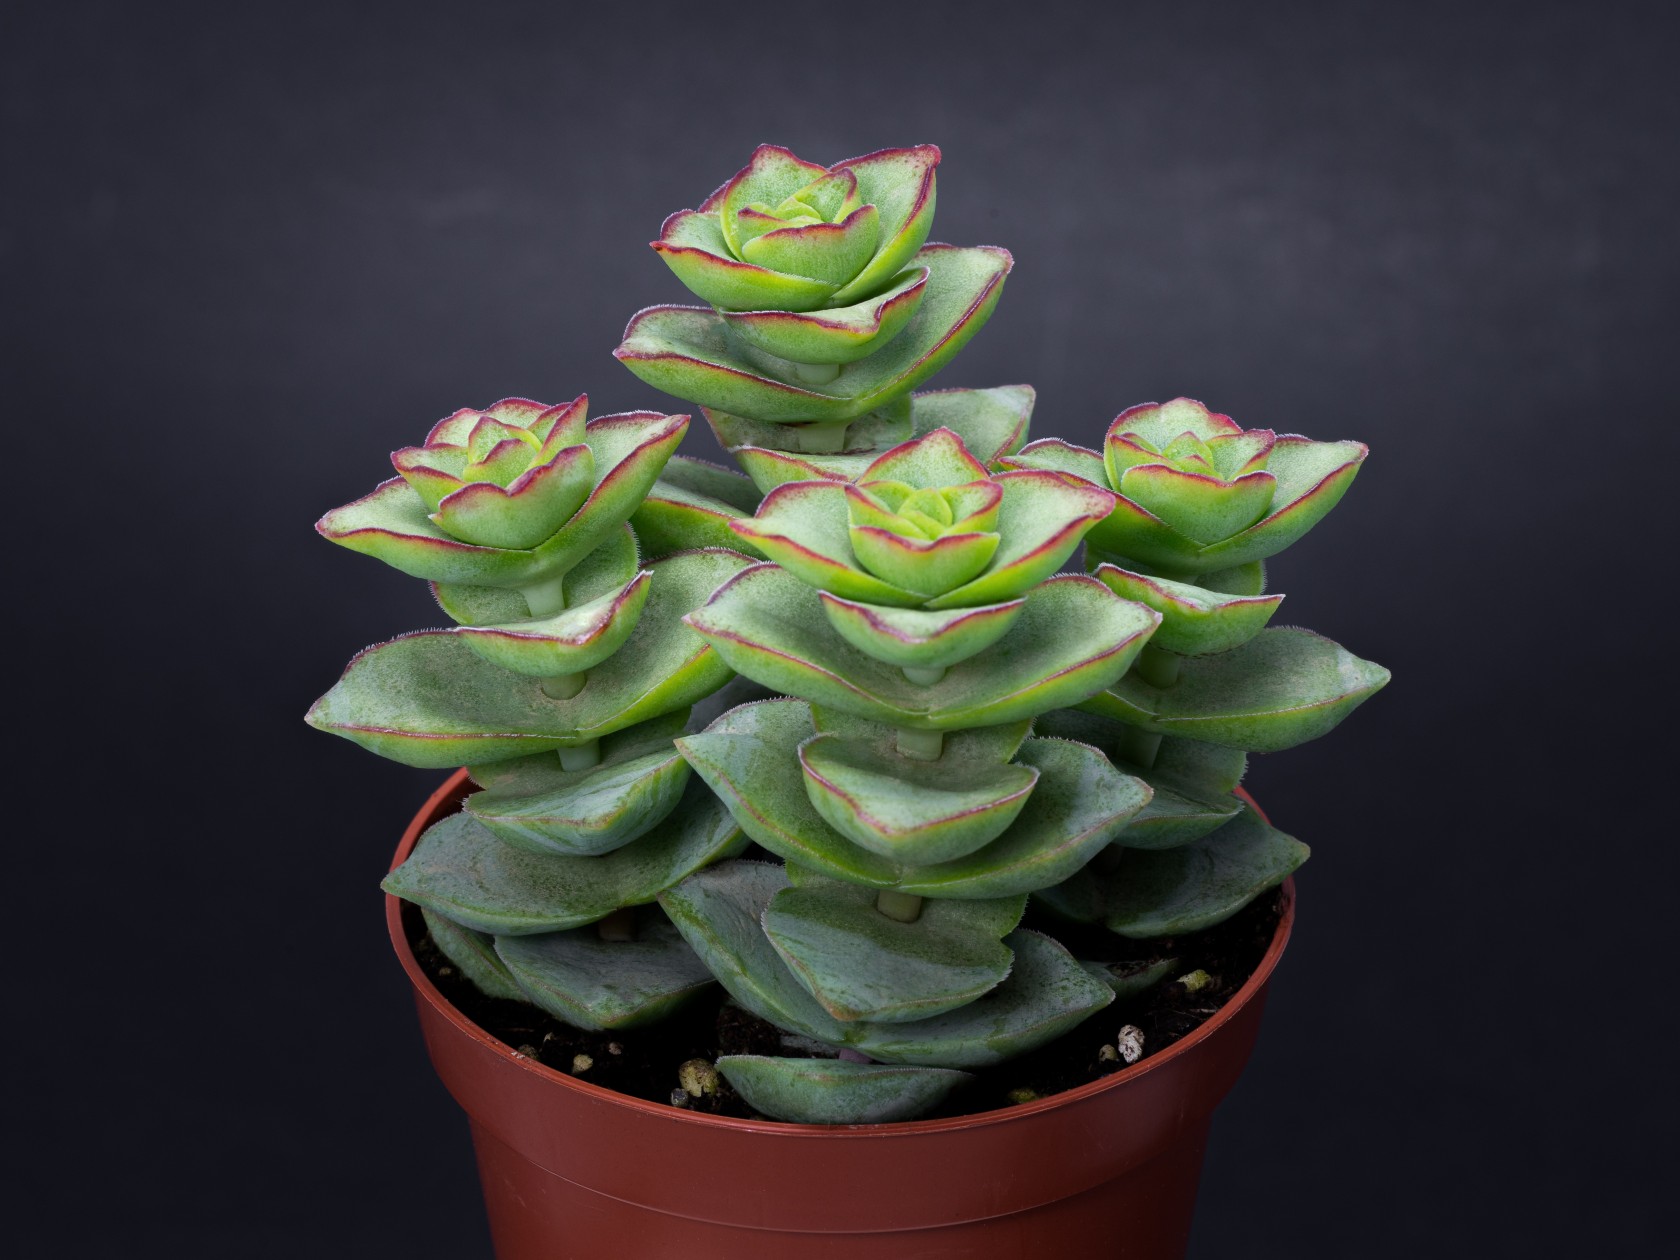
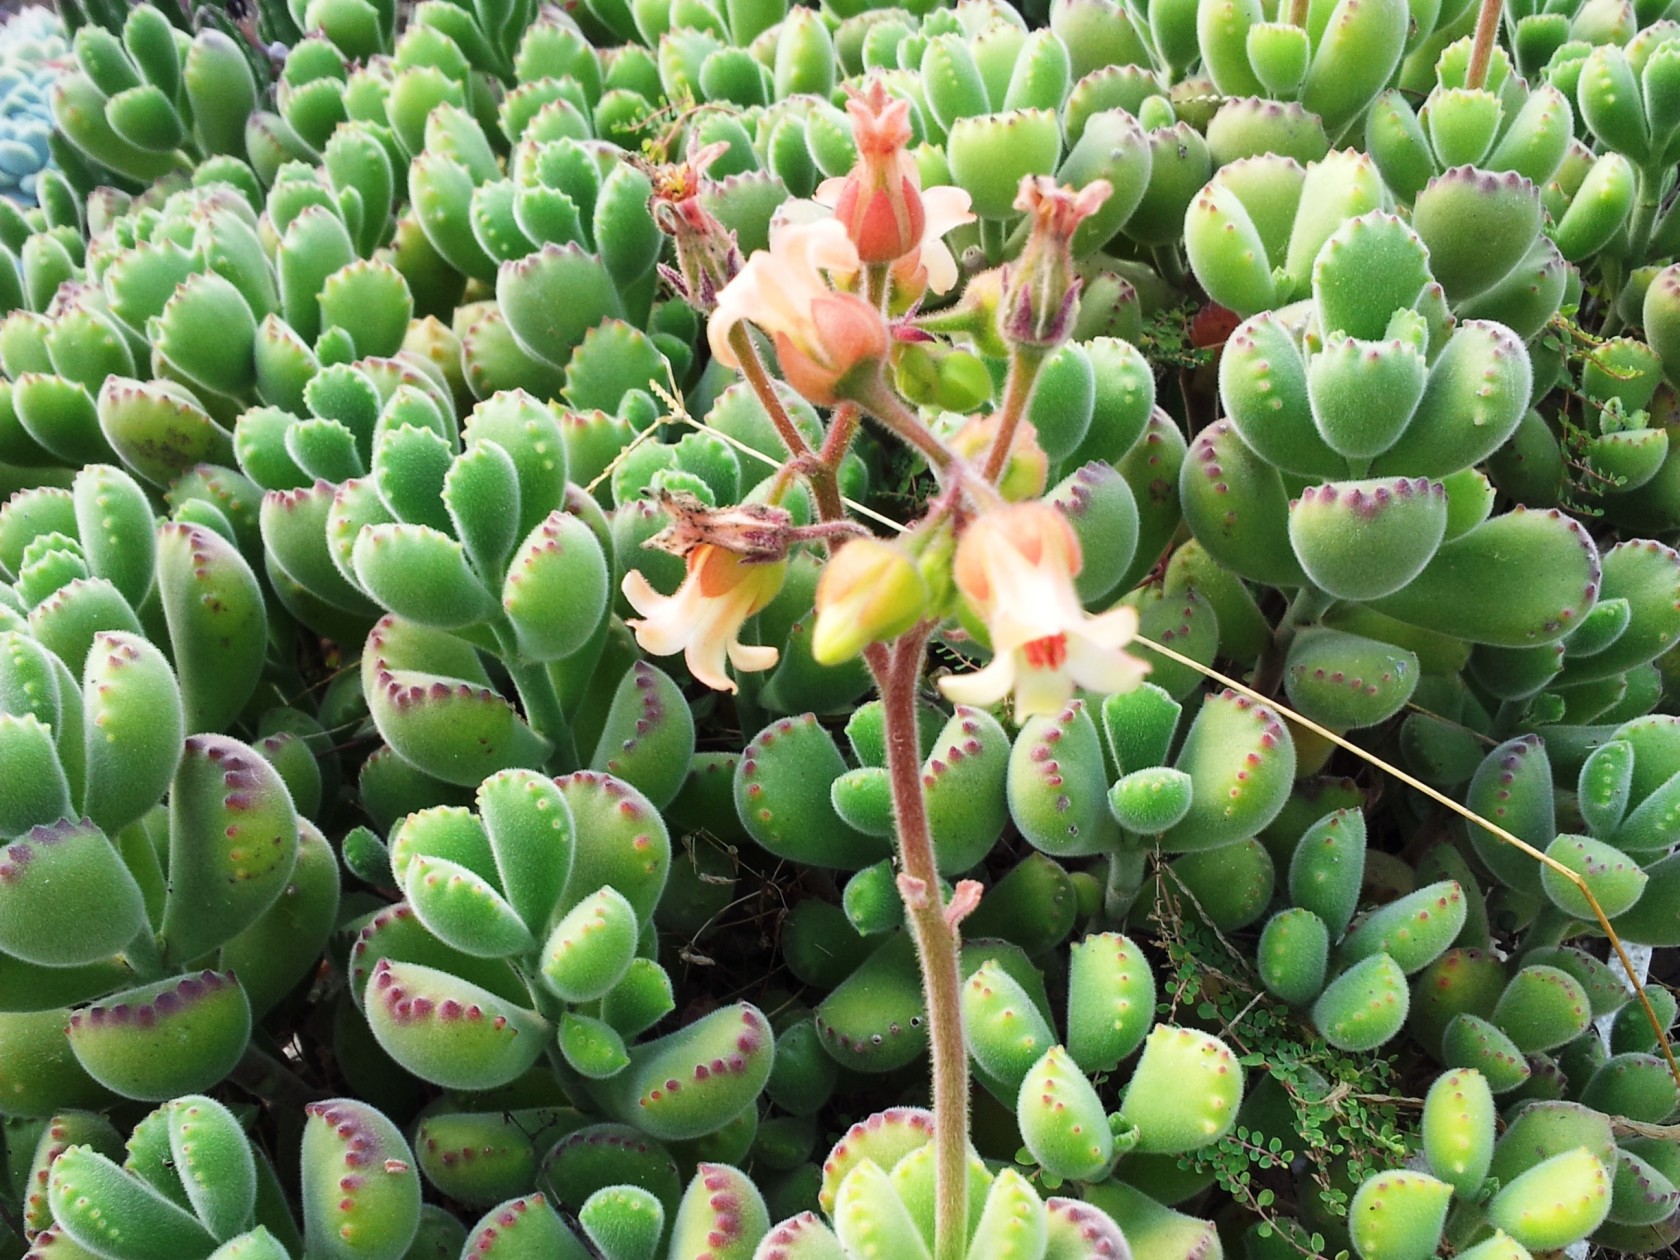
The bear paw succulent, perfect for indoor gardens, features thick, fuzzy leaves with dark red margins resembling bear claws, and can grow up to 1 foot tall. To care for it, water when the topsoil is 1-2 inches dry and place it in an area with full sun to partial shade for optimal growth.

18. Pinwheel Desert Rose (Aeonium arboreum)

Image courtesy of: nanihta

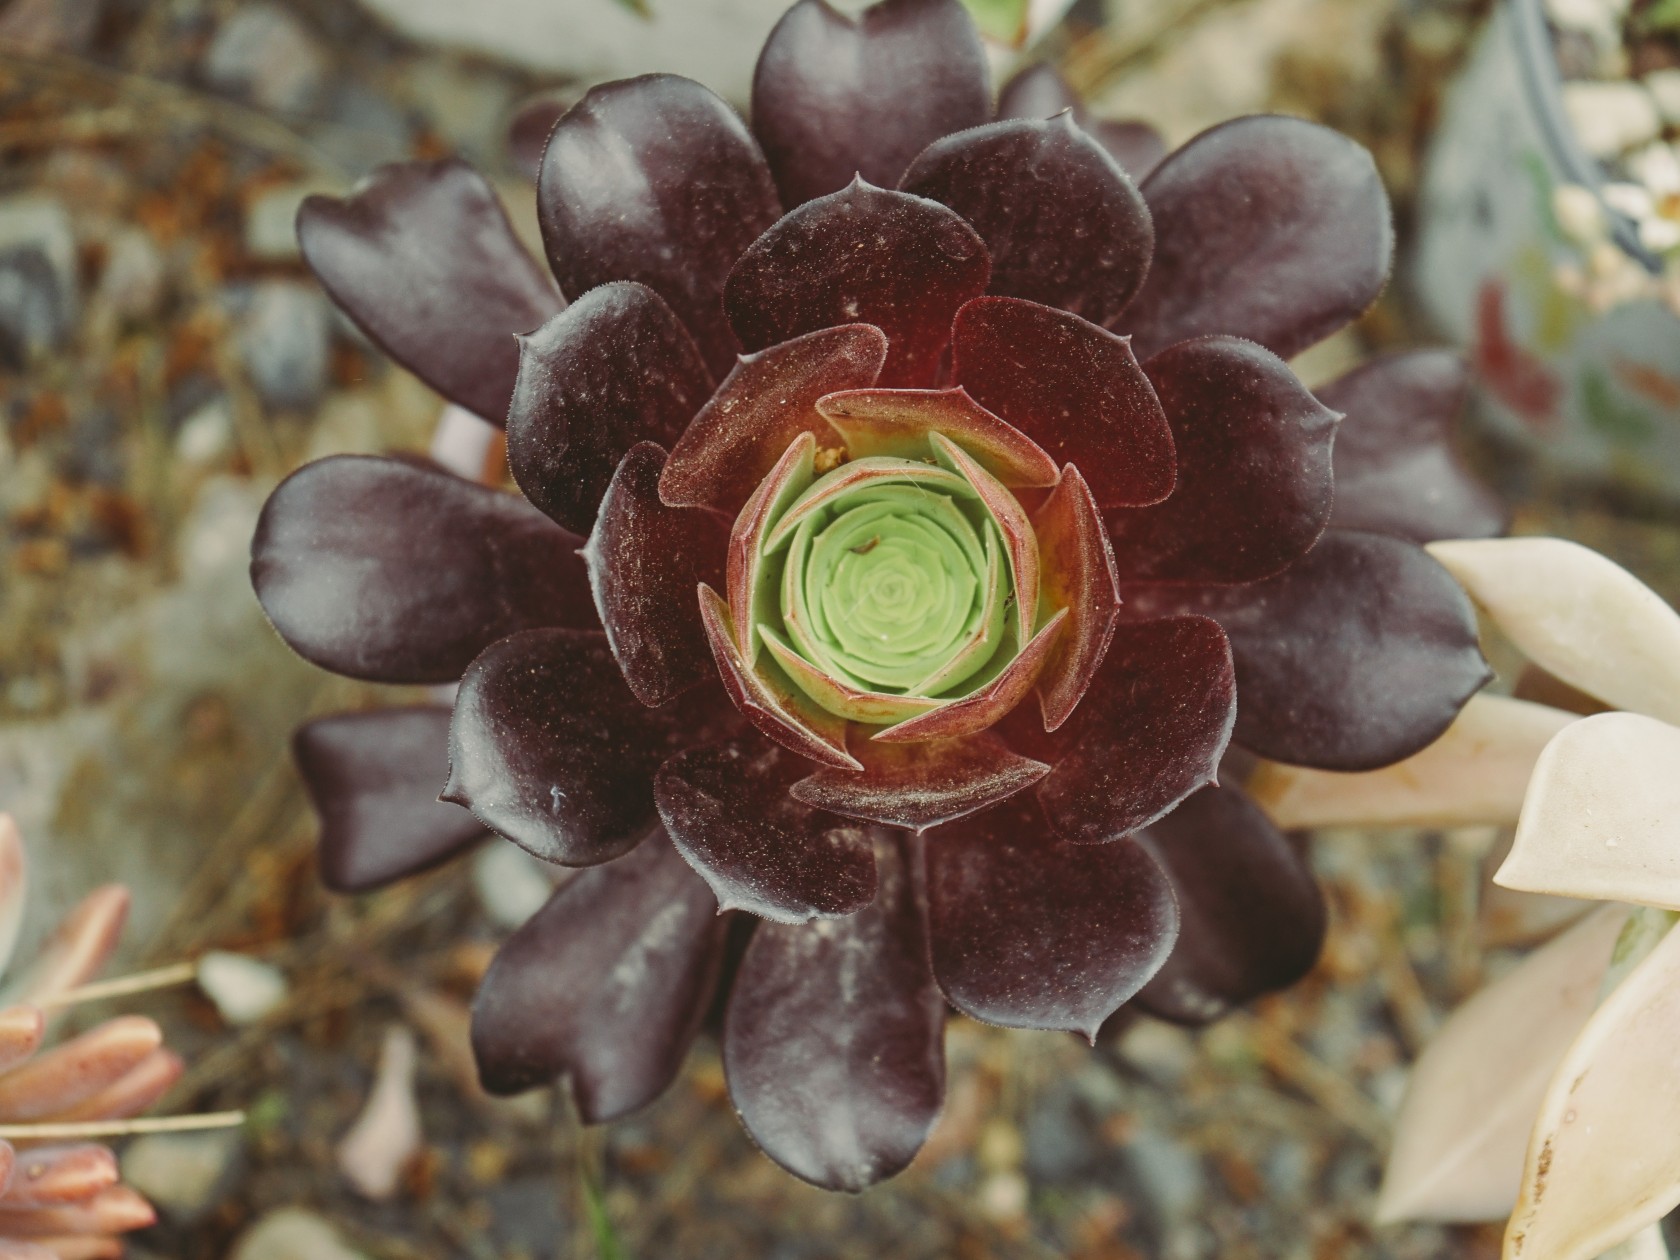
Also called Black Rose Tree Houseleek, this perennial succulent displays fleshy rosettes in solid colors or variegated hues of green, yellow, white, or red. It thrives in most light conditions, including partial shade, and should be watered when the top 1-2 inches of soil dry out.

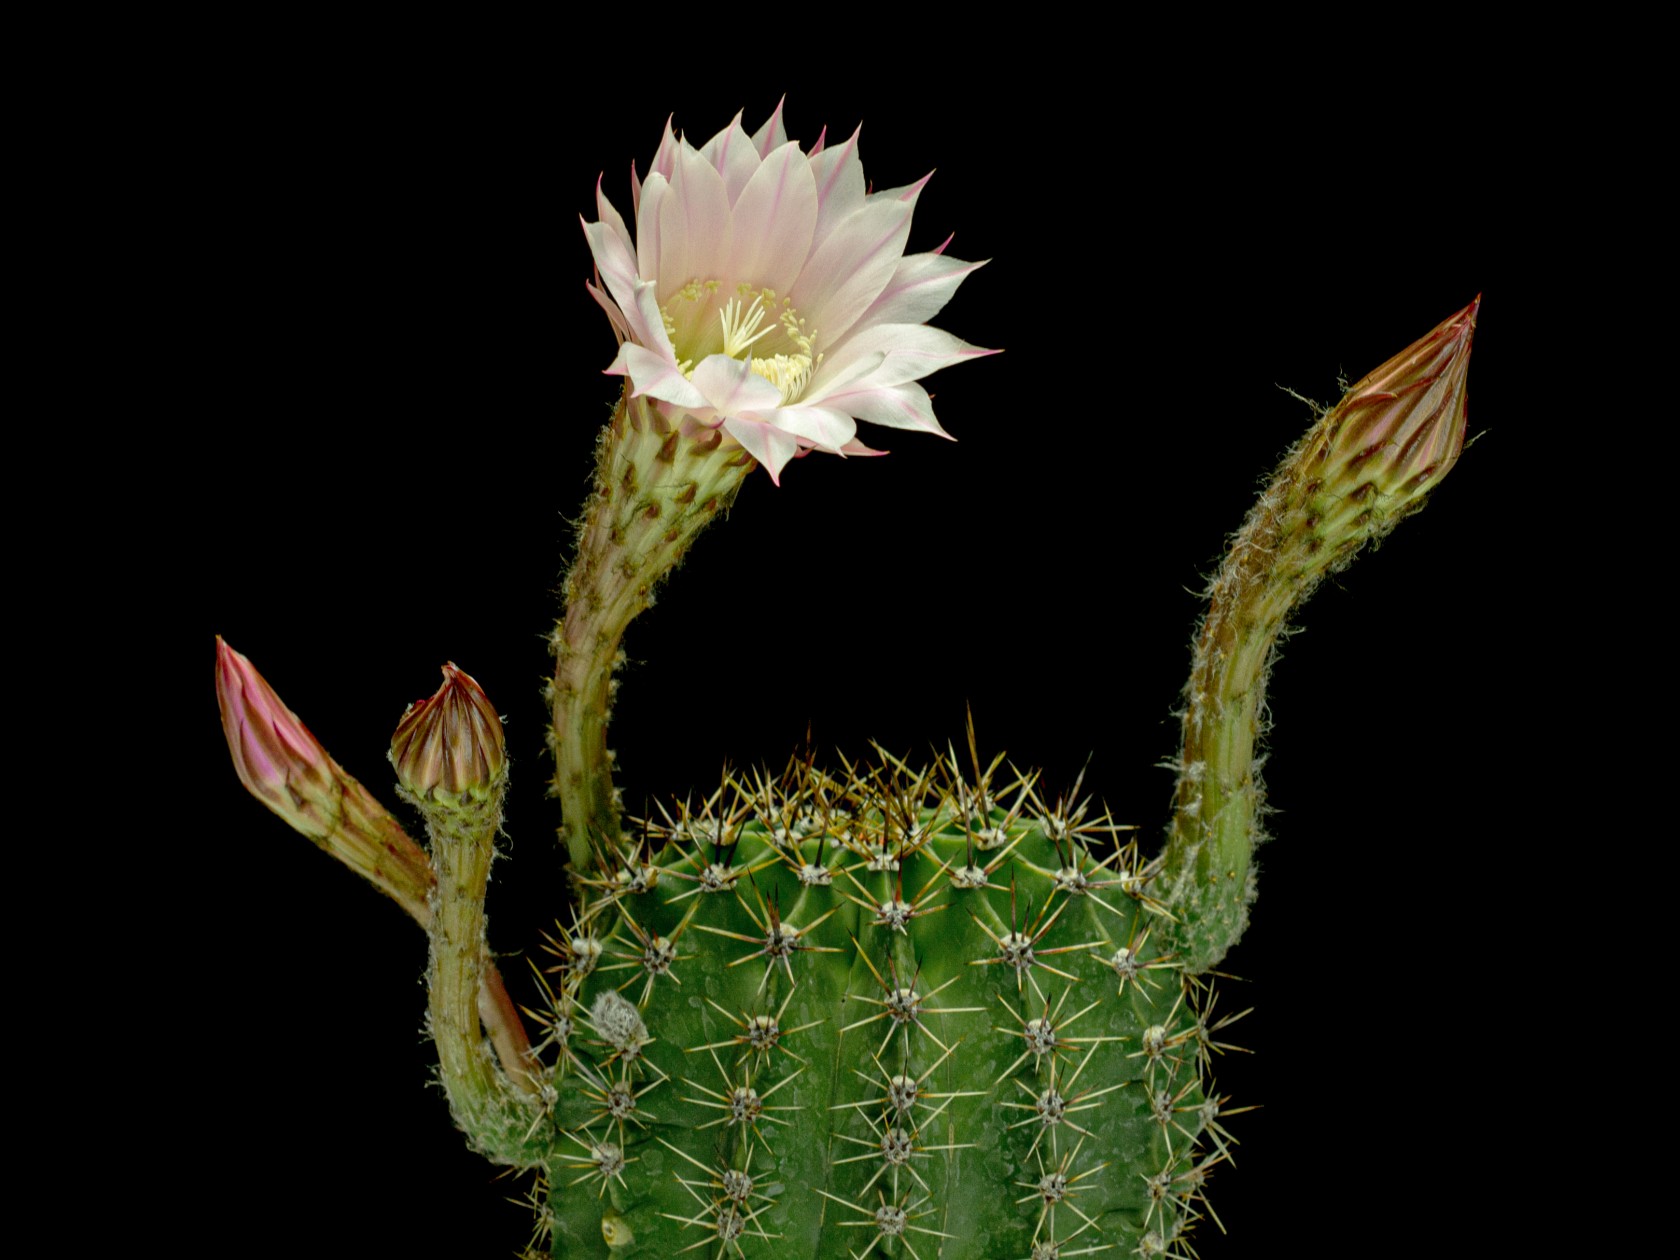
19. Moon Cactus (Gymnocalycium mihanovichii)

Image courtesy of: kostiuchenko

This striking cactus features bright red, yellow, and orange round tops on a green rootstock. It thrives with a dry period before heavy watering. To ensure optimal growth, place the green rootstock near a bright, indirect, sunny window for plenty of sunlight. While some indirect light is beneficial, limit direct sunlight exposure to no more than 2 hours daily to prevent color fading.

20. Happy Bean (Peperomia ferreyrae)

Image courtesy of: takemewu31

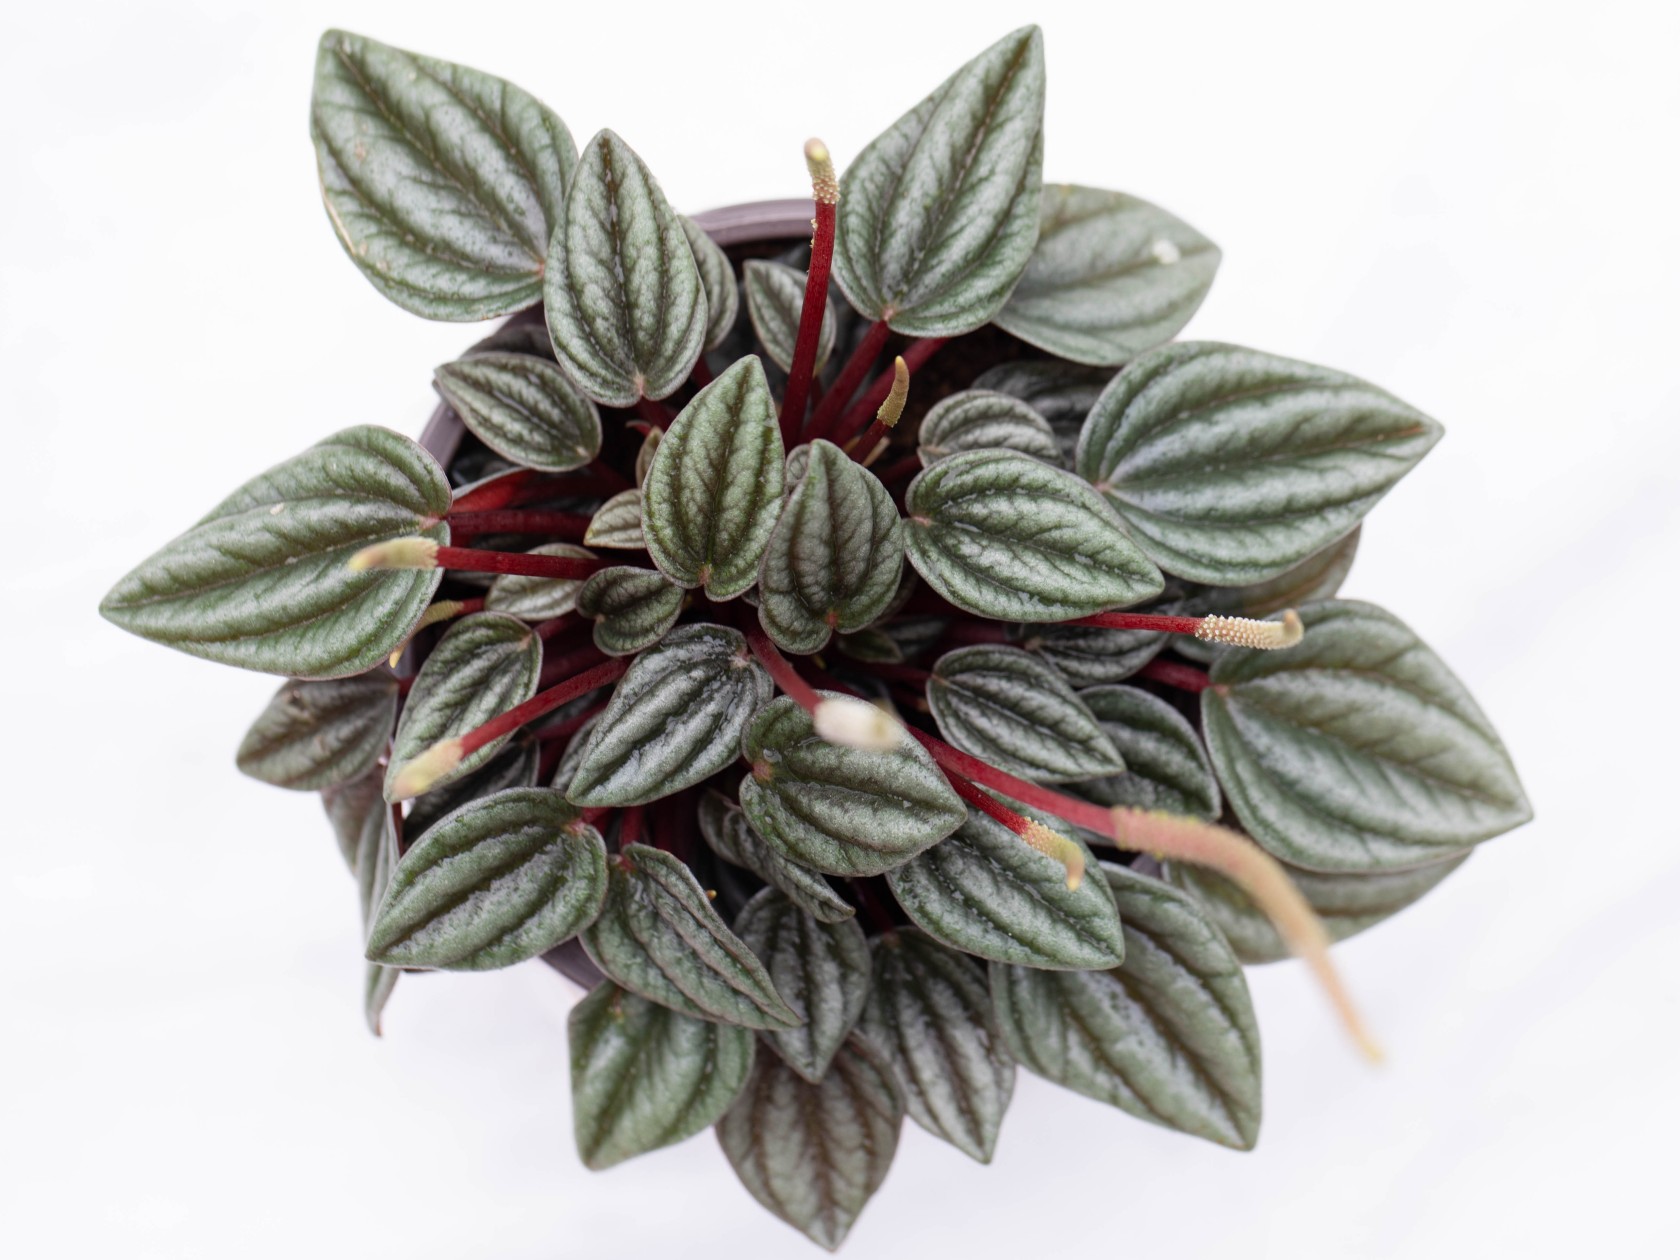
Also known as Pincushion Peperomia, this succulent features bushy, curved leaves and can reach up to 8 inches in height and spread. For best growth, place it in full sun to partial shade and water when the top 1-2 inches of soil are dry.

The post 20 Best Succulents for Beginners: Easy-to-Grow Varieties You’ll Love first appeared on Yanko Design.

Top 20 Tips for Designing a Low-Maintenance Garden

Who says that maintaining a beautifully landscaped garden demands extensive labor? Instead, contemplate these simple principles for crafting an easy-to-maintain outdoor haven that will bring you joy every time you step into it. This guide is designed to help you create a garden that needs little time for maintenance, freeing up more time for you to relish the space itself.

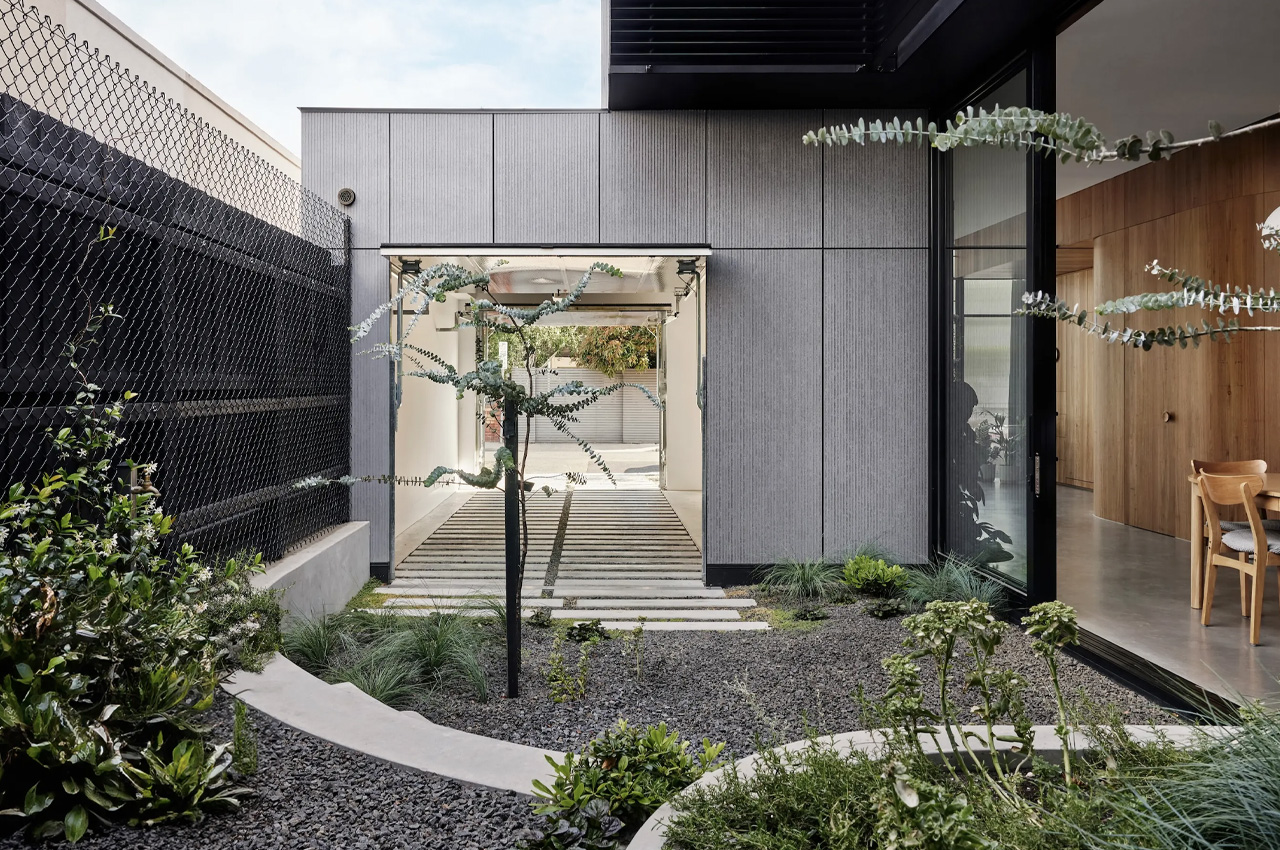
Designer: Austin Maynard Architects

1. Create a Plan

Image courtesy of: bialasiewicz

Plan for yard or lawn renovations, whether small or extensive. Research, sketch, and decide on plants, hardscapes, and furnishings to avoid later expenses and save time.

2. Craft an Outdoor Living Area

Image courtesy of: bialasiewicz

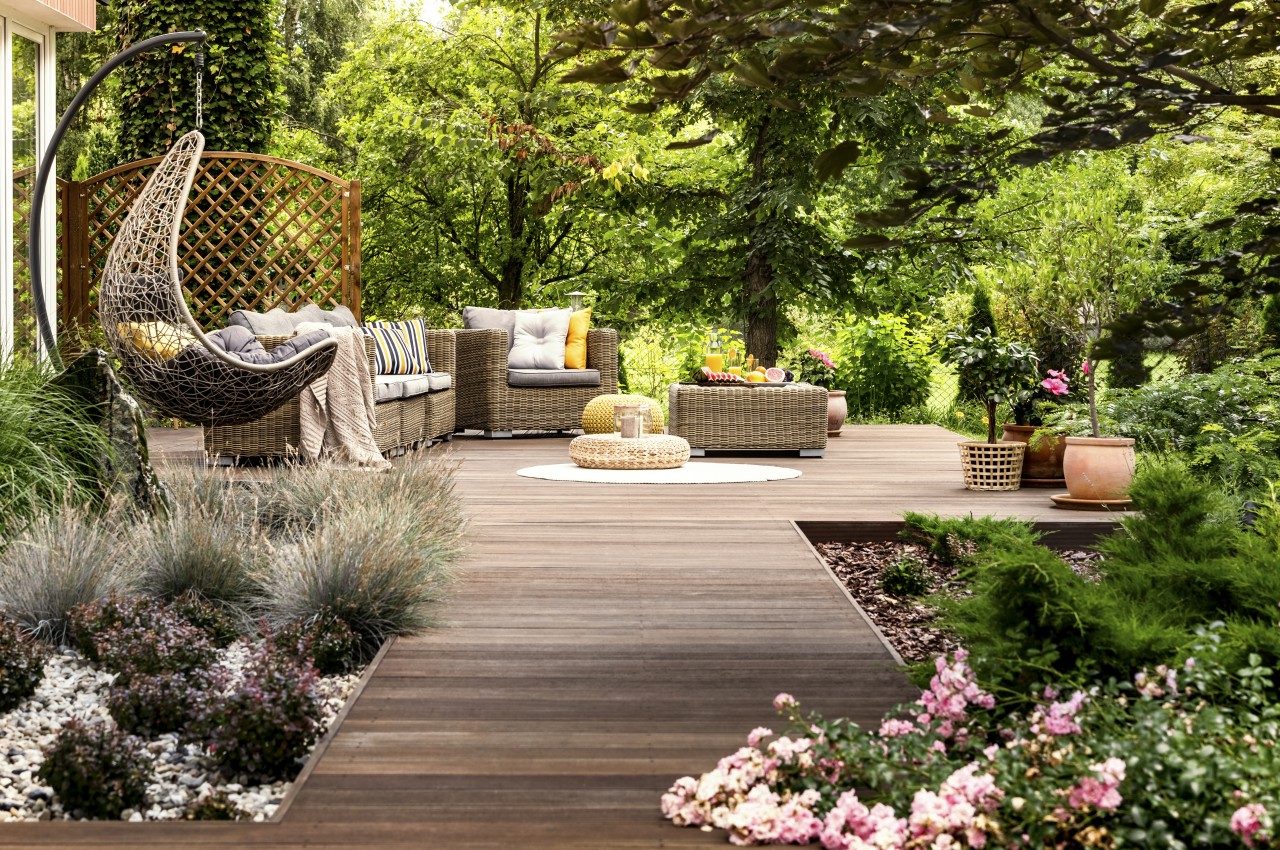
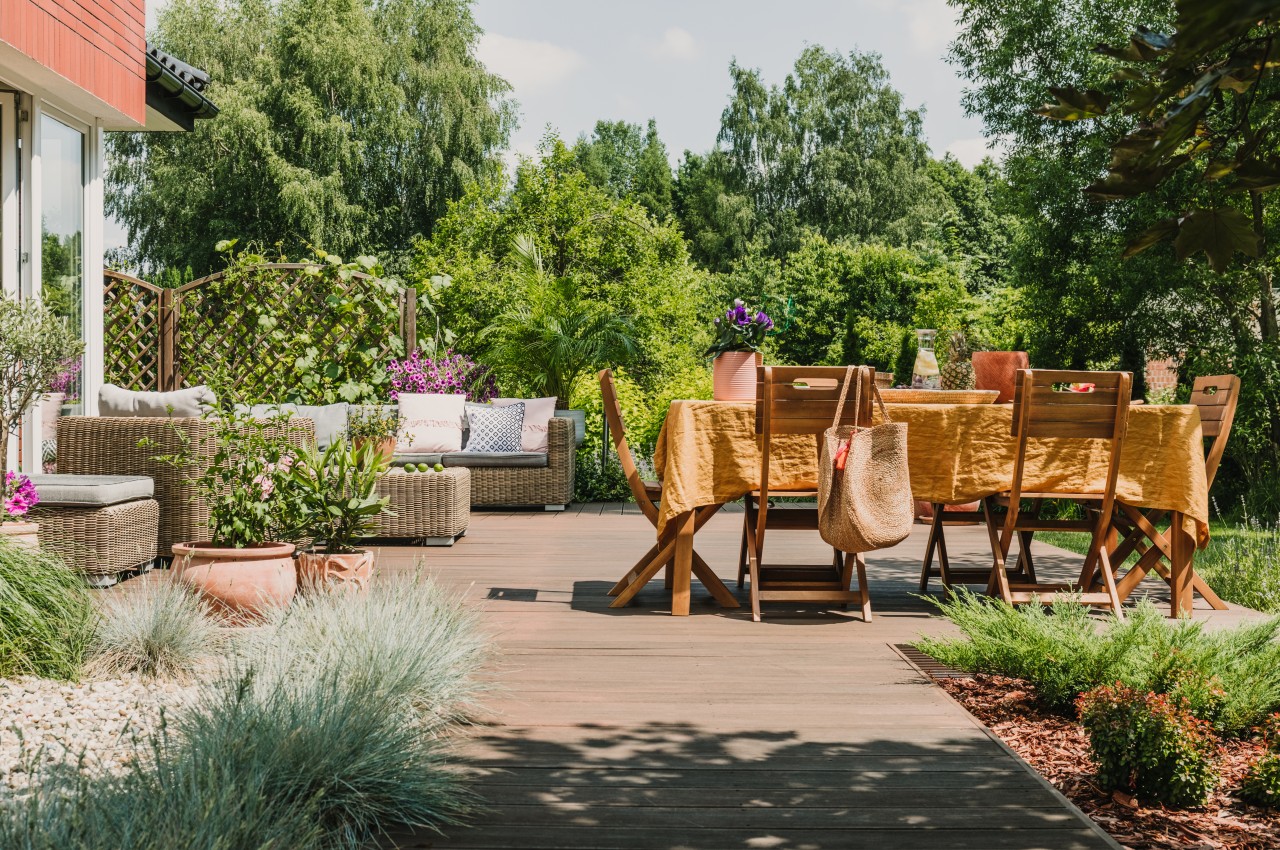
Establish outdoor living spaces to expand your entertaining options during warm seasons, including dining areas, lounges, and seating arrangements around fire pits. Patios, decks, and terraces reduce the need for extensive planting areas and lawn maintenance. These gathering spots will encourage you to spend more time outdoors and appreciate the garden rather than constantly maintaining it.

3. Get Rid of the Grassy Area

Image courtesy of: pro_creator

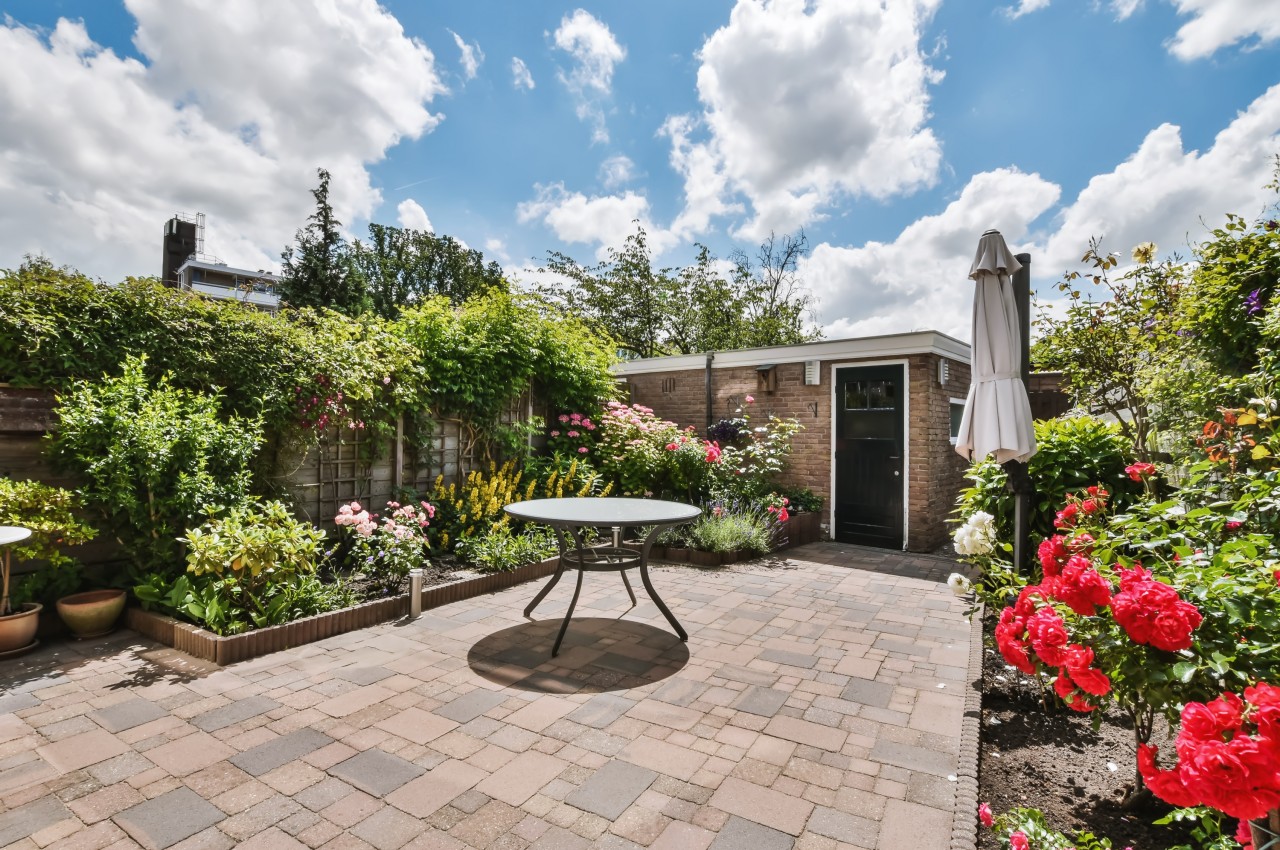
If you have a small garden, consider investing in tiled surfaces, paved areas, or decking. This will reduce the effort needed to maintain a well-kept lawn. By avoiding the use of a lawnmower, you can also explore permeable paving alternatives.

4. Invest in Large Pots

Image courtesy of: slavazolotko

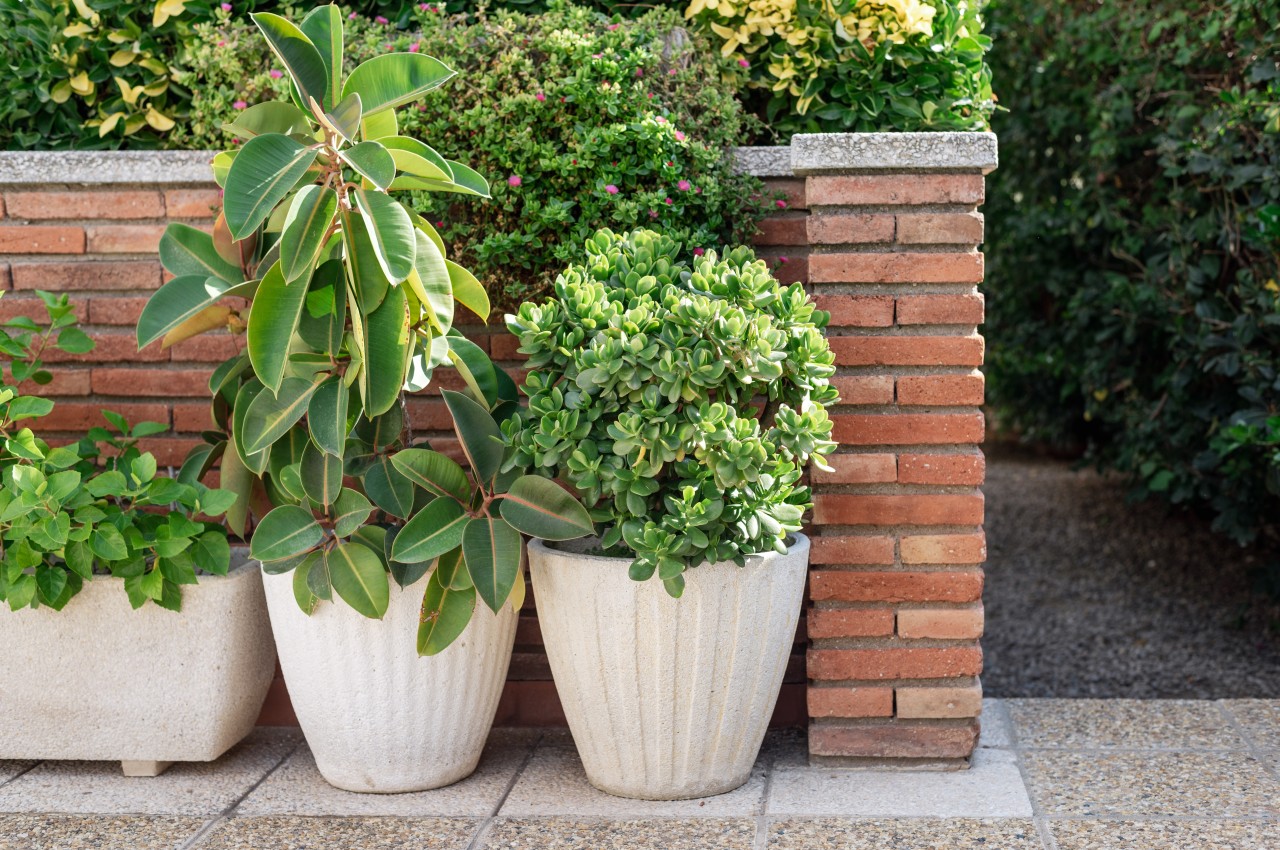
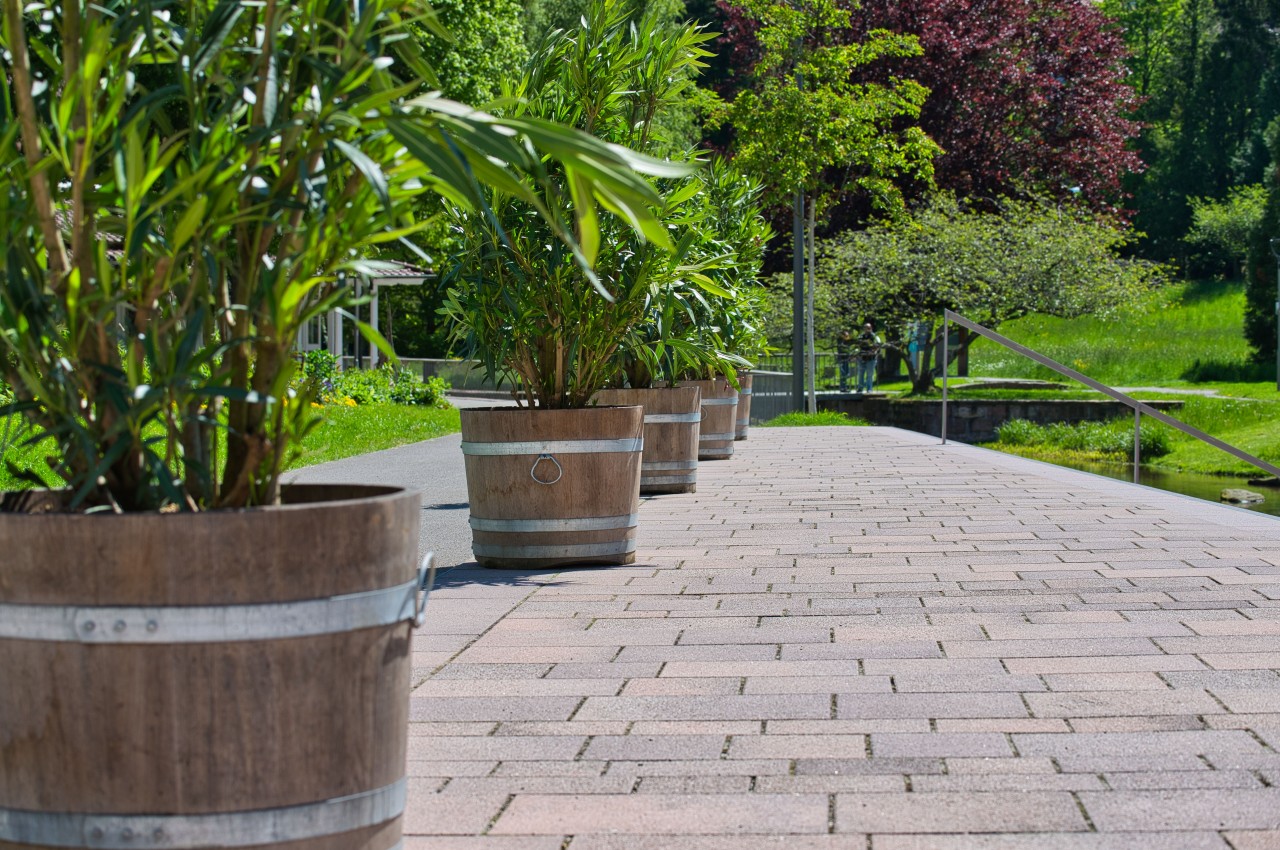
When designing your garden, carefully plan the layout based on sunlight and water availability to determine the appropriate plant selections for each area. Larger pots are simpler to upkeep as they occupy space and demand less watering compared to smaller ones. Go for raised planters or cluster sizable pots if you lack soil, such as in grassy gardens.

5. Shape and Size of Plants

Image courtesy of: wirestock

Consider the sizes of the plants you choose and their placement within your garden; avoid overwhelming the space with excessively tall plants. Make sure that the smaller plants are not overshadowed by larger ones.

6. Choose the Best Area for the Kitchen Garden

Image courtesy of: solovei23

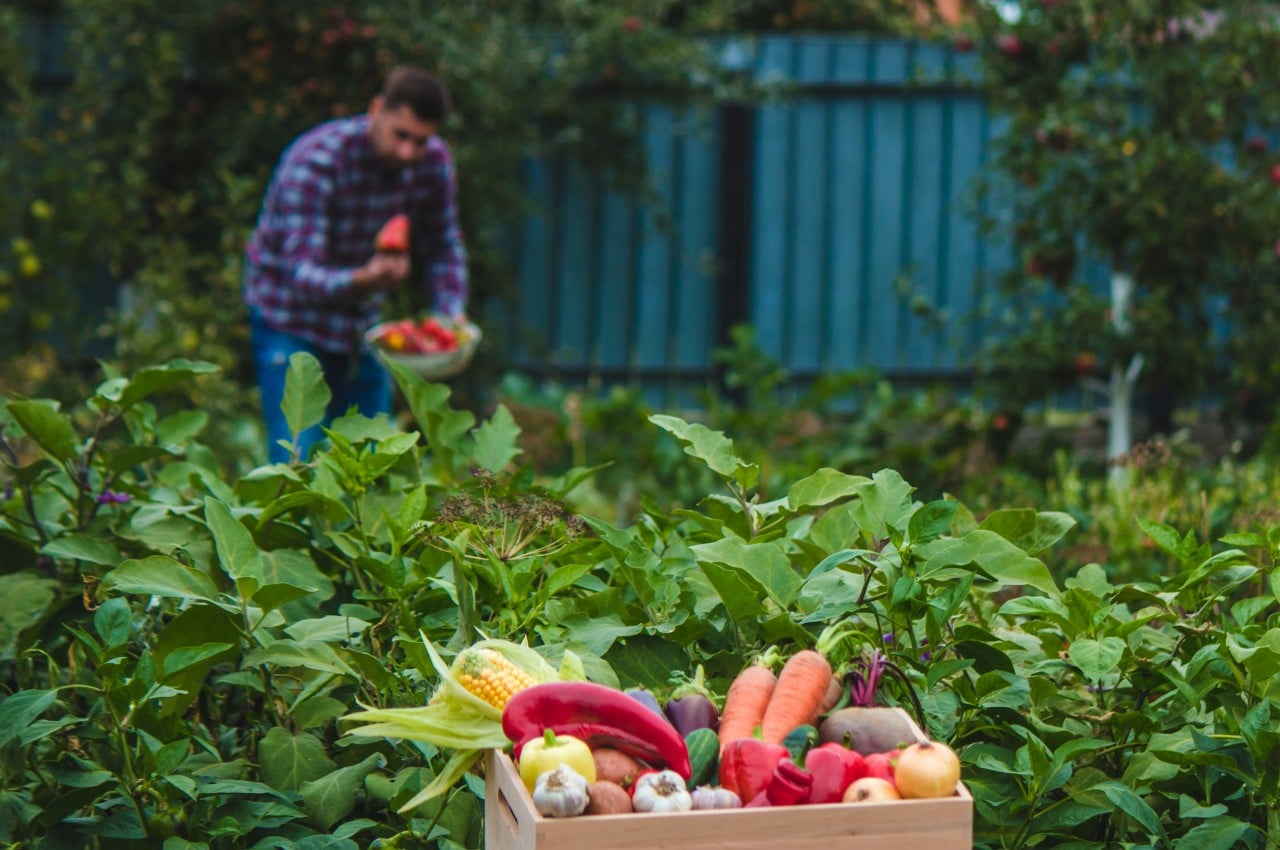
Most garden vegetables thrive in ample sunlight, while root vegetables and leafy greens benefit from some afternoon shade in hot weather. To prevent waterlogging, avoid low-lying or poorly draining areas, as well as sandy soils that drain too quickly, which can hinder plant growth.

7. Test the Soil

Image courtesy of: deyangeorgiev

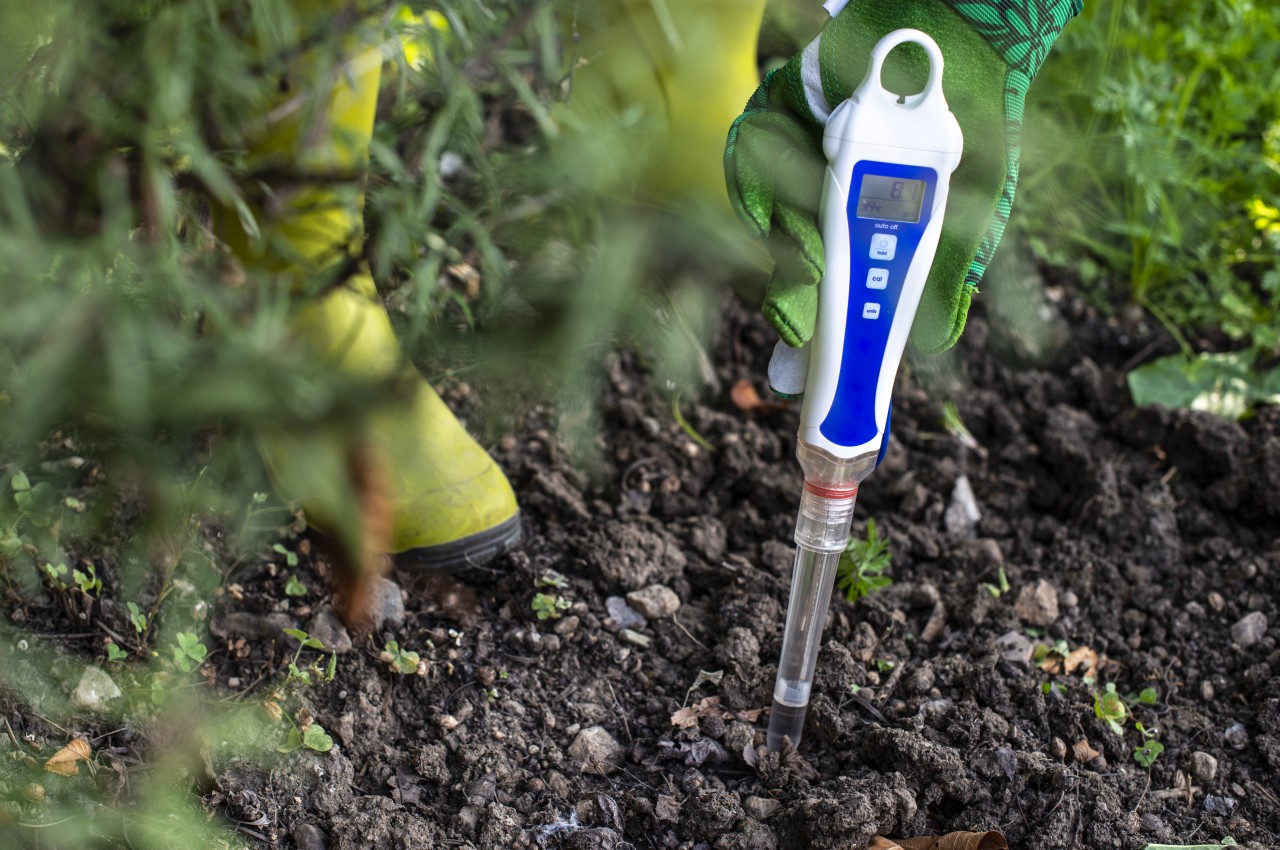
Your soil’s condition is crucial for your garden’s health. Check its texture by squeezing a handful as it should crumble easily. Make a note that heavy, sticky soil suggests excess moisture. A soil test helps identify nutrient levels and pH. Low pH may require lime to raise it, while high pH may need other amendments. Address nutrient deficiencies with a balanced fertilizer containing nitrogen, phosphorus, and potassium.

8. Give Your Plants a Good Start

Image courtesy of: yanadjana

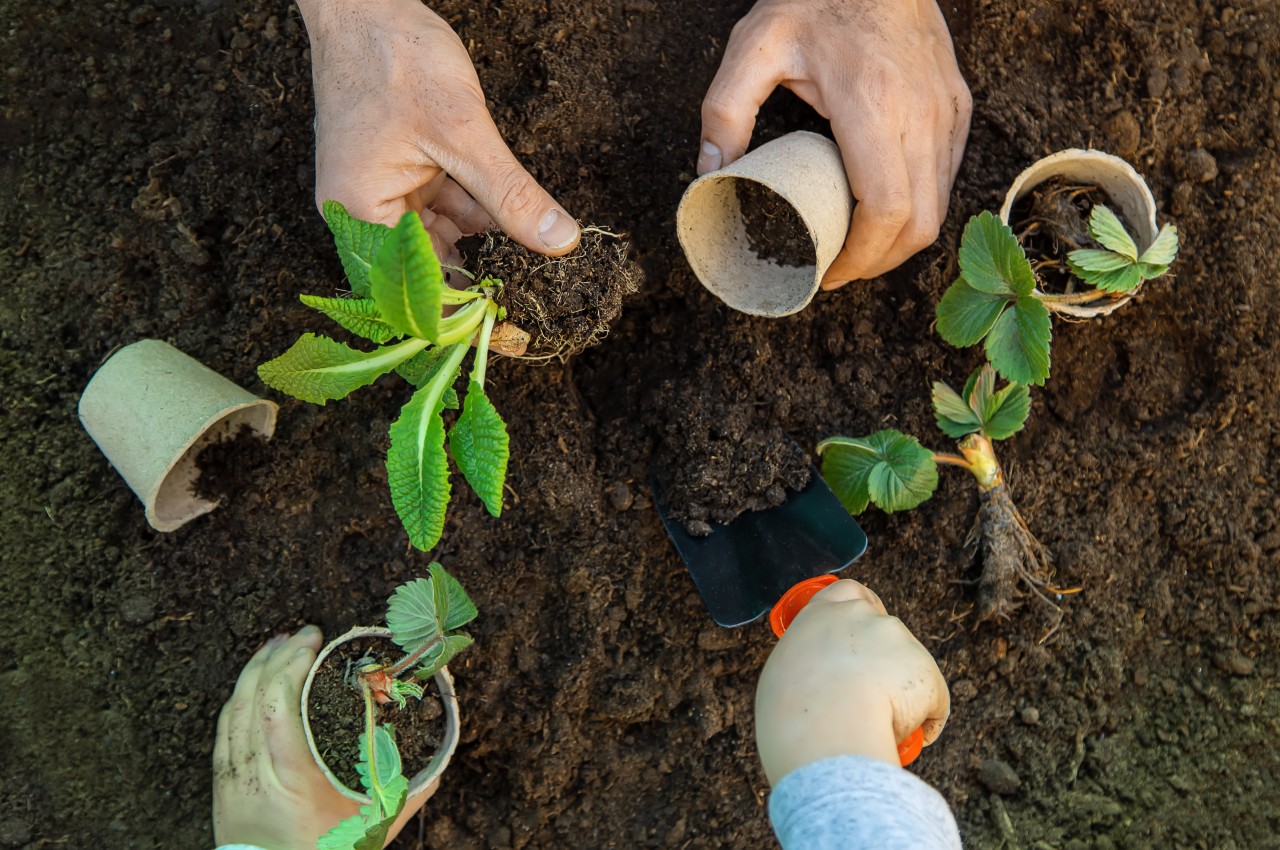
Ensure your plants start strong by following planting tips on seed packets and plant tags, considering factors like weather and soil temperatures. Optimal planting times vary; some plants thrive in cool weather and can be planted early in spring, while warm-weather crops require higher soil temperatures and should be planted later. Proper spacing is crucial for growth; bushy varieties need room to spread while climbing plants can be planted closer together and trained upwards.

9. Opt for Climbers

Image courtesy of: stevanovicigor

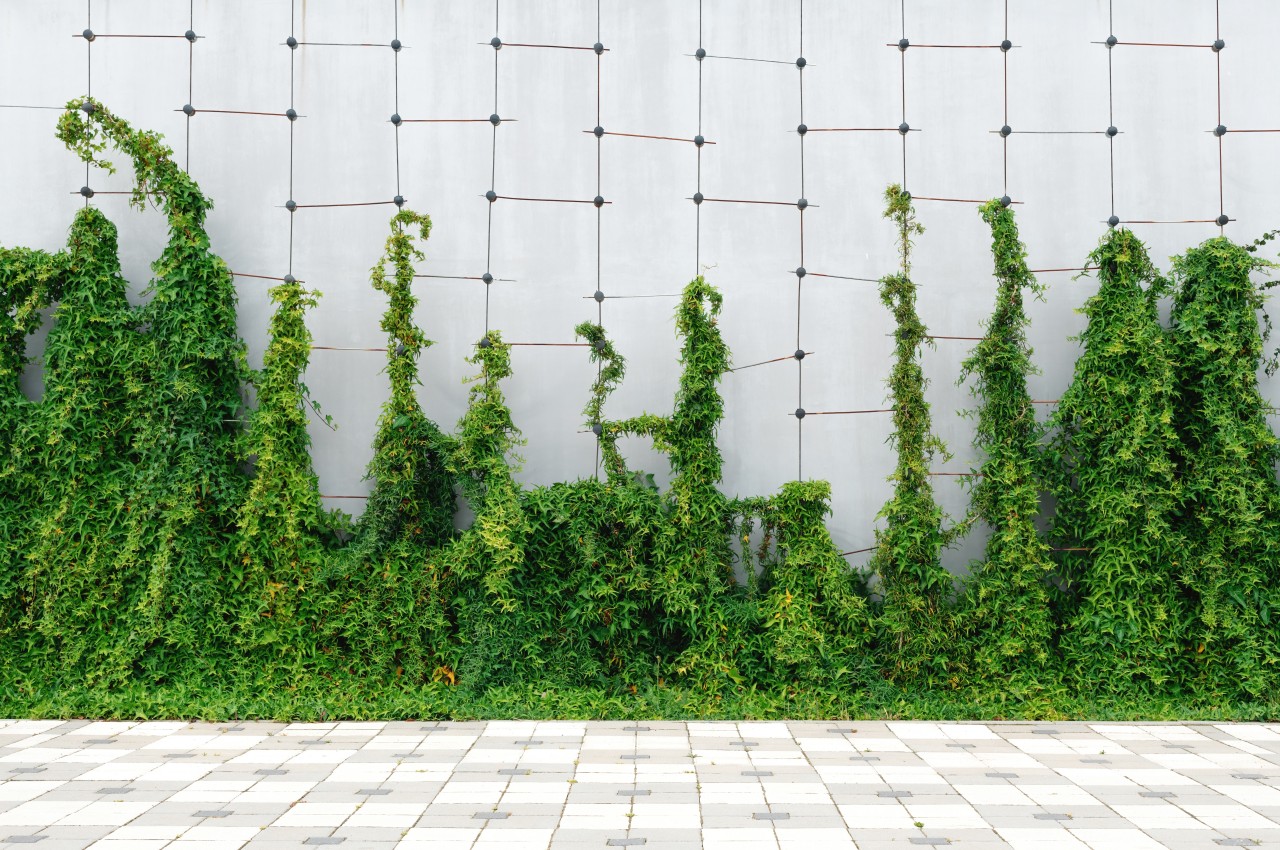
Climbers offer an ideal solution for expanding your growing area by utilizing walls, fences, or even trees. Examples of climbers include ivy and climbing hydrangea, which naturally adhere to surfaces. Before planting, consider painting or staining the surface for a low-maintenance yet visually striking appearance.

10. Use Mulch

Image courtesy of: larisikstefania

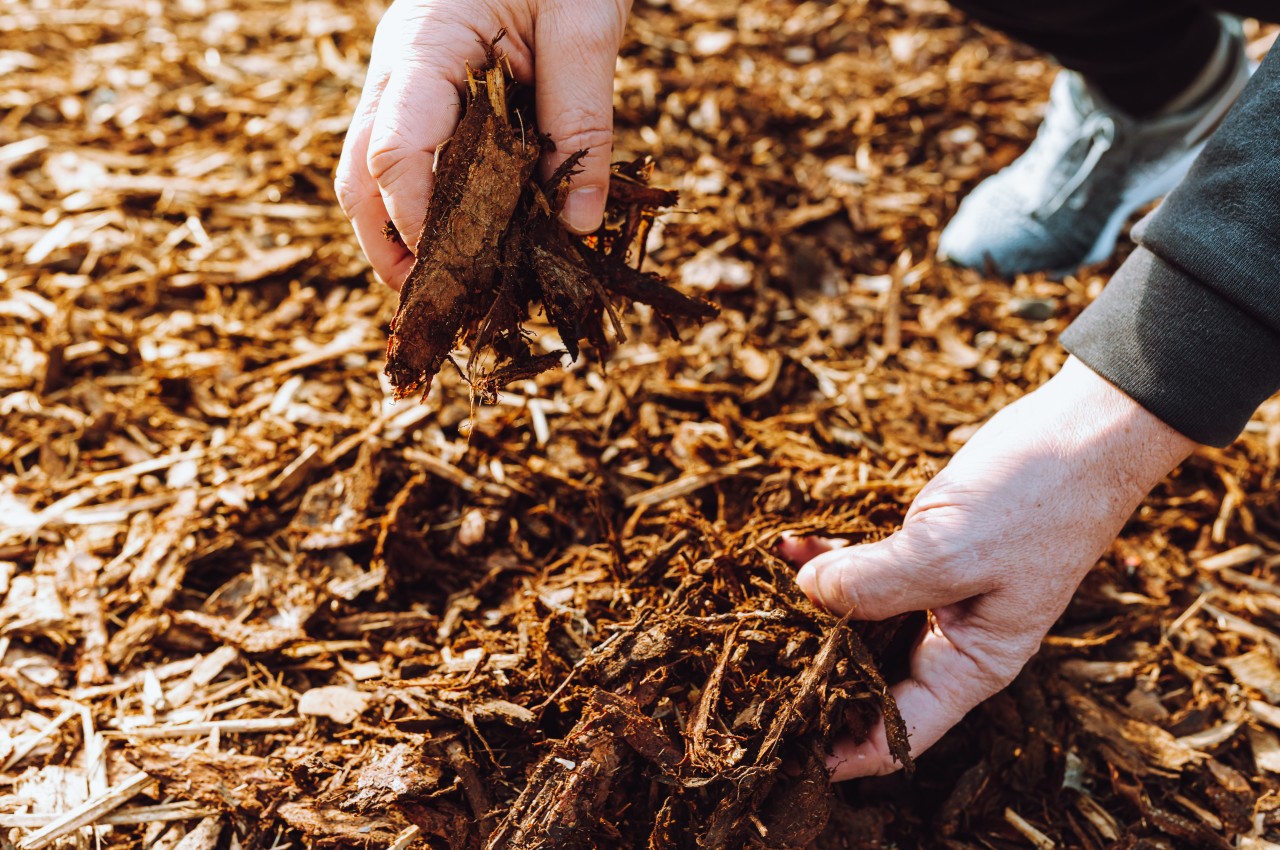
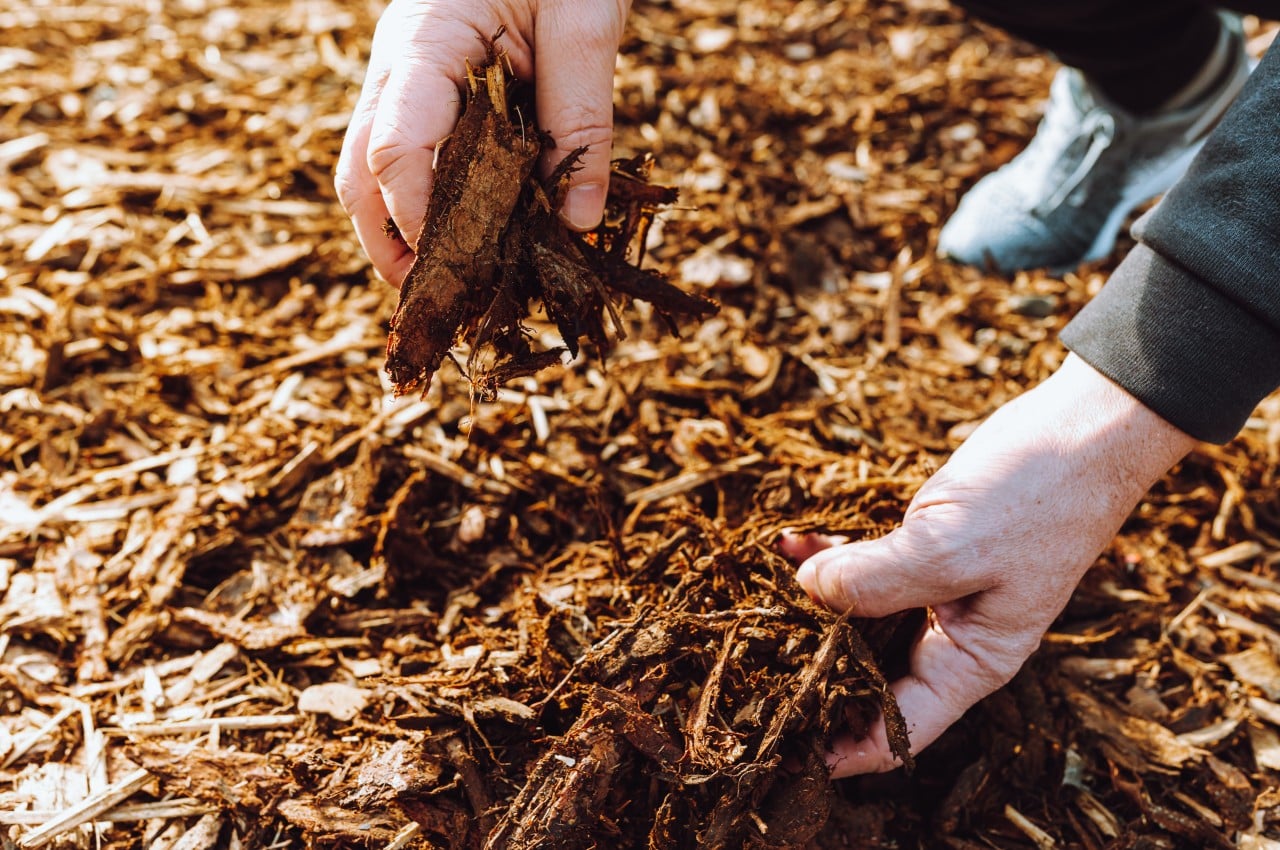
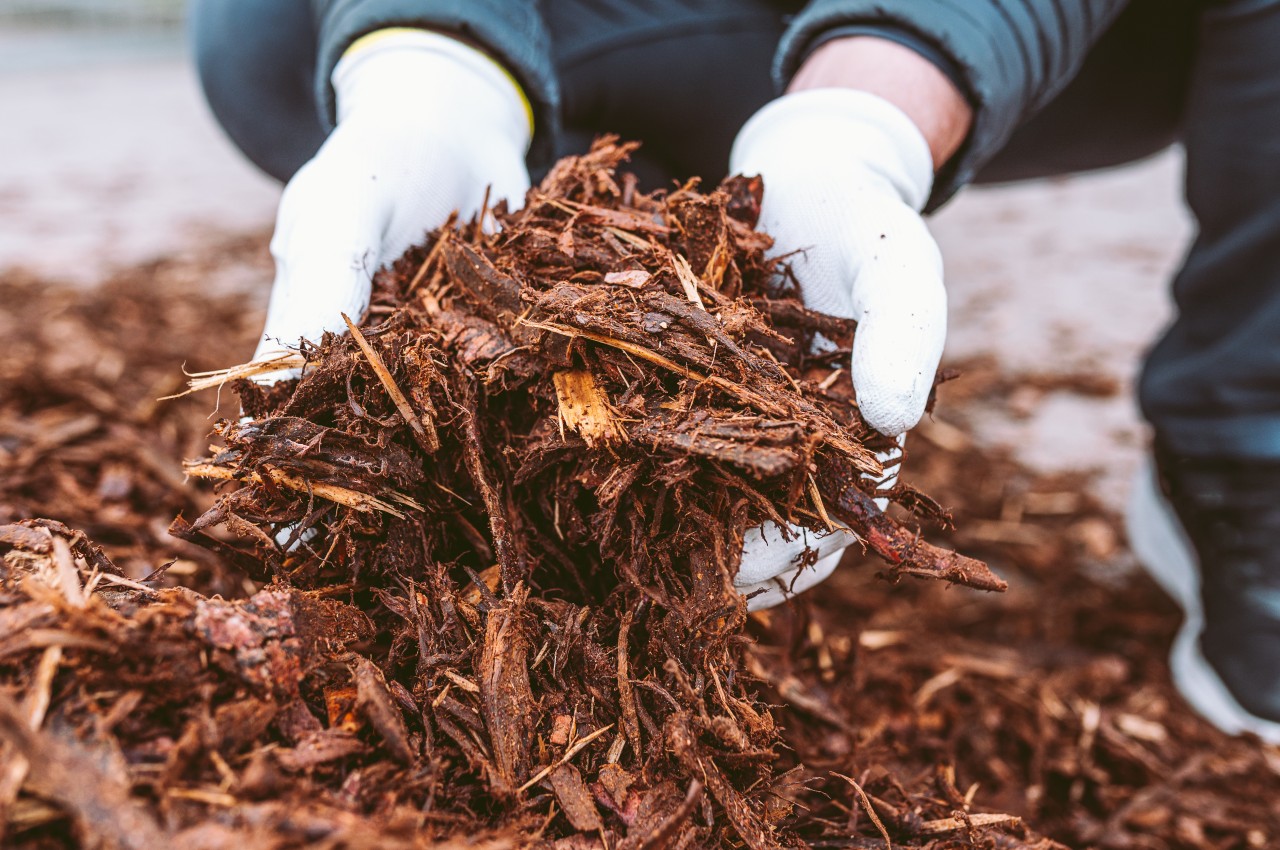
‘Mulching’ involves using materials such as bark chippings or gravel to cover soil around plants, reducing labor by inhibiting weed growth, minimizing watering needs, and preventing water evaporation. Remember, applying a dense 2-inch layer of mulch blocks soil sunlight, inhibits weed seed germination, and retains soil moisture.

11. Invest in Sturdy Plants

Image courtesy of: uladzimirz

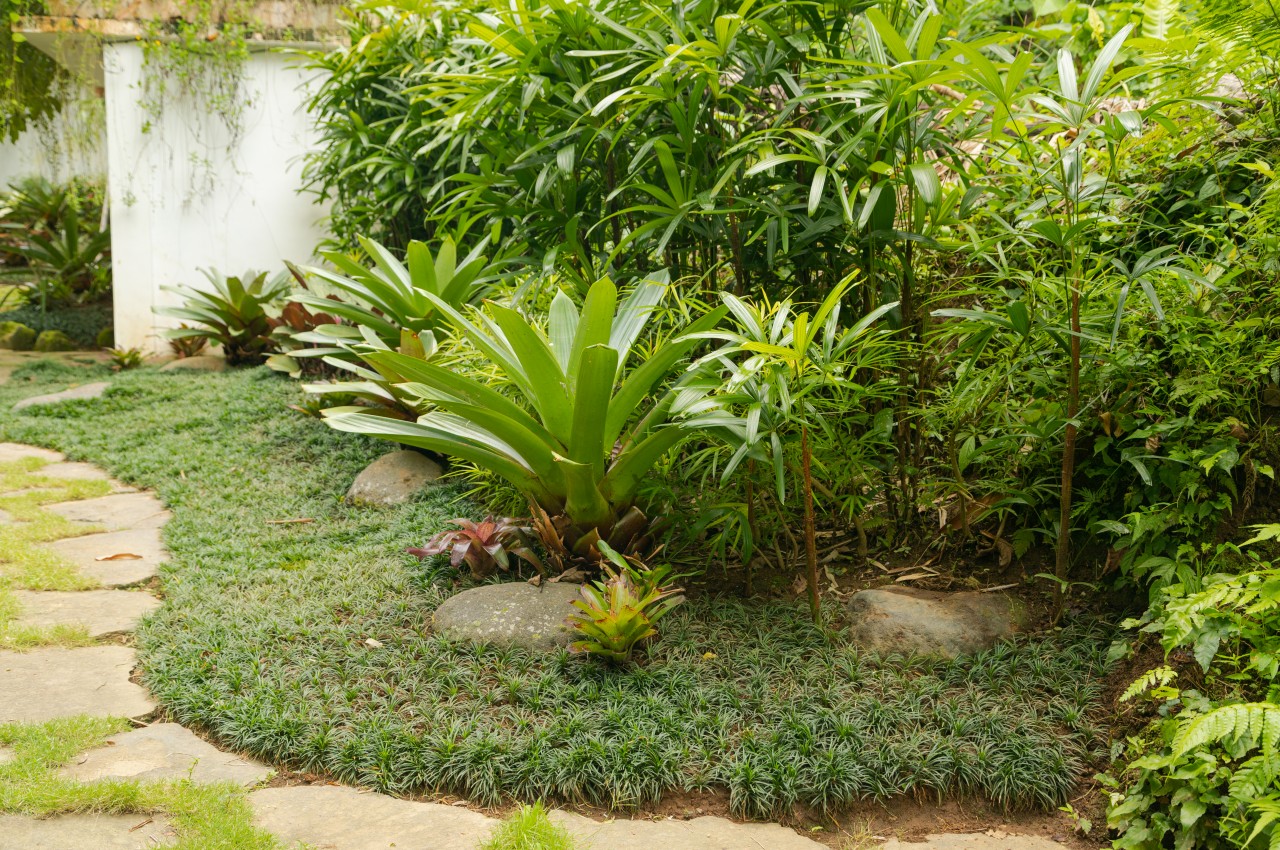
Opt for easy planting by choosing hardy shrubs and evergreens, which are durable, long-lasting, and require less frequent replacement than deciduous plants, while also maintaining their attractive appearance year-round with minimal leaf shedding. Consider plants suited to your local climate to save time and money in the long term by placing them appropriately from the start, ensuring they thrive with minimal care. Additionally, it is highly recommended to grow ‘groundcover’ plants as they suppress weed growth.

12. Go for Raised Beds

Image courtesy of: Maria_Sbytova

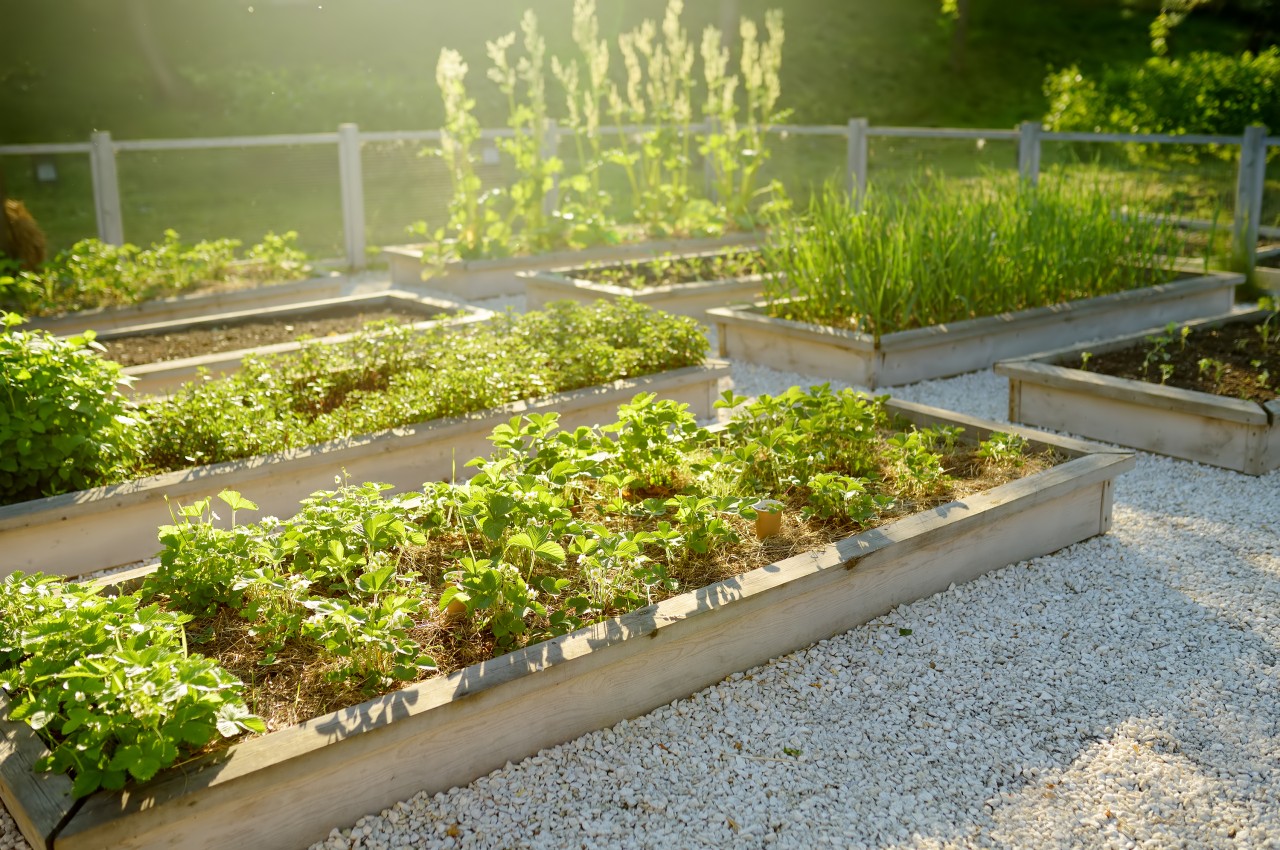
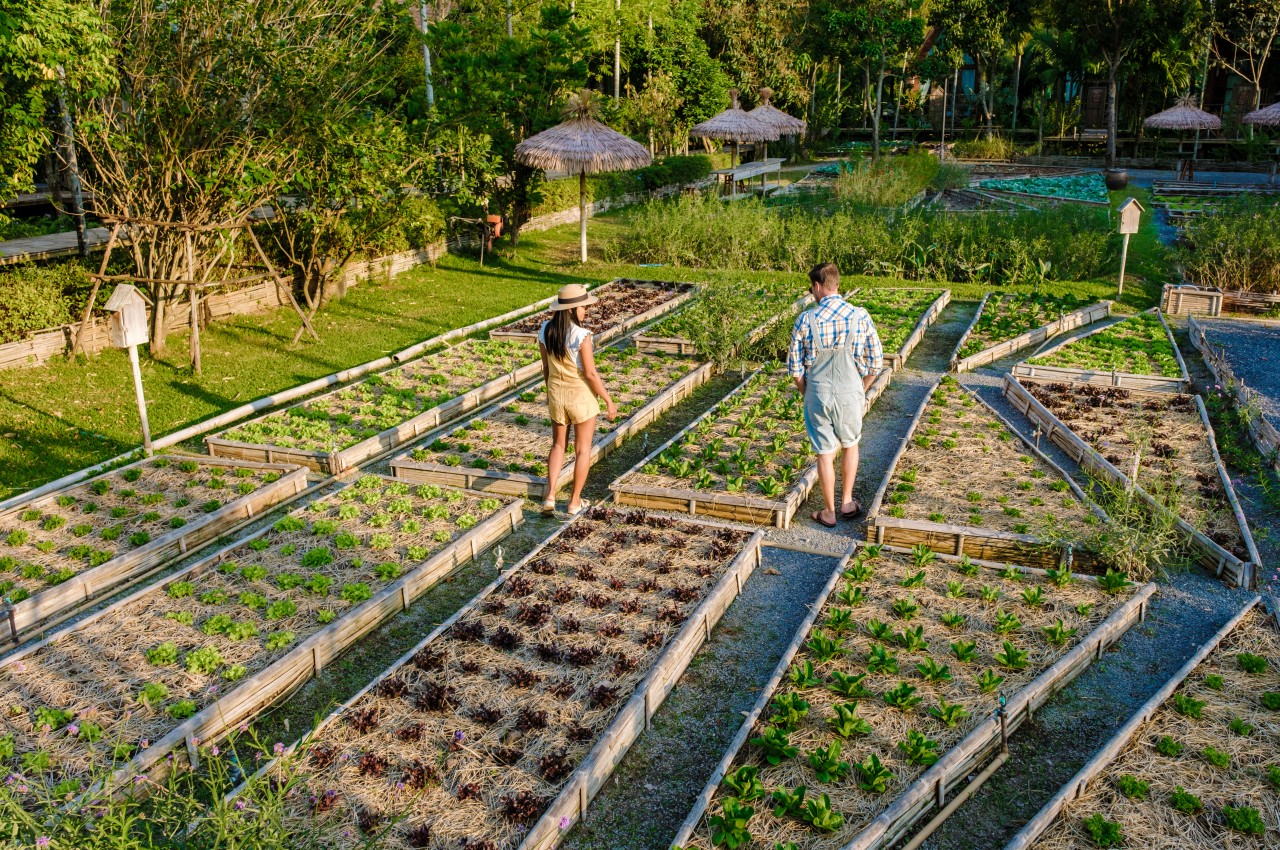
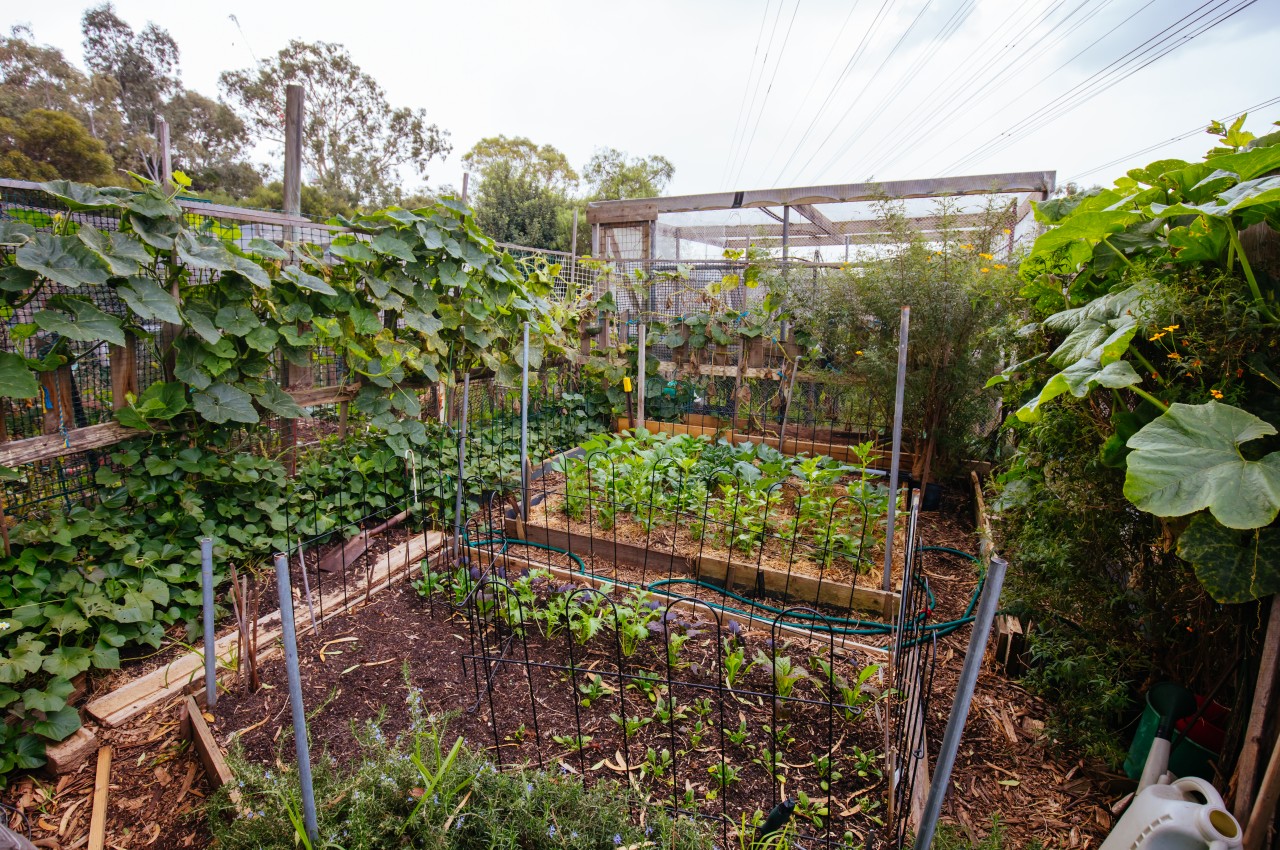
Raised beds offer an ideal solution for creating a low-maintenance small garden design, as they provide a tidy appearance, enhance drainage, minimize weed proliferation, and can be constructed at a convenient height, offering ease on the back by reducing the need for excessive bending.

13. Minimalist Garden

Image courtesy of: duallogic

Choose a modern, minimalist aesthetic over intricate, labor-intensive flower beds by selecting low-maintenance shrubs complemented by sleek hardscaping. Note that hardscape elements can be as diverse and captivating as plants, requiring minimal maintenance.

14. Stay Organized

Image courtesy of: balls340

Efficiently arrange your tools to avoid spending more time searching for them than actually tending to the garden. Establish a suitable storage system, whether it be a garden shed or a dedicated cabinet for tools, ensuring easy access and tidy storage after use.

15. Consider a Zen Garden

Image courtesy of: leungchopan

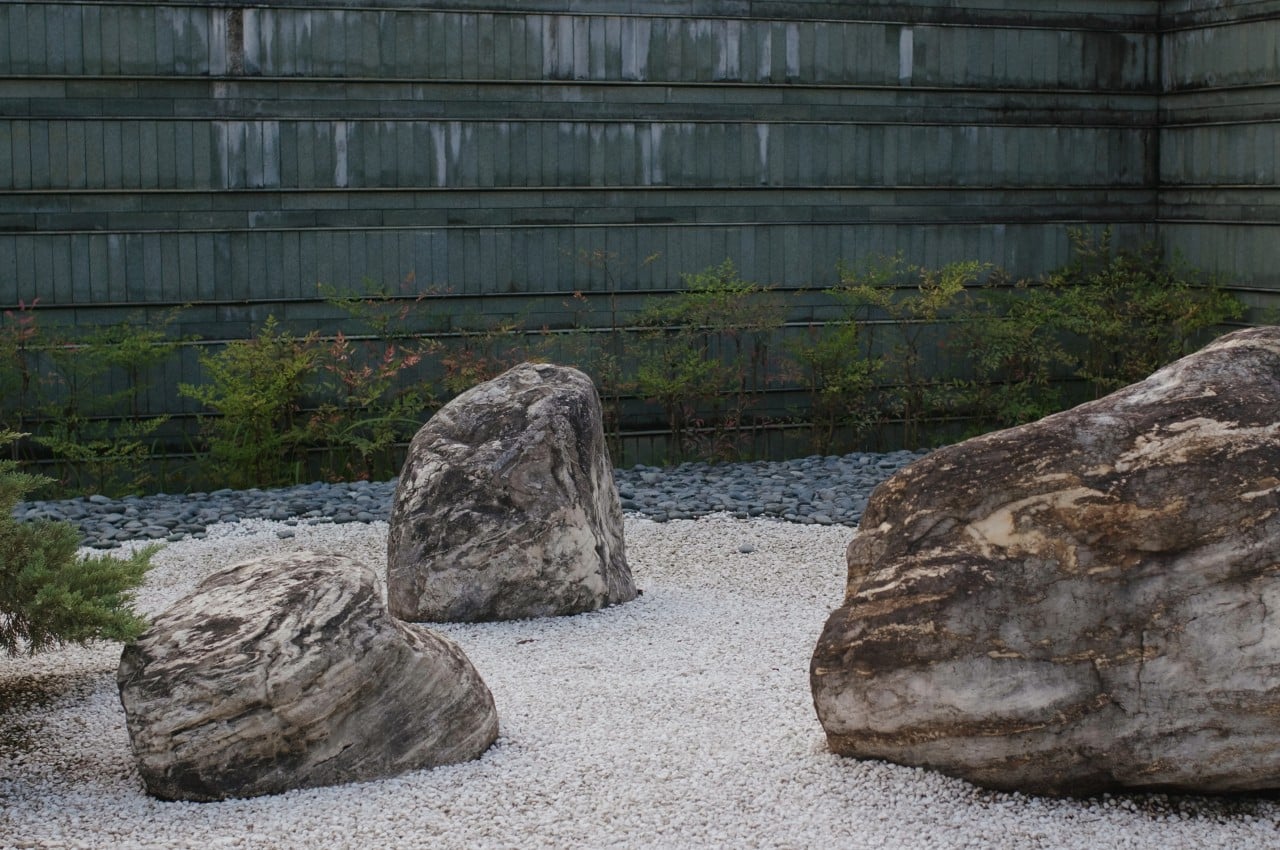
Zen gardens epitomize low-maintenance design, focusing on minimalism and tranquillity for meditation and relaxation with little upkeep. They feature raked gravel or sand instead of grass, offering serene patterns, while large rocks and stones serve as focal points, providing stability without maintenance. Sparse planting, with carefully selected plants like bamboo or Japanese maples, cultivates simplicity and calmness within the space.

16. Swap Hedge with Fence

Image courtesy of: safakc1

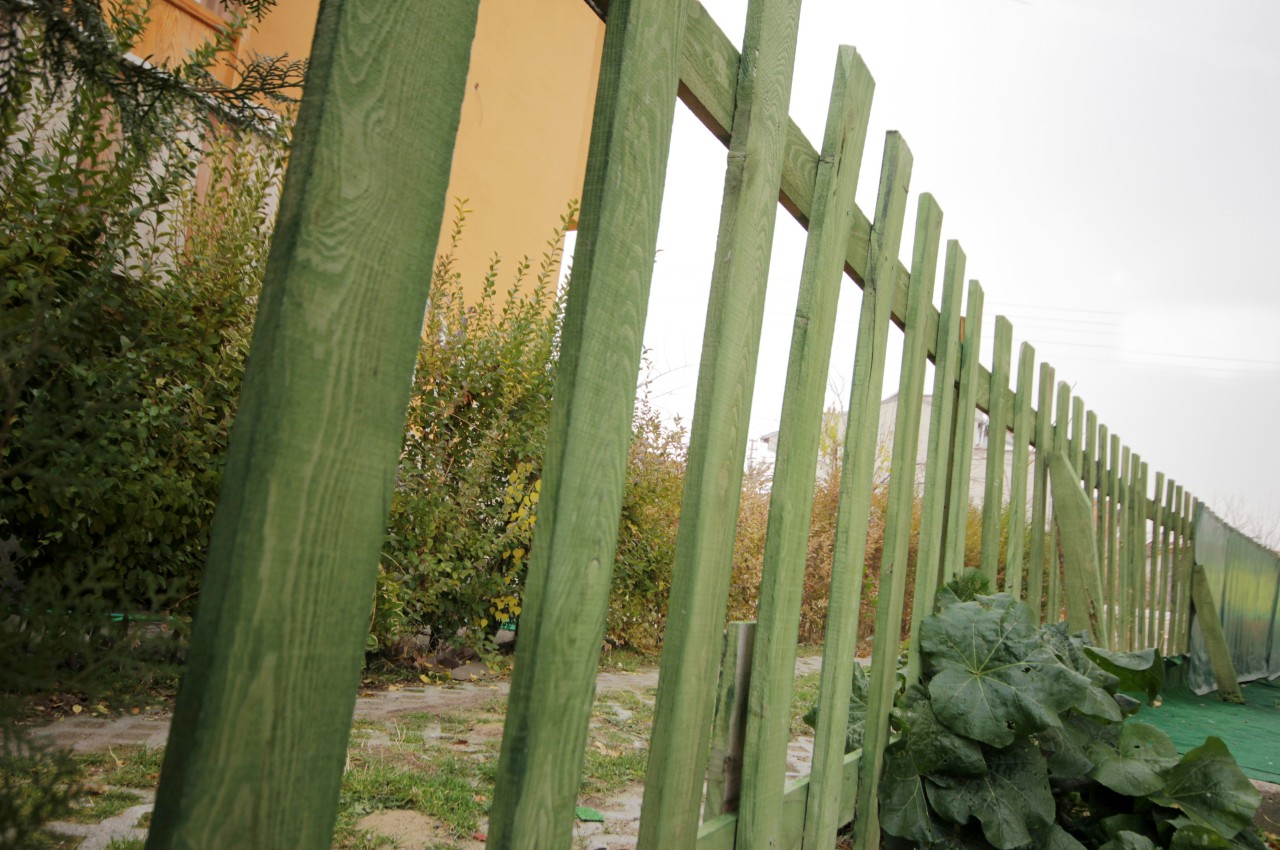
Replace hedges with fences for less maintenance. Well-kept hedges look good but need regular trimming, which can be time-consuming or costly. Installing a fence initially costs more but saves on upkeep in the long run, especially at the front of your property where it improves security and curb appeal.

17. A Simple Water Feature

Image courtesy of: edemarco5

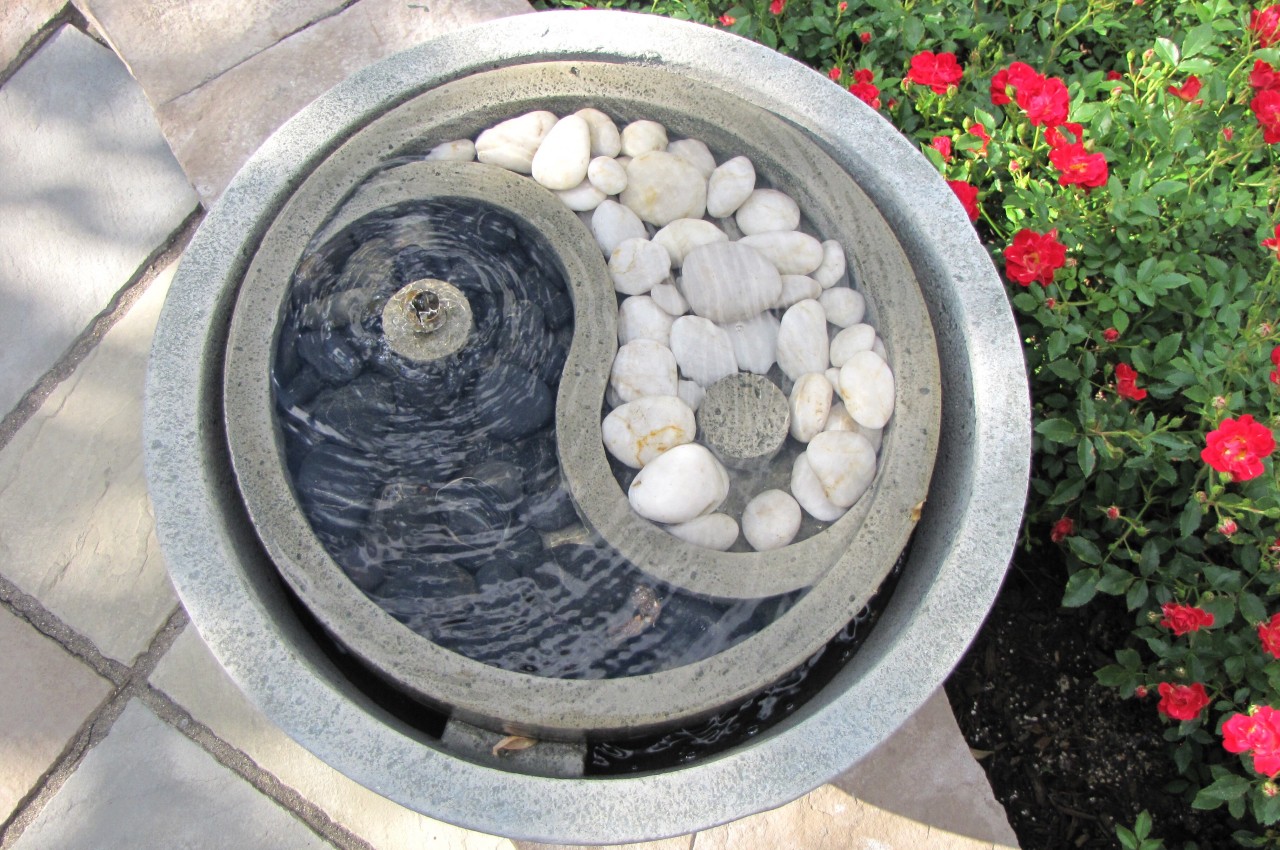
Maintaining sizable water features can be cumbersome and messy. If you desire a water element, opt for something easy to clean, such as a low-maintenance outdoor water fountain for the soothing sound of flowing water or a straightforward stone basin filled with water.

18. Look out for Pests

Image courtesy of: NadezhdaNovikova

Stay vigilant for pests as healthy plants are better equipped to withstand insects and their damage. Regularly inspect your garden for signs of infestation such as sticky residue, fruit holes, or damaged leaves. Identify the specific pests present to select the most suitable pesticide for effective control.

19. Install an Efficient Irrigation System

Image courtesy of: aowsakornprapat

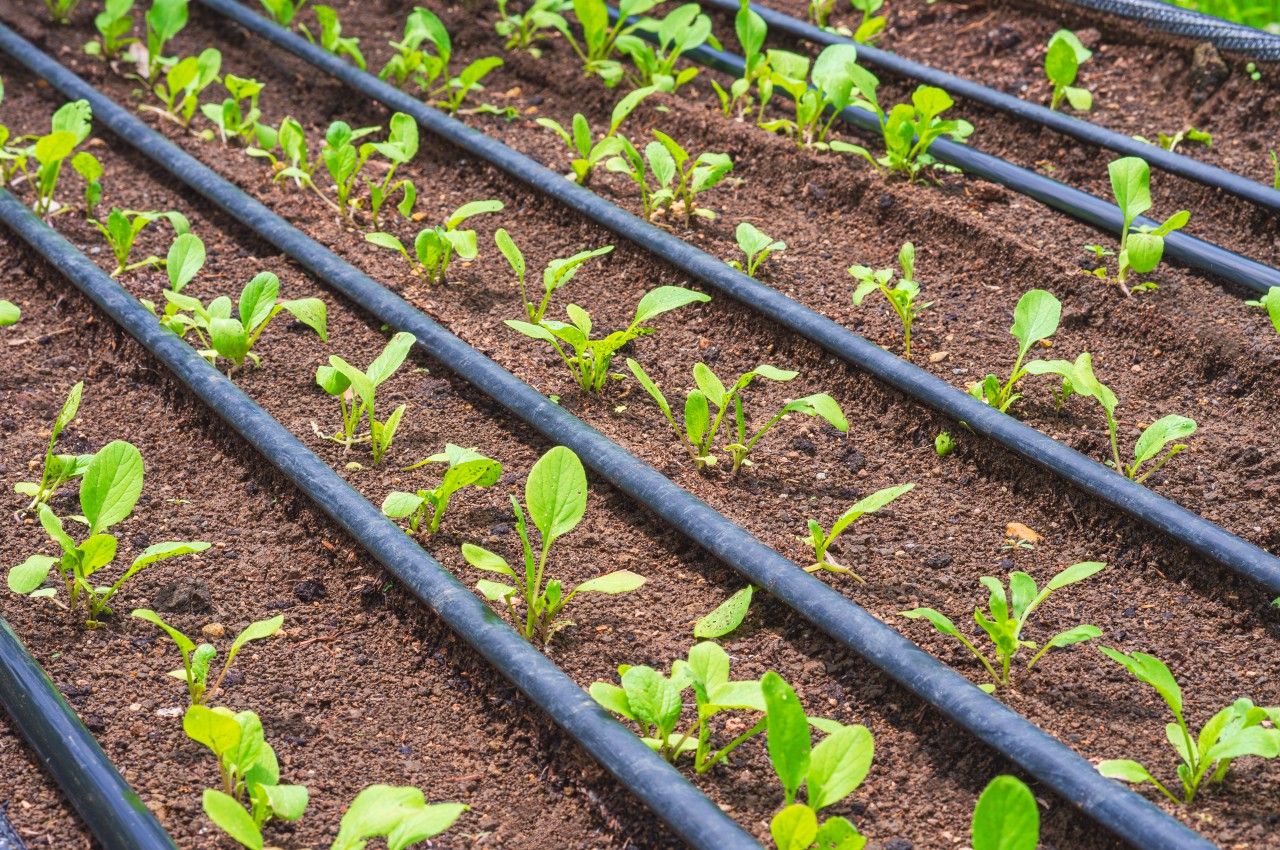
Overhead watering with a hose or sprinklers encourages garden fungal diseases. To simplify and optimize watering, install a drip irrigation system. It delivers precise water amounts to the soil, minimizing waste and fungal risks. When choosing a system, prioritize timers but remain adaptable to weather changes for efficient watering.

20. Create Your Compost

Image courtesy of: RossHelen

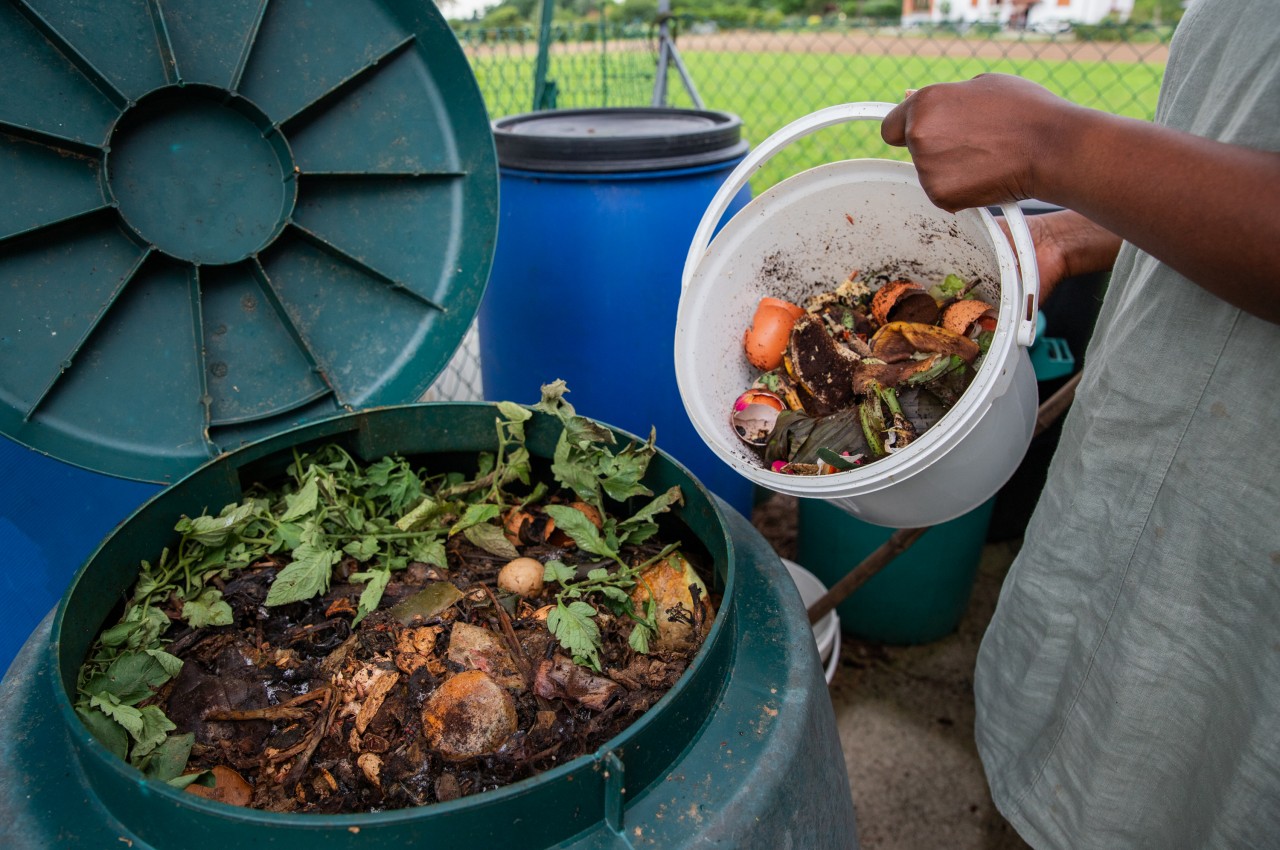
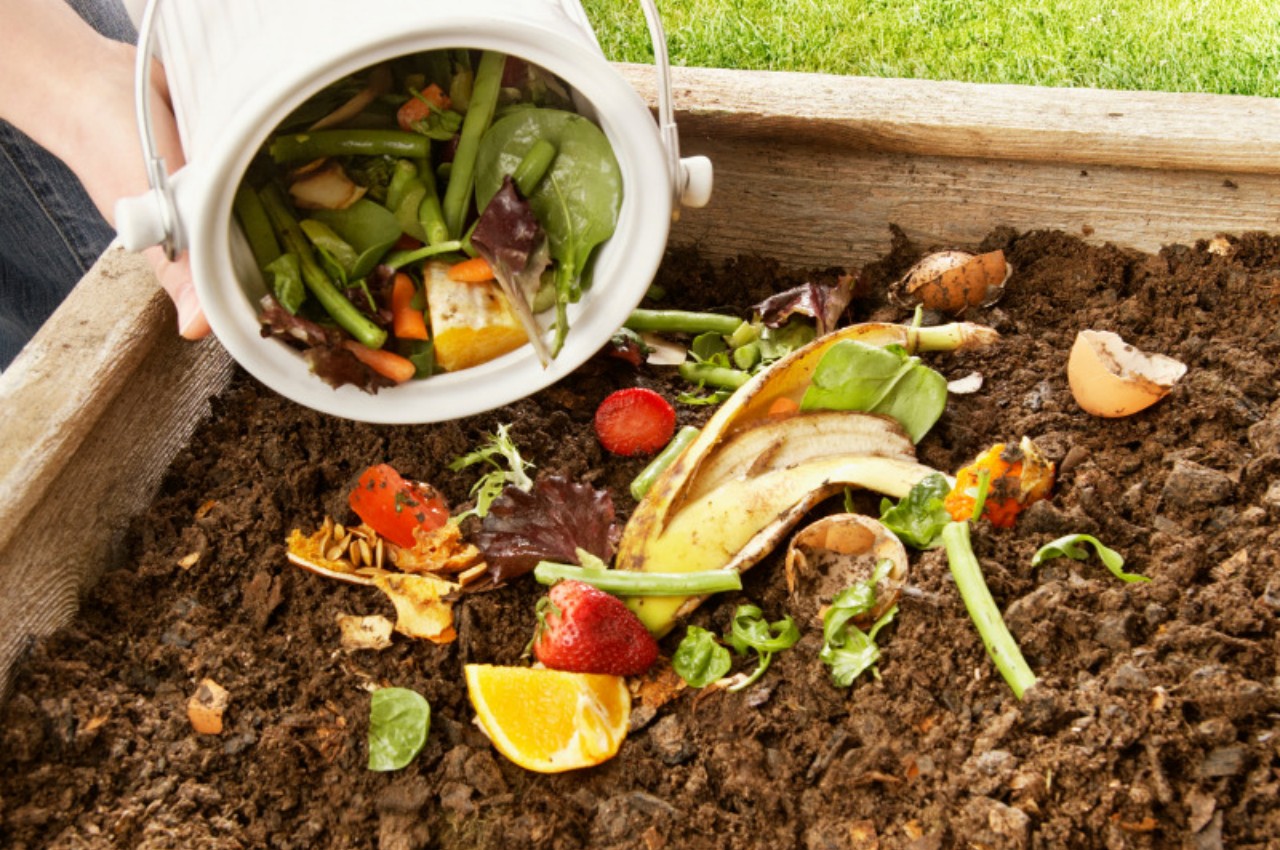
If you’re dedicated to cultivating numerous plants, having a quality compost heap is crucial. This allows you to recycle various waste materials like grass clippings, kitchen scraps, and more. Not only does this practice promote sustainability, but it’s also environmentally friendly. Despite the effort required to maintain a compost heap by turning it regularly for proper aeration and decomposition, there’s a convenient solution for rotating compost bins.

In conclusion, even individuals leading busy lives with limited time can achieve a low-maintenance garden with minimal effort by implementing these guidelines.

The post Top 20 Tips for Designing a Low-Maintenance Garden first appeared on Yanko Design.
10 Proven Tips for Creating a Sustainable and Eco-Friendly Garden

Sustainable gardens aim to reduce human impact on the planet by conserving natural resources and minimizing waste. Embracing these practices can contribute to a happier, healthier Earth. As one engages in activities like potting, pruning, and maintaining green space, one should contemplate adopting more eco-friendly gardening habits, as sustainable gardening is more achievable than one might imagine.

Image courtesy of: puhimec

Why is Sustainable Gardening important?

Amid a global green revolution, sustainable gardening plays a crucial role in minimizing pollution and chemical risks associated with various activities, particularly food production. By embracing sustainable gardening practices, one not only contributes to environmental protection but also safeguards health from potential chemical hazards. The shift towards ‘sustainable gardening’ not only diminishes our carbon footprint but also encourages healthier eating habits. The fruits and vegetables cultivated at home are devoid of pesticides and other preservatives typically employed in mass production, thus preventing harmful chemicals from entering your body and maintaining environmental well-being.

Image courtesy of: DisobeyArtPh

Planting a sustainable garden with native and local species prevents the spread of invasive weeds into natural areas, reducing the need for chemical pesticides and herbicides. Aditionally, sustainable gardens play a crucial role in preventing water pollution by recognizing the significance of water as a valuable resource. Unlike traditional gardening practices, sustainable gardening avoids the use of additives that could contaminate the water supply. Here are ten ways to make your garden more sustainable:

1. Go Organic

The initial action involves transitioning to organic methods and minimizing chemical usage in your garden. Begin by ensuring high-quality soil abundant in nutrients through the addition of natural compost. If the plants are affected by insect pests or plant diseases, it is important to address them using organic remedies.

Image courtesy of: VroniV

2. Add Mulch

An effective method to prevent weed growth involves mulching, which not only retains soil moisture but is especially advisable in regions with water limitations or scarcity. This can be achieved by applying a 2 to 3-inch layer of mulch around landscape plants, utilizing materials such as shredded bark, grass clippings, or coir derived from coconut hulls.

3. Go for Native Plants

In sustainable gardens, it’s advisable to include native plants that are well-suited to the region. These plants demand less maintenance, utilize less water, and flourish more effectively than perennials, because of their natural adaptation to the local climate, rainfall, and soil conditions. It’s important to note that a perennial plant, commonly known as perennials, persists for more than two years. Additionally, native plants offer the benefit of attracting indigenous insect and bird species to the area.

4. Say Yes To Composting

Image courtesy of: YuriArcursPeopleimages

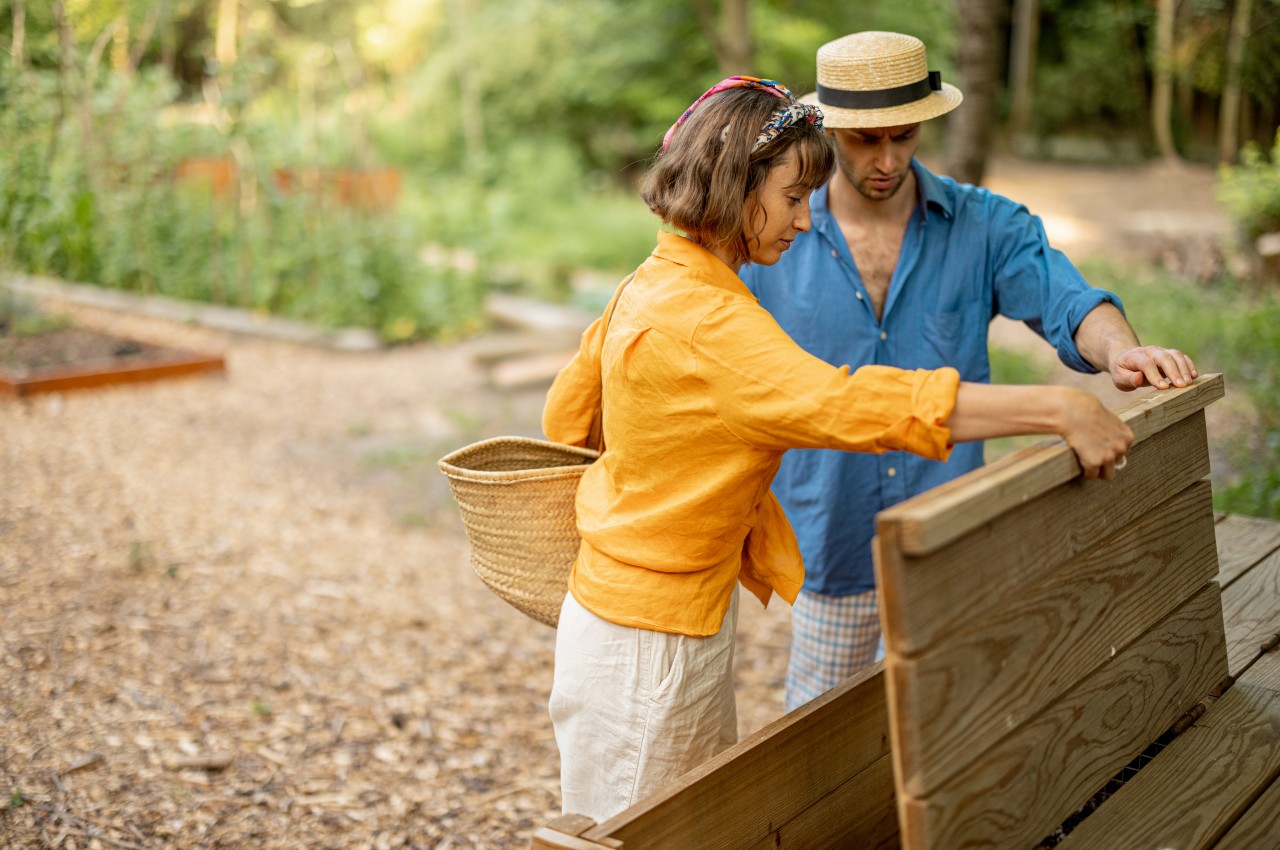
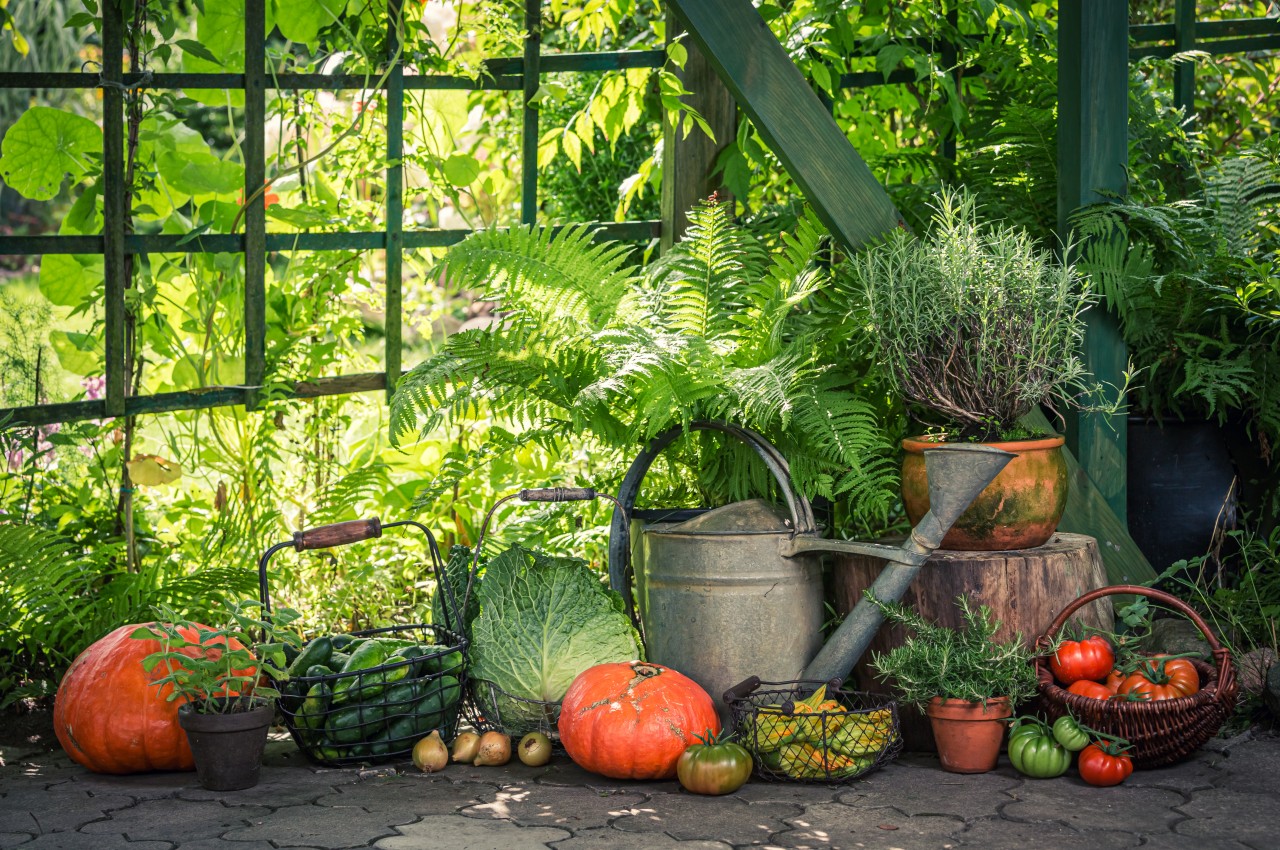
Embracing composting stands out as a top practice for cultivating a sustainable garden. By composting your green waste, such as grass clippings, deadheaded flowers, dried leaves, and kitchen scraps, one can transform it into a nutrient-rich fertilizer, fostering sustainability in gardening endeavors.

5. Reuse Plastic Pots

Image courtesy of: pernilla11

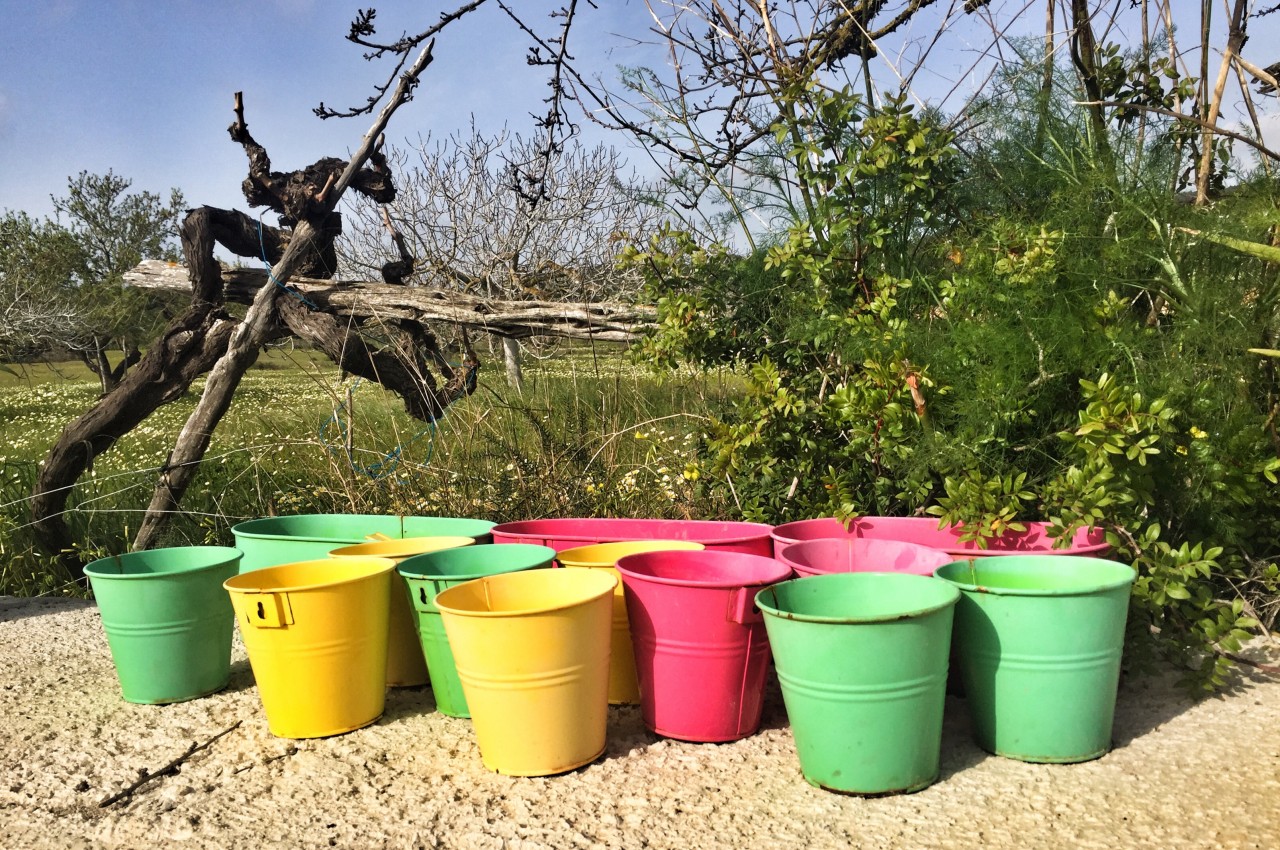
Certain plants are sold in plastic pots. Instead of purchasing new ones, consider reusing pots for seed sowing and repotting. Simply rinse them with warm water and detergent before reuse to eliminate any potential diseases or one can return them to the nursery for reuse.

6. Conserve water

Image courtesy of: halfpoint

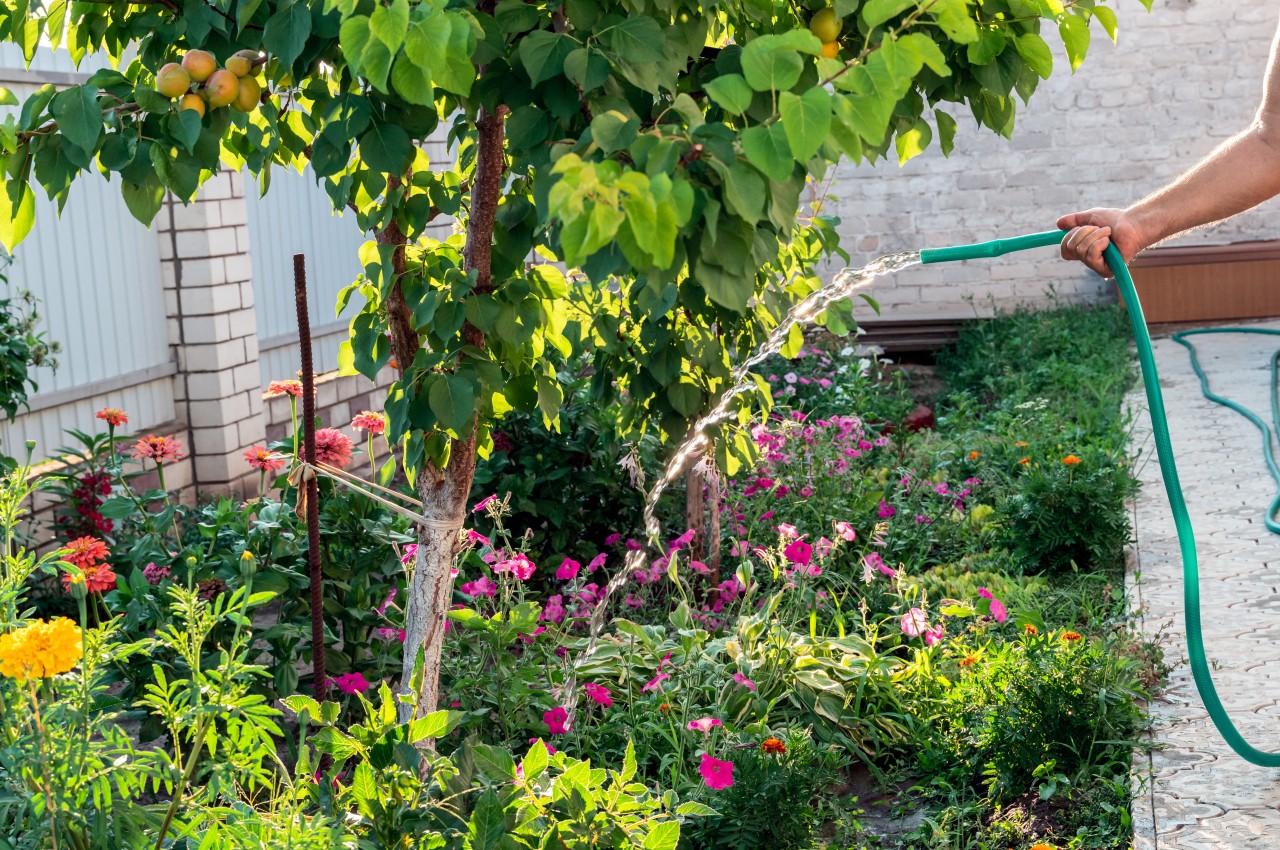
Maintaining vibrant gardens in summer often entails frequent watering. To minimize your garden’s reliance on mains water during hot, dry spells, consider installing a water butt and incorporating ground cover plants to lessen moisture evaporation and cool the soil.

7. Grow Wildlife Friendly Plants

Image courtesy of: Mint_Images

Opt for pollinator-friendly plants with uncomplicated flower structures, making it easier for insects like bees and butterflies to access food. Aim for a variety of plants that bloom at different times or have extended flowering seasons to ensure a continuous food source for pollinators throughout the year.

8. Invest in Sustainable and Durable Pots

Image courtesy of: Beachbumledford

Opt for sustainable pots and planters to minimize single-use plastics in your garden. It is important to take care of your existing plastic pots and trays for reuse or invest in durable materials like pots made from 100% recycled waste, addressing plastic waste beyond gardening. Bamboo pots and seed trays offer longevity, lasting up to five years, and can be composted at the end of their life cycle. Consider the Hemp Planters Range for greenhouse or terrace use, offering both sustainability and maximizing crop yields.

9. Minimize Use of Fertilizer

Image courtesy of: YuriArcursPeopleimages

Prioritize minimizing fertilizer use in sustainable gardening practices to prevent runoff and excessive plant growth. Start by testing your soil to understand its natural fertility and determine if any adjustments are needed; many soils can sustain plant growth without added fertilizer. Consider enriching your soil with homemade compost as an alternative to synthetic fertilizers, promoting soil health and reducing environmental impact.

10. Use Less Energy

Image courtesy of: valeriygoncharukphoto

Reduce outdoor energy consumption by focusing on lawn care practices. Opt for electric or push-reel mowers and keep blades sharp for efficiency. Prioritize manual weed removal to prevent spread before mowing. Decrease lawn size by planting trees or expanding gardens. Choose solar-powered LED bulbs for lighting to conserve energy and provide natural illumination.

How does a sustainable garden combat climate change?

Home gardeners contribute significantly to addressing climate change through sustainable practices. By employing sustainable gardening and landscaping techniques, they can mitigate future warming by reducing carbon emissions and enhancing carbon storage in soil and plants.

• Choosing rechargeable electric options for mowers and trimmers aids in cutting gas emissions by reducing reliance on gas-powered lawn and garden equipment.

Image courtesy of: duallogic

• Avoiding synthetic nitrogen fertilizer is crucial in sustainable gardening, as it is a major contributor to greenhouse gas emissions.
• Strategically position trees and greenery around your home and community structures to save energy, ensuring they align with the sun’s orientation. Deciduous trees offer summer shade and winter sunlight, while evergreen trees provide protection from winter winds and improve insulation.

Image courtesy of: duallogic

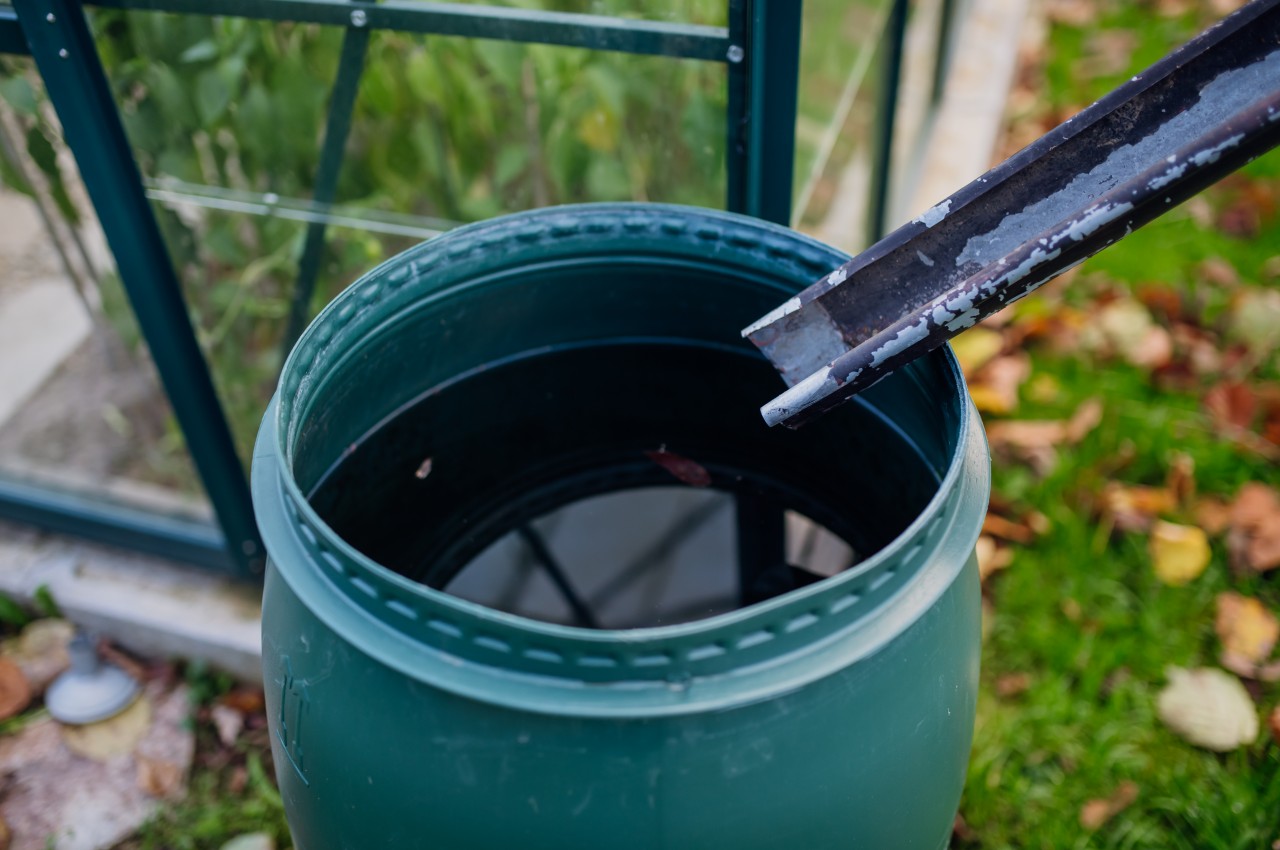
• With climate change, one can expect more rainfall and floods. Sustainable gardens mitigate excess water through rain gardens or vegetated buffers, reducing runoff and erosion. Make it a point to use rain barrels for water storage.
• Food waste in landfills produces methane, a potent greenhouse gas that traps 28 times more heat per unit mass than carbon dioxide. To mitigate emissions, growing your food in sustainable gardens and purchasing from local sources minimizes the environmental impact of long-distance transportation and storage.
• Sustainable gardens aid in carbon storage by maintaining soil coverage with a variety of plants. Enhancing soil health involves adding organic matter and minimizing soil disturbance, while compost serves as a valuable resource for enriching and enhancing soil quality.
• Landscapes boasting diverse plant life exhibit increased resilience against emerging pest and disease threats and environmental shifts such as extreme heat and drought. In sustainable gardens, greater plant diversity also fosters support for pollinators and beneficial insects crucial for pest management and decomposition. Additionally, opting for native plants whenever feasible is important, as they demand less water and fertilizer while offering vital sustenance and shelter for wildlife. Perennial native plants contribute to carbon storage and help control soil erosion.

Image courtesy of: YuriArcursPeopleimages

In conclusion, gardeners can bolster the resilience of their green spaces to climate change impacts by diversifying native plants, improving soil health, cultivating heat-tolerant vegetables, and implementing stormwater management. This approach also termed climate-resilient gardening, fortifies landscapes against climate-related challenges

The post 10 Proven Tips for Creating a Sustainable and Eco-Friendly Garden first appeared on Yanko Design.
What is Permaculture? Exploring the Basics of Permaculture Gardening

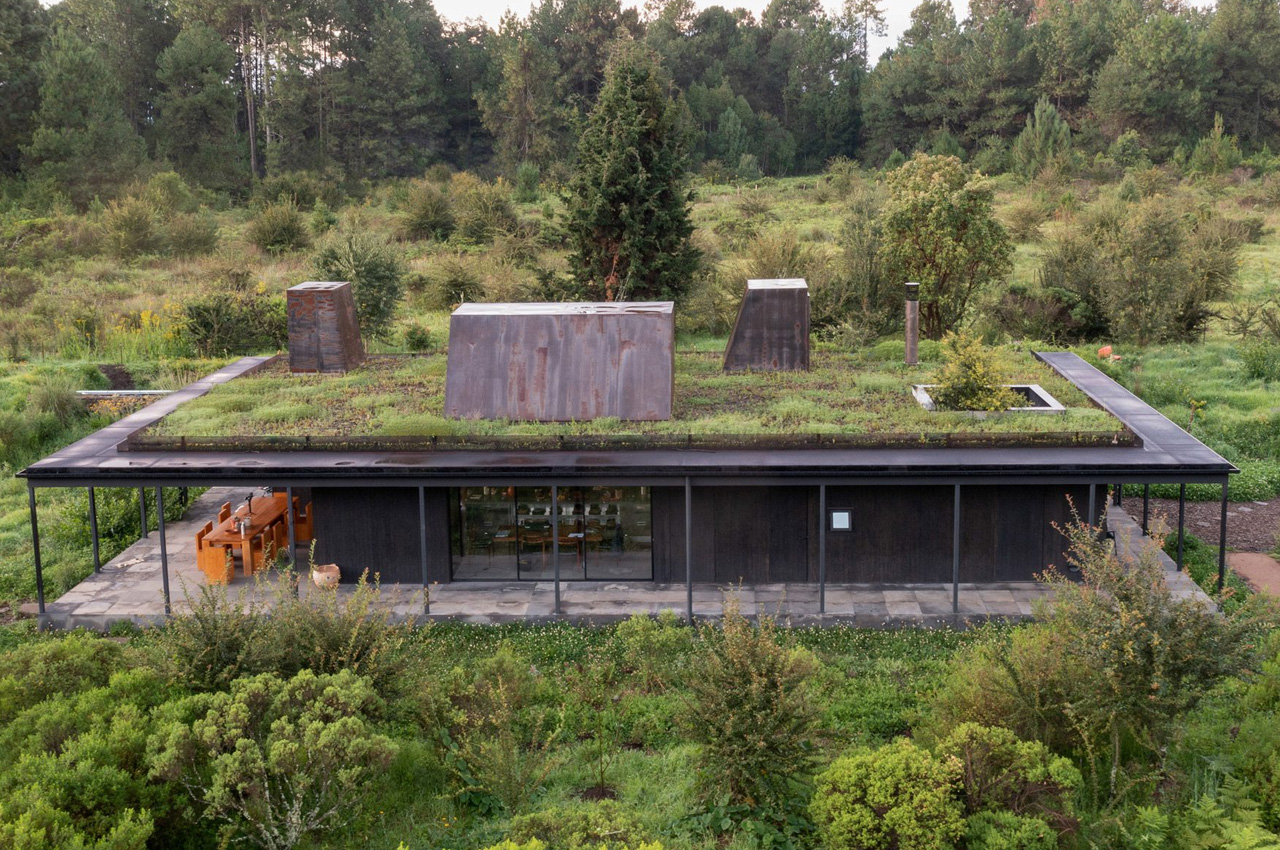
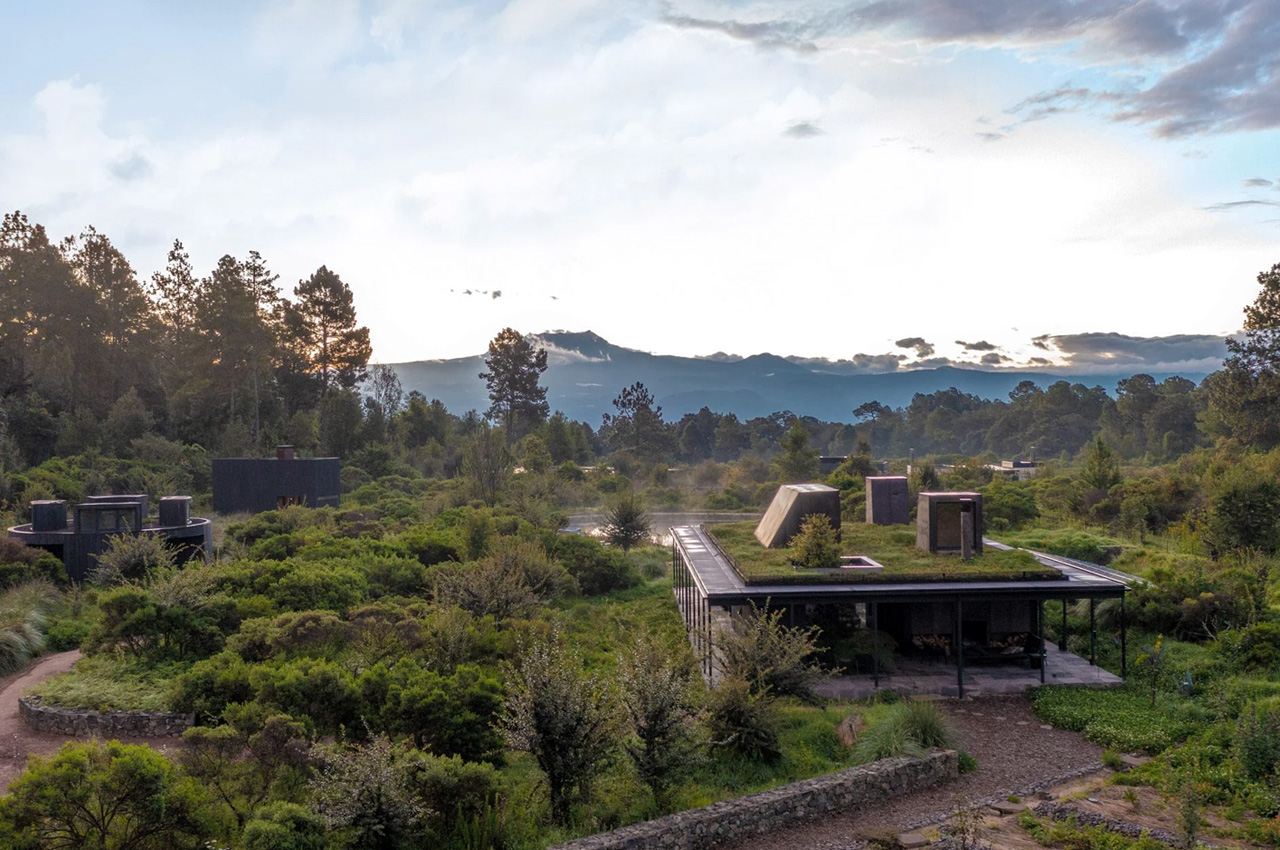
Permaculture gardening is deeply rooted in the principles of sustainability and aims to harmonize the growth of plants with the local environment. In 1978, Australian ecologist David Holmgren and environmental psychology professor Bill Mollison coined “permaculture” from “permanent agriculture,” later expanding its meaning to include “permanent culture.” Permaculture gardening primarily emphasizes the gradual enhancement of soil quality with nutrients, aiming to continually revitalize the earth while nurturing plant health. Its core ethics include prioritizing care for the Earth, for people, and ensuring equitable sharing, returning any surplus.

Designer: Robert Hutchison Architecture and Javier Sanchez Arquitectos

What is the primary goal of Permaculture?

Permaculture advocates aligning with nature, emphasizing mindful actions to avoid widespread negative impacts. It stresses preserving and restoring natural systems and settlements, highlighting their irreplaceable value. The goal is to achieve objectives with minimal environmental disruption.

What is Permaculture farming?

Image courtesy of: viktelminova

Permaculture farming means growing crops in a way that takes care of itself and the environment. It learns from nature and creates farming systems where different crops help each other grow. This way of farming is diverse, strong, and lasts a long time, just like nature does.

What are the benefits of creating a Permaculture Garden?

The benefits of creating a Permaculture Garden includes:

Protects Natural Resources

Image courtesy of: Sangiao_photography

We can optimize natural resources by harvesting wild medicinal plants, growing anti-pollutant plants for indoor air quality, and strategically planting trees for summer shade. It’s essential to minimize waste and promote material reuse.

Avoid Tilling the Soil

In permaculture, it’s preferred to avoid tilling vegetable garden soil. Instead, natural insect processes, aided by mulch, are encouraged, as tillers or cultivators can harm underground insect populations.

Promotes Biodiversity

Image courtesy of: YuriArcursPeopleimages

Unlike conventional agriculture, permaculture embraces nature, drawing inspiration from its diversity and working in harmony with it to derive benefits.

Connects Humans with Nature

Permaculture links humans with nature, fostering harmony by working in tandem with natural processes. This approach to gardening can deeply affect our spiritual well-being.

Low Maintenance

Image courtesy of: YuriArcursPeopleimages

Permaculture gardening offers low-maintenance benefits, making it ideal for those with limited time or less gardening experience.

Avoids Use of Pesticides

Image courtesy of: valeriygoncharukphoto

Permaculture avoids all pesticides and insecticides, organic or not, to protect biodiversity, relying on natural self-regulation and abstaining from herbicides and chemical fertilizers. Gardeners may accept some crop loss to pests rather than resorting to chemicals.

Saves Space

Producing ample yields in a confined space reduces the need for more area, allowing for extra activities. An essential element of permaculture gardening is maximizing space efficiency. Permaculture gardens vary in size, but in limited spaces, employing strategies to uphold permaculture principles is key. For instance, consider cultivating plants vertically using trellises or similar structures.

Supports Local Wildlife

Image courtesy of: cannonapril

Permaculture’s ethics and practices naturally draw wildlife to outdoor spaces. Follow permaculture guidelines to turn your backyard into a flourishing haven for birds, pollinating insects, and other creatures. Tips include avoiding pesticides, using vegetation to attract specific animals, hanging bird feeders, keeping dead logs and leaf litter, and planting trees and shrubs for wildlife shelter.

However, there are a few downsides to permaculture gardening. It can initially be more expensive to implement its practices. Although, the upfront costs are usually justified by long-term benefits. Some may find the initial workload overwhelming, despite its eventual rewards. Moreover, there may be concerns about potential odors from composting, managing a garden that utilizes all resources, and dealing with pests and bacteria without pesticides.

How to design a Permaculture Garden?

Use these tips to create your own Permaculture Garden:

Know your Surroundings

Get to know your environment by familiarizing yourself with the native flora, fauna, and predators in your area, while also noting the sunny and shady spots in your garden. Identify any unique features that could be advantageous for your permaculture garden.

Choose Your Plants Wisely

Select plants suited to your local conditions, researching which species thrive annually and perennially. Utilize companion planting to attract beneficial insects, deter pests, and enrich soil naturally. Opt for butterfly-attracting flowers, pest-repelling herbs for fruit trees, and nitrogen-fixing green manure crops to gradually enhance soil fertility. Opt for edible crops like fruits, veggies, herbs, seeds, and fruit trees, as they provide sustenance with minimal resource use.

Design the Garden

Once you’re familiar with your surroundings and the existing plant life, you can better design your garden. Consider light, water sources, and landscape when situating plants. Utilize plant stacking for efficient space use, with ground cover herbs, shrubs, and trees organized accordingly.

Create Garden Beds

Image courtesy of: fokkebok

Build raised beds, ideal for permaculture gardening as they preserve soil nutrients without tilling, placed six to 12 inches above ground. Alternatively, use sheet mulching, and layering compostable materials over grass to build soil without disturbing tillage.

Plant the Permaculture Garden

Plant your permaculture garden, prioritizing taller plants to offer shade for sun-sensitive ones. Group together plants with similar water and sunlight requirements for optimal growth.

Add Mulch

Image courtesy of: larisikstefania

Use organic mulch on topsoil instead of chemical weed killers in line with permaculture principles. Apply it after planting to suppress weeds and retain soil moisture. Options include leaves, newspaper, straw, wood chips, shredded bark, and grass clippings.

Add Compost

Image courtesy of: medialensking

Add compost without disturbing the soil, favoring natural options over chemical fertilizers. Utilize materials like manure, kitchen scraps, earthworm castings, and worm tea to enrich the soil with organic matter and beneficial microbes.

Efficient Water Irrigation System

Image courtesy of: aowsakornprapat

Use a sustainable watering system, minimizing water consumption for optimal garden health. Choose a low-waste drip irrigation method to directly hydrate soil and collect rain runoff from roof gutters for recycling into your watering system.

What is the difference between Permaculture and Organic Farming?

Organic Farming

Image courtesy of: monkeybusiness

Organic farming, initiated in the 1940s, is denoted by the term “organic,” indicating products grown or raised without synthetic fertilizers, pesticides, antibiotics, and growth regulators, spurred by J. I. Rodale.

Permaculture Farming

In the 1970s, Bill Mollison and David Holmgren introduced permaculture design, an agricultural system mirroring nature and addressing human needs like food, shelter, and energy consumption.

Here is how Permaculture differs from Organic Farming

• The primary difference between organic farming and permaculture is their approach to sustainable practices. Permaculture centers on preserving natural resources and conserving the planet, ensuring current needs are met without compromising those of future generations.
• Permaculture prioritizes energy conservation by locally growing and selling food, minimizing carbon footprints, while organic-labeled produce is often transported globally.
• In organic farming, the focus is on eliminating chemical residue from the food supply while protecting pollinators, while in permaculture, it’s environmental protection, ultimately benefiting humans.
• Permaculture farming promotes zero waste through recycling and reusable packaging, while organic food often uses disposable containers, contributing to landfill waste.
• Permaculture emphasizes integrated design, where each element serves multiple functions, contrasting with organic farming’s focus on a limited range of commodities. For example, chickens in permaculture not only provide eggs but also help control pests, fertilize the soil, and contribute to soil aeration.

In conclusion, permaculture yields numerous benefits: waste reduction, efficient resource utilization, and pollution prevention. It fosters ethical land management, enhancing both homeowners’ lives and ecosystems. Moreover, permaculture paves the way for sustainable systems that safeguard habitats for humans, animals, and plants, ensuring a healthy planet for the future.

The post What is Permaculture? Exploring the Basics of Permaculture Gardening first appeared on Yanko Design.
How To Design Your Backyard Garden From Scratch

Starting a garden can be a fun as well as a meditative experience where you care for, nurture, and enjoy watching your plants grow and produce fruits or vegetables. Since starting a garden from scratch can feel overwhelming, let’s simplify it into manageable steps to maximize your space and enjoyment. While gardening fundamentals vary based on location, season, microclimate, soil, and plant preferences, here are some general steps to begin your first garden from scratch.

Image courtesy of: kryzhov

1. Consider Your Planting Options

Image courtesy of: pokypkimoi

Before starting your journey of creating and nurturing your private garden, it’s important to understand whether you want a vegetable garden, a herb garden, or a flower garden. Whatever you decide, it’s good to grow vegetables your family enjoys, and for flowers, choose between annuals for long blooms or perennials for longevity. It’s always wise to start small and grow gradually until you feel comfortable.

2. Choose a Sunny Spot

Image courtesy of: uladzimirz

Observe sunlight patterns in your garden to determine plant needs for full sun, part shade, or full shade, and consult online resources for suitable species for your unique conditions. Most vegetables and flowering plants require 6-8 hours of full sun daily, so assess your yard’s sun exposure to identify suitable spots. Even if your yard is mostly shady, certain plants like impatiens and begonias can thrive. Select a flat area for your garden to avoid dealing with slopes, which can be more challenging and costly. Ensure convenient access to a water source for your garden’s requirements and consider the accessibility of your garden space for watering, harvesting, and tending to your plants.

3. Gardening Tools

Image courtesy of: duallogic

Essential gardening tools are important to ensure the successful cultivation of plants. Pruning scissors are important for maintaining plant health, enabling precise trimming and removing dead parts. For soil preparation and planting, a spade, trowel, and garden fork are essential, allowing for efficient digging and root clearance. Watering equipment includes a garden hose for larger areas and a watering can for delicate plants, ensuring optimal hydration without damaging young growth. Combatting weeds necessitates tools like a forked trowel and gardening knife, enabling efficient removal to maintain the vitality of the garden.

Image courtesy of: BlackBoxGuild

Start by clearing the area of weeds and sod, which refers to a layer of grass and the soil beneath it that is held together by roots. For quick results, cut out the sod using a spade.

4. Test the Soil

Image courtesy of: jchizhe

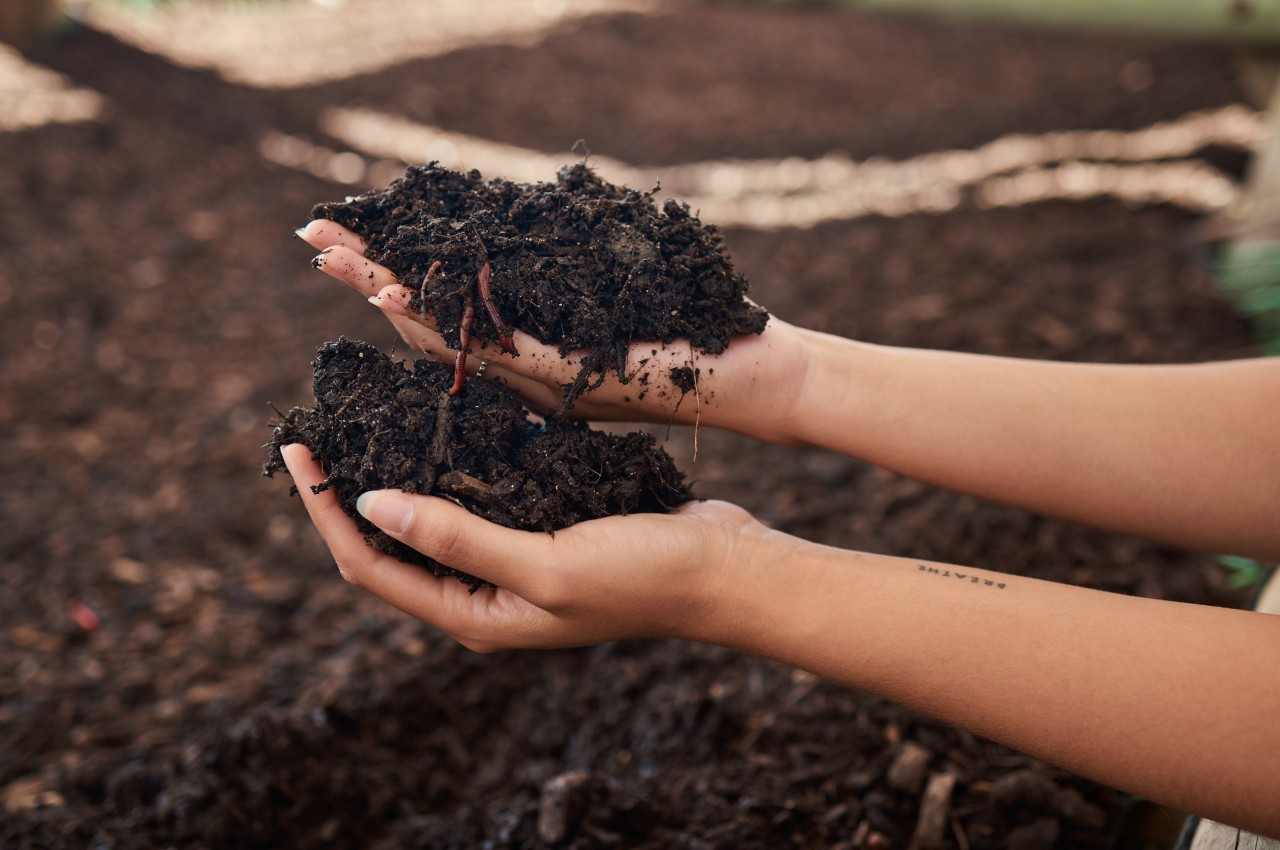
Consider a soil test for insights into your soil’s composition, including nutrient deficiencies and recommended remedies, or opt for DIY kits offering basic insights. Based on your soil test results, amend your soil by adding necessary nutrients or adjusting pH levels to create the optimal growing conditions for your plants. Add 2-3 inches of compost to new beds during preparation or apply it to existing beds, allowing earthworms to incorporate it over time, improving soil structure and nutrient availability for plants.

5. Prepare the Planting Bed

Image courtesy of: Simol1407

Loosening the soil in new beds before planting aids root growth and nutrient absorption. Opt for manual digging, especially for smaller beds. Work the soil when moist but not overly wet or dry, about 6-8 inches deep, mixing in organic matter. Note that healthy soil contains numerous bacteria, fungi, and microbes, allowing plant roots to penetrate easily due to their suitable texture and structure, which is determined by the proportions of clay, sand, and silt in the soil.

Another way to garden is called no-till gardening. First, clear away any debris and grass. Then, spread a thick layer of compost over the area, at least four inches deep. If you’re dealing with tough weeds, you can try sheet mulching. This involves using cardboard to compost the weeds while keeping the soil intact. It’s also a good idea to keep your garden beds no wider than 4 feet so you can easily reach the center.

6. Choose Your Plants

Image courtesy of: RossHelen

Opt for plants suited to your climate, soil, and sunlight conditions. You can also browse the internet for plant options. Here are a few beginner-friendly choices:

• Annuals: Marigolds, Petunias, Snapdragons, Impatiens, Zinnias, Geraniums
• Perennials: Black-eyed Susans, Daylilies, Hostas, 0Coneflowers (Echinacea), Sedum
• Vegetables: tomatoes, Peppers, Lettuce, Carrots, Cucumbers, Squash (zucchini, yellow squash)

7. Plant with Care

Image courtesy of: RossHelen

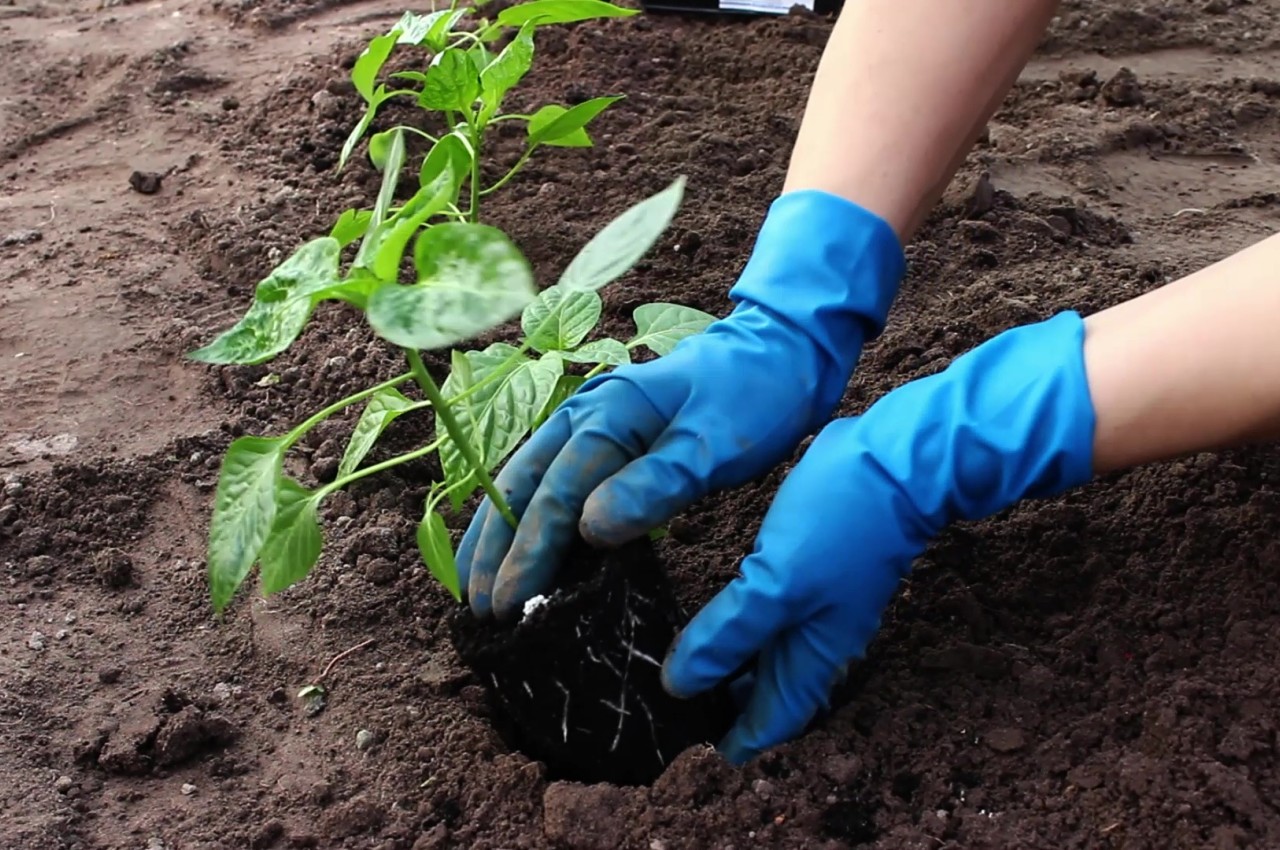
Most seed packets and transplant containers come with basic planting instructions. Once you’ve done the groundwork, begin planting. For seeds, follow guidelines such as planting them three times as deep as their diameter or as specified. Be cautious with seeds needing light for germination, ensuring they’re not buried too deeply. Transplants are usually planted at the same depth as in the pot, with exceptions like tomatoes. Wait until the danger of frost has passed to heat-loving plants. Young plants may require protection or hardening off before being planted outdoors.

When planting seeds, sow them at the specified depth on the packet, firming the soil gently, and water when the soil surface dries out. Some plants prefer cooler temperatures and can be planted in autumn or late winter, while others thrive in warmth and should wait until after the risk of frost has passed. Mid-spring and mid-autumn are optimal for planting perennials. Annuals can be directly sown in the garden or started indoors a few weeks before the last frost date. Alternatively, purchase young plants for transplanting into prepared beds and ensure proper watering after planting.

8. Start Watering

Image courtesy of: wirestock

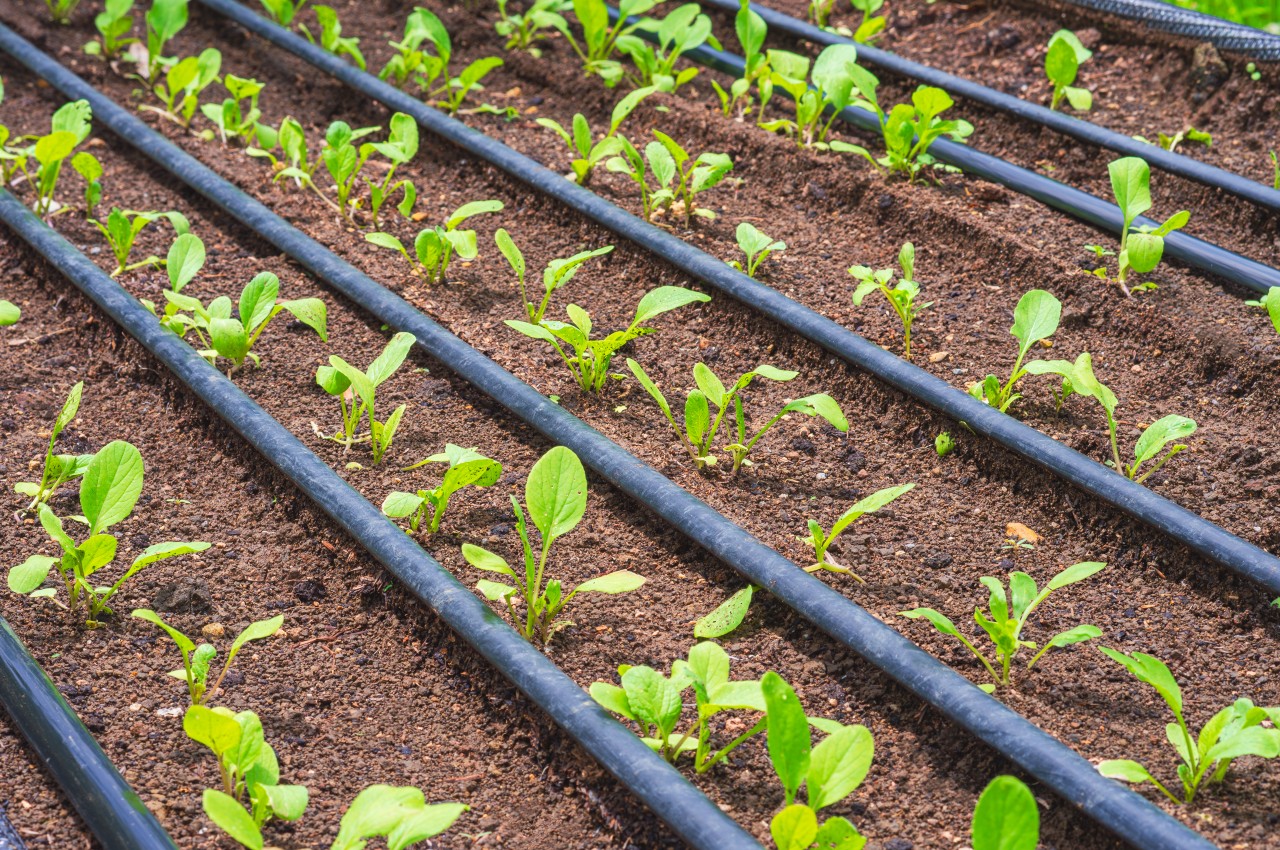
Water seedlings daily to prevent them from drying out, adjusting frequency as they grow. Newly transplanted seedlings need watering every other day until their roots are established. Afterward, water once a week, considering soil type, humidity, and weather conditions. Clay soil retains moisture longer than sandy soil. Test soil moisture by feeling 3-4 inches below the surface; if dry, water slowly and deeply. Water in the early morning to minimize evaporation.

9. Add Mulch

Image courtesy of: larisikstefania

Apply a couple of inches of mulch to the soil for moisture retention and weed suppression, choosing from materials like shredded bark, straw, or river rock. Organic mulches, such as bark or compost, enrich the soil as they break down. Avoid covering seeds you want to grow; opt for quickly decomposing mulches for vegetable gardens, and longer-lasting options like bark chips for perennials. Mulch acts as a protective cover, aiding in moisture retention, soil cooling, and weed suppression, while enhancing the garden bed’s appearance. As organic mulches decompose, they enrich soil fertility. Covering the soil with rocks and organic matter inhibits weed germination and maintains soil moisture and warmth while providing nourishment for beneficial soil organisms. Match the right mulch with each crop: wood chips for fruit trees and shrubs, and lighter options like straw or leaves for delicate vegetables.

10. Maintain the Garden

Image courtesy of: FiledIMAGE

Regular maintenance involves watering plants before they wilt, removing weeds before they seed, and clearing away dead or diseased vegetation. Support tall plants with trellises or stakes, and harvest vegetables promptly when ripe. Garden maintenance follows a seasonal rhythm; for instance, in spring, prevent weeds, while summer requires vigilant watering, and fall is meant for pruning and cleanup. Throughout the growing season, attend to your plants’ needs: remove yellow or deformed leaves, stake plants for support, and prune dense growth to improve sunlight and air circulation.

Happy Gardening!

The post How To Design Your Backyard Garden From Scratch first appeared on Yanko Design.
How To Make Compost At Home

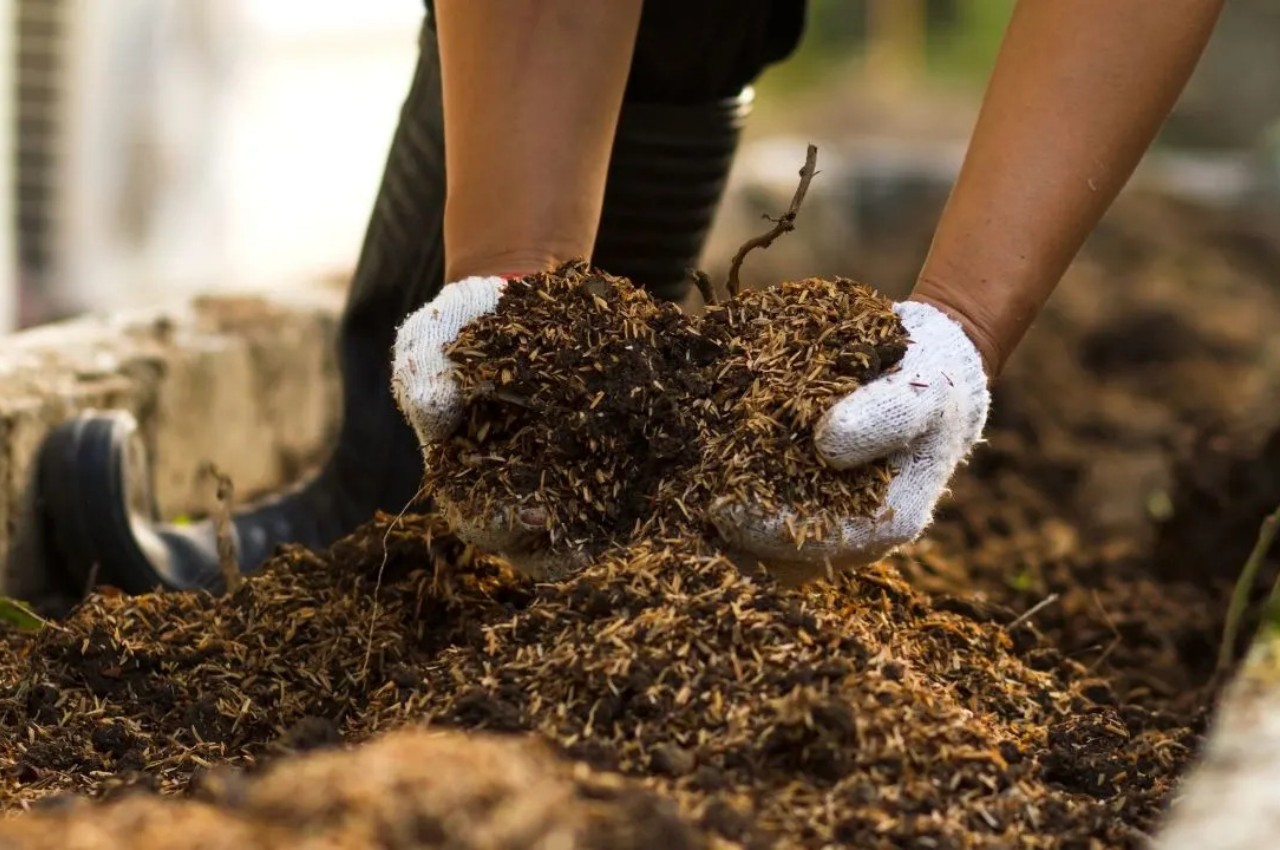
Composting is an aerobic procedure that requires oxygen and transforms organic substances into a nutrient-rich soil enhancer or mulch via the process of natural decomposition. Microorganisms consume materials in the compost pile, utilizing carbon and nitrogen for growth, water for digestion, and oxygen for respiration, resulting in compost—a dark, crumbly material with an earthy smell. Composting is nature’s method of recycling naturally, helping in reducing waste, combating climate change, and enhancing the quality of the soil. The biggest advantage is that one can compost kitchen food scraps along with dry leaves and woody debris from your yard at home.

Designer: Otis Oat

What are the benefits of composting?

• Composting allows one to recycle food scrap and manage waste more sustainably.
• It helps in reducing the volume of materials that may get disposed of in landfills or trash incinerators, thereby reducing the emission of powerful greenhouse gases.

Designer: Homesteading Where You Are

• Composting requires minimal effort and is a cost-effective way to produce high-quality soil amendments while reducing the use of fertilizers and pesticides.
• Another advantage is that composting is that it creates nutrient-rich soil, prevents soil erosion, conserves water, and improves plant growth.

What are the different types of composting?

Composting can be broadly classified into backyard composting and vermicomposting.

Backyard Composting

Backyard composting includes carbon-rich materials or browns like dry leaves, twigs, plant stalks, nitrogen-rich materials, or greens like grass clippings and food scraps. Composting involves the presence of water and oxygen, where carbon-rich materials serve as food for microorganisms, and nitrogen-rich materials generate heat in the pile.

Image Source: Plantophiles

• For backyard composting, the first step is to decide on a method for gathering and storing browns outdoors and collect fruit and vegetable scraps in a sealed container either on your kitchen counter, under your sink, or in your fridge or freezer.
• Identify an accessible, well-draining space in your yard for a compost pile, and select a bin type, that can be constructed from materials like wire, wood, cinder blocks, or enclosed options such as barrels and tumblers.
• Chop and break down the browns and greens into smaller pieces before adding them to the pile to expedite the decomposition process.
• Construct the compost pile with a four- to six-inch layer of substantial browns, like twigs and wood chips, to absorb excess liquids, elevate the pile, and facilitate air circulation at the base. Follow by layering greens and, add a bit of water to moisten the pile. Note that the browns should be at least three times the greens.
• As the compost pile decomposes, the center temperature initially rises. One can speed up decomposition and aerate by turning and mixing the pile with a garden fork. Monitor moisture, odor, and temperature, adjusting as needed. Adjust the compost by moistening and turning if it’s too dry, adding browns and turning if there’s an odor, mixing in greens, and turning if it’s not heating up.
• Once your compost pile stops heating up and shows no visible food scraps after mixing, let it cure for at least four weeks, relocating the oldest compost if desired. Note that after curing, the pile will be reduced to about one-third.
• Well-maintained compost is ready in three to five months, looking dark, loose, and crumbly with a soil-like smell. Screen or sift the finished compost to remove undecomposed materials, such as twigs or fruit pits, and add them back to the active or new pile if desired.
• Well-constructed and properly maintained compost piles, whether in bins or open, should not attract pests or rodents. If using a bin, reinforce it with a lid and potentially a floor, ensuring no holes or gaps larger than ¼ inch. Cover and bury food scraps in the pile, and avoid adding meat, dairy, or greasy foods.

Vermicomposting

Vermicomposting employs specific earthworm species to enhance the organic waste conversion process, utilizing microorganisms and earthworms in a mesophilic environment. Earthworms consume organic materials, producing granular excrement known as vermicompost, which, in simple terms, improves soil’s biological, chemical, and physical properties. The earthworm’s digestive tract secretions aid in breaking down soil and organic matter, enriching the castings with readily available nutrients for plants. Various organic residues, including straw, husk, leaves, stalks, and livestock or poultry wastes, can be transformed into vermicompost, with earthworms reducing waste volume by 40–60 percent.

Types of Compost Bins

Here is a curated assortment of innovative compost bins.

1. Handheld Composting Machine

Designer: Shihcheng Chen

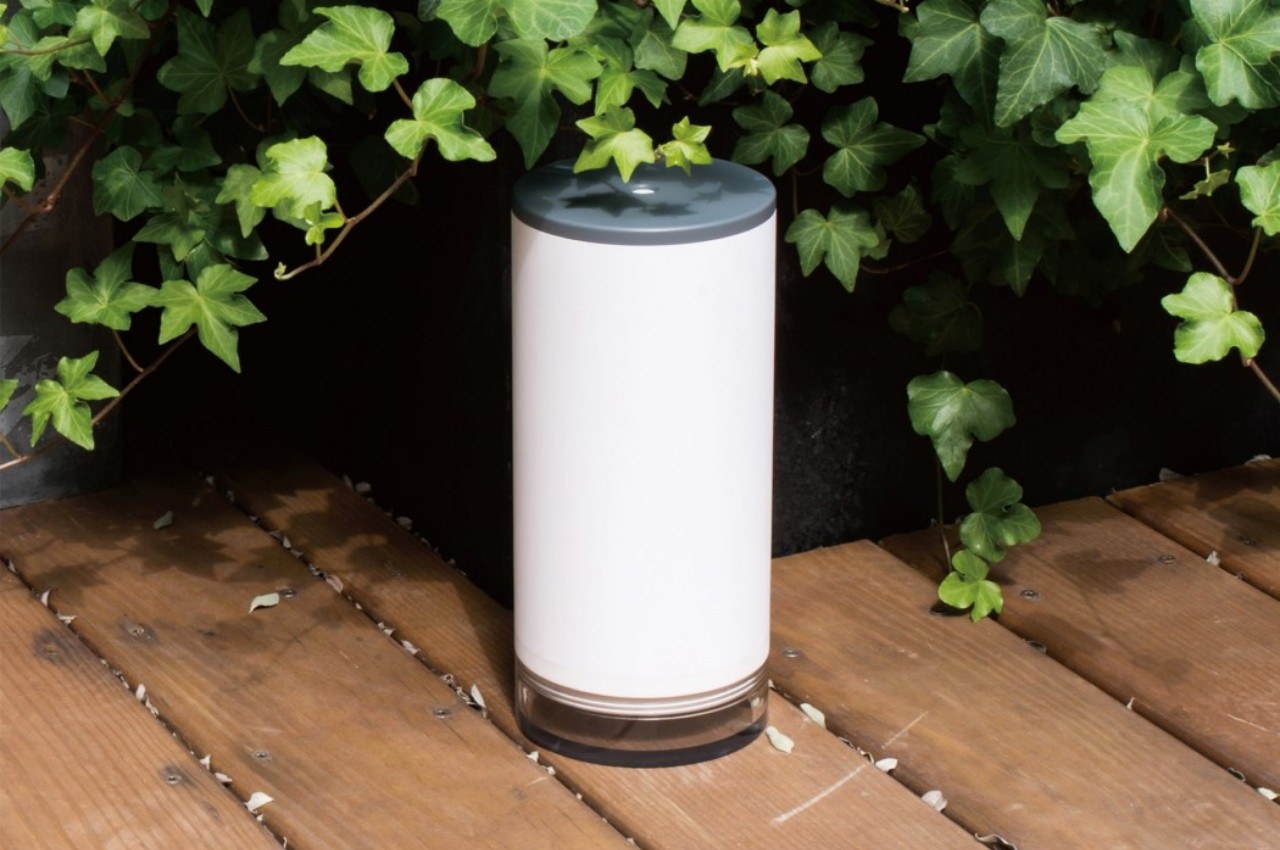
The ReGreen is a compact handheld device simulates the look of a miniature waste-disposal machine and incorporates an aluminum grinder that efficiently crushes and pulverizes waste while promoting quick biodegradation. The device features a top opening for waste input, a rotating arm that facilitates gentle pulverization and its base allows water drainage for compost drying. After waste is processed, one can introduce enzymes to speed up composting and convert organic waste into nutrient-rich compost.

2. Plant Cultivator and Compost Bin

Designer: Robin Akira

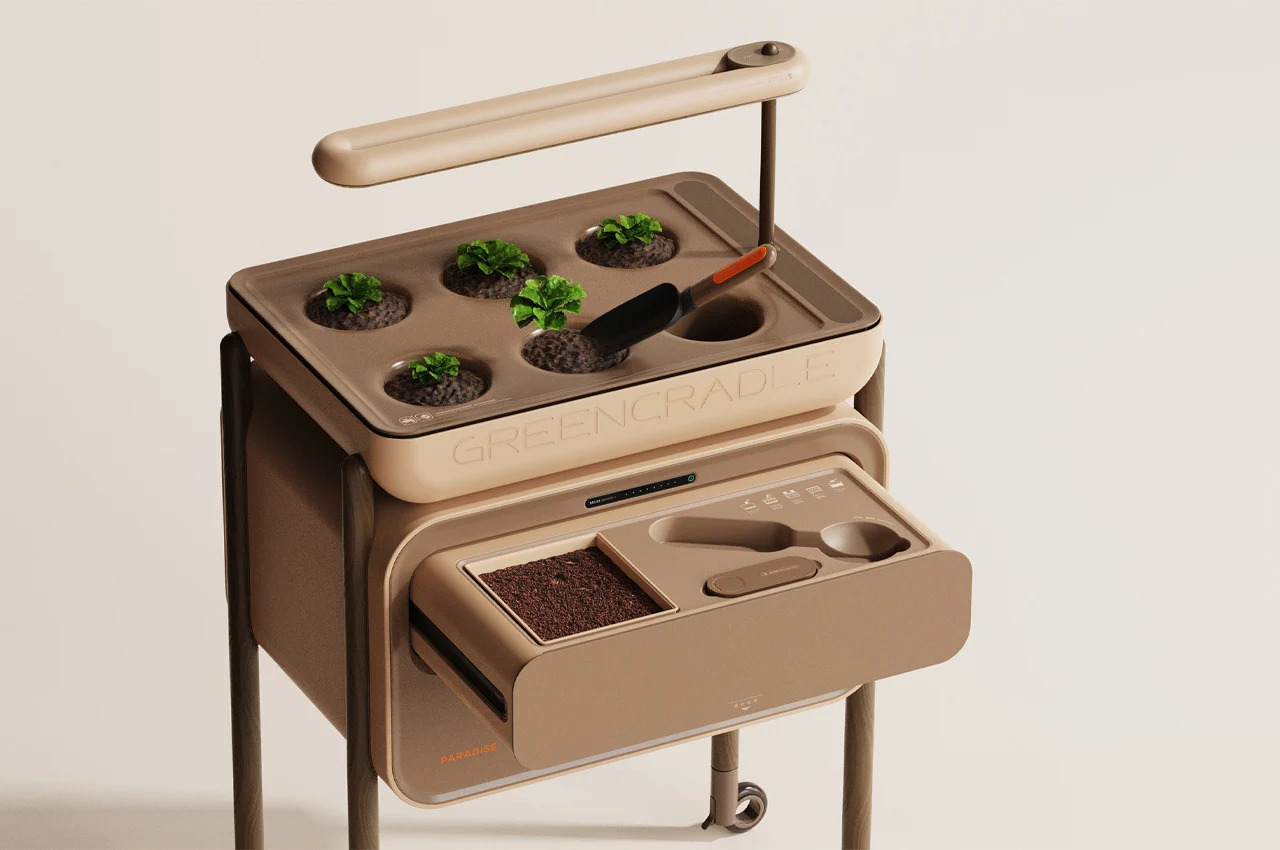
Paradise is an automated plant cultivator and compost bin designed to decrease domestic waste via the use of integrated technology that notifies users about compost and plant care needs. Inspired by the pandemic-driven shift to home-centric living, designer Robin Akira created Paradise to integrate greenery into interior spaces while addressing the global rise in domestic waste with its composting features and odor-sealing lid.

3. Compost Bin cum Indoor Garden

Designer: Chaozhi Lin

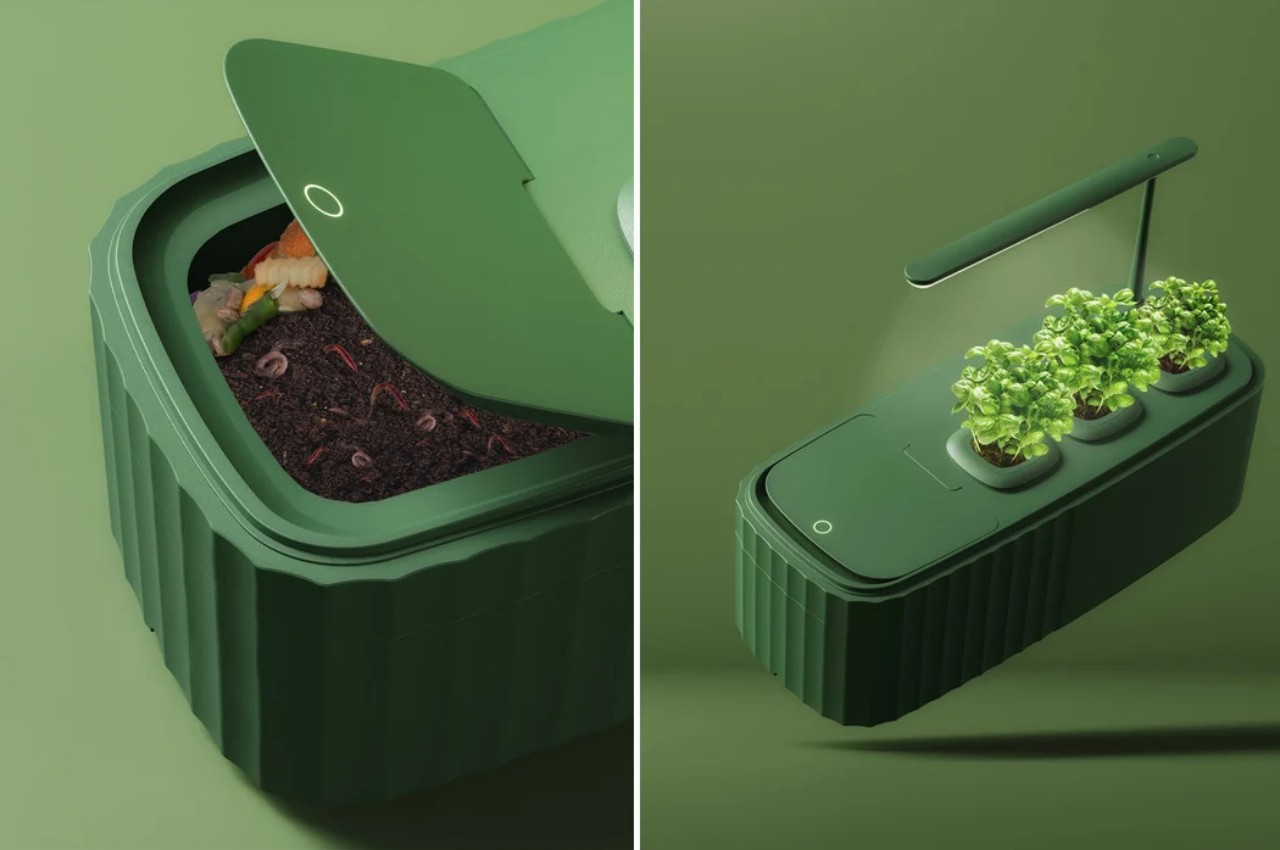
In a changing world where sustainability is a personal commitment, KAGURA, a self-sustaining indoor gardening system created by Chaozhi Lin, facilitates composting and vegetable cultivation. Consisting of a food waste container, elevated light structure, and three soil pots, KAGURA transforms scraps into compost, nourishing plants with an attractive, compact light fixture. Designed to fit any kitchen or living space, this system caters to environmentally conscious individuals in urban settings, addressing the challenge of limited yard space and making sustainable living feasible for city homes.

4. Compost Sleek Bin

Designer: Alp Çakın

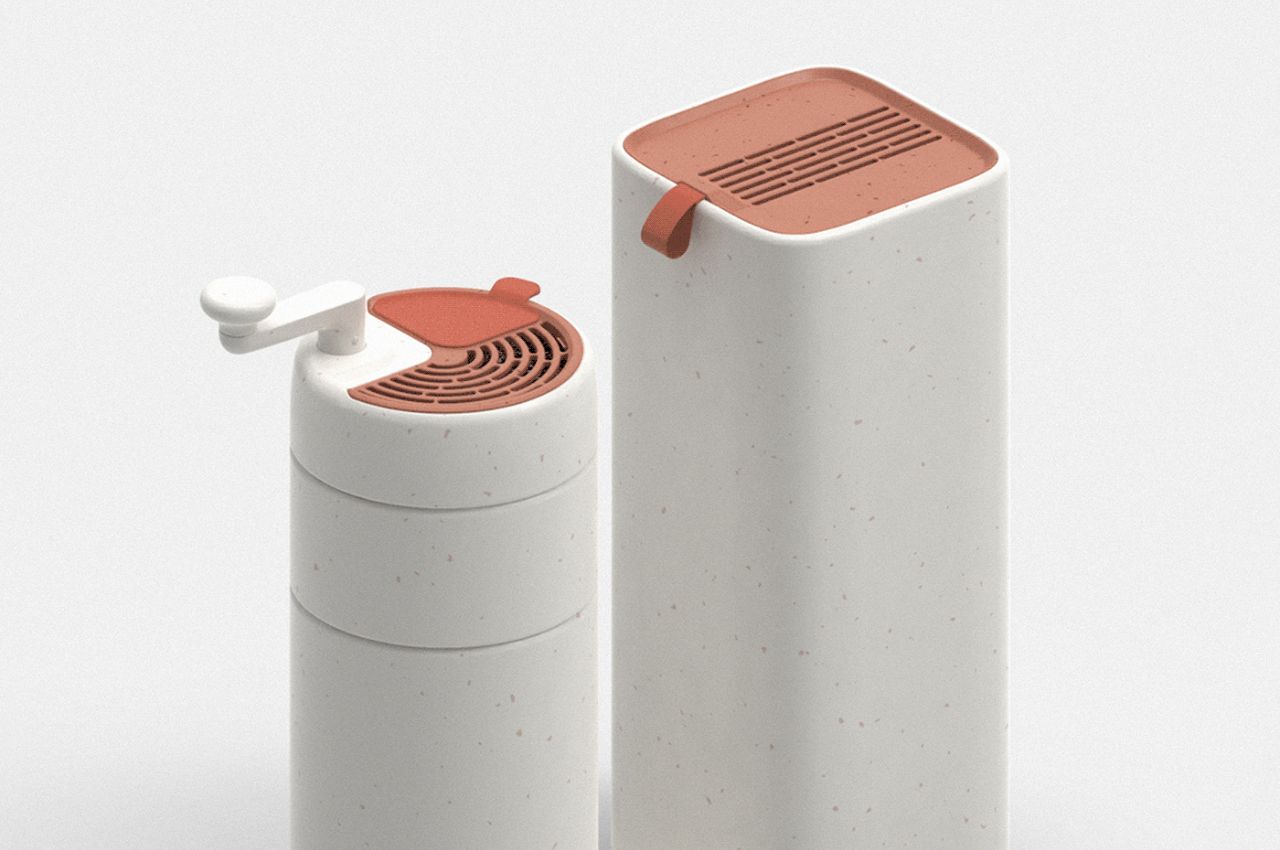
Homepost, an innovative composting station, addresses waste challenges in office environments by accelerating the composting process, containing odors, and providing additional storage space. Its efficient design allows for the transformation of diverse organic waste, including plastics, paper, nutshells, teabags, coffee grounds, fruit and vegetable scraps, and eggshells. The system’s environmentally friendly construction, made from sustainable green polyethylene, absorbs carbon dioxide during production. Featuring a rotating arm for easy transportation, Homepost’s modules nest efficiently for minimal space occupancy during transit.

5. Composting Machine

Designer: Jinhwi Bang

Reencle tackles the escalating food waste issue in the USA by efficiently breaking down household food-prep waste, bones, peels, leftovers, and expired products into compost within 24 hours. Roughly the size of a trash bin, Reencle features an automatic opening lid and a control panel, with microorganisms inside its chamber facilitating the composting process. The mechanical churning system reduces waste volume through vigorous mixing, and any emissions are filtered to release trace amounts of water vapor and clean air. This at-home solution transforms food waste into nutrient-rich compost for gardens or disposal, mitigating environmental harm caused by landfill decomposition.

6. Stainless Steel Compost Bin

Designer: Adrian Moro

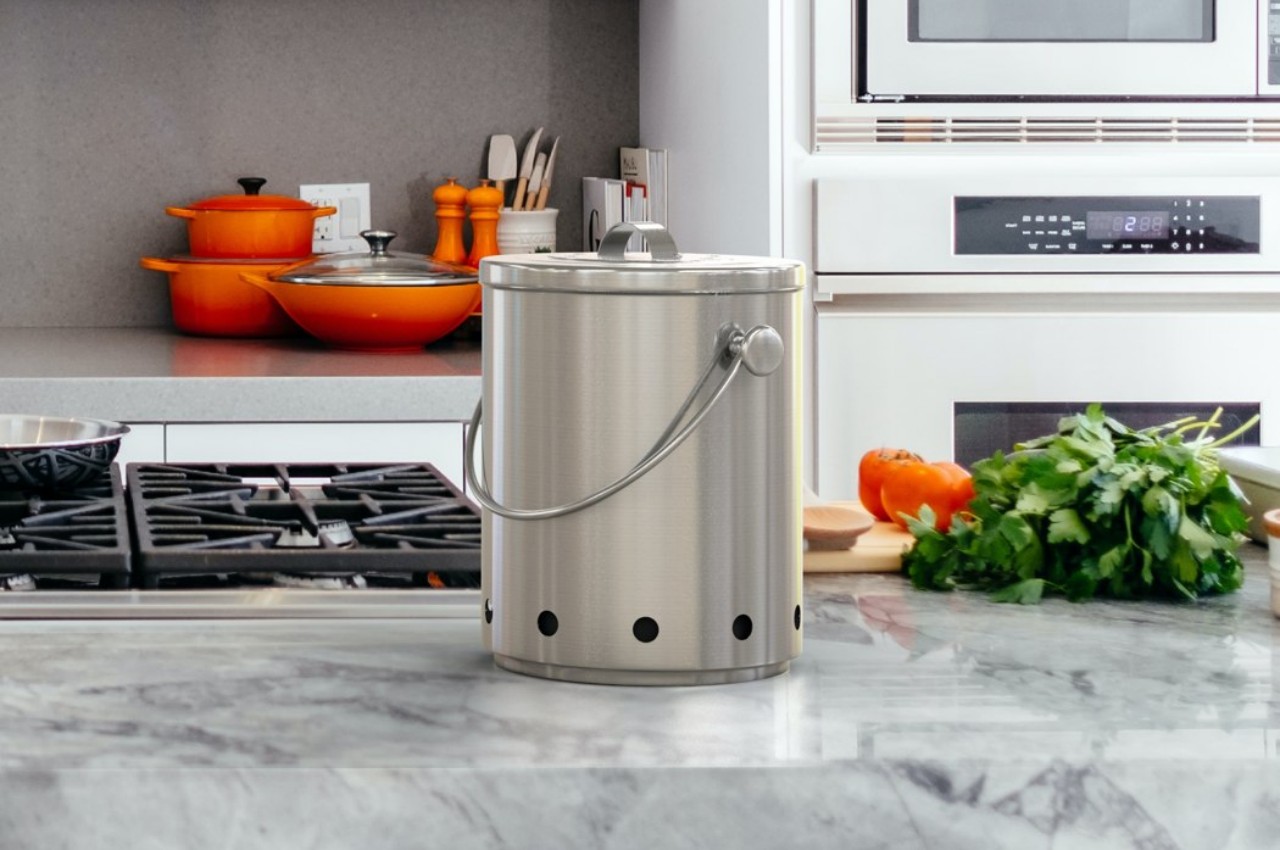
Kamoro’s Compost Bin is crafted with a streamlined airflow design that both dries out waste and provides essential oxygen for microbial survival, ensuring the effortless cultivation of a healthy compost batch. Its double-walled construction consists of an outer stainless-steel container and an inner plastic bucket. The stainless-steel container incorporates a perforated base to establish an airflow pattern, and an activated carbon filter on top effectively filters outgoing air, reducing any odors generated during the organic breakdown process.

The post How To Make Compost At Home first appeared on Yanko Design.
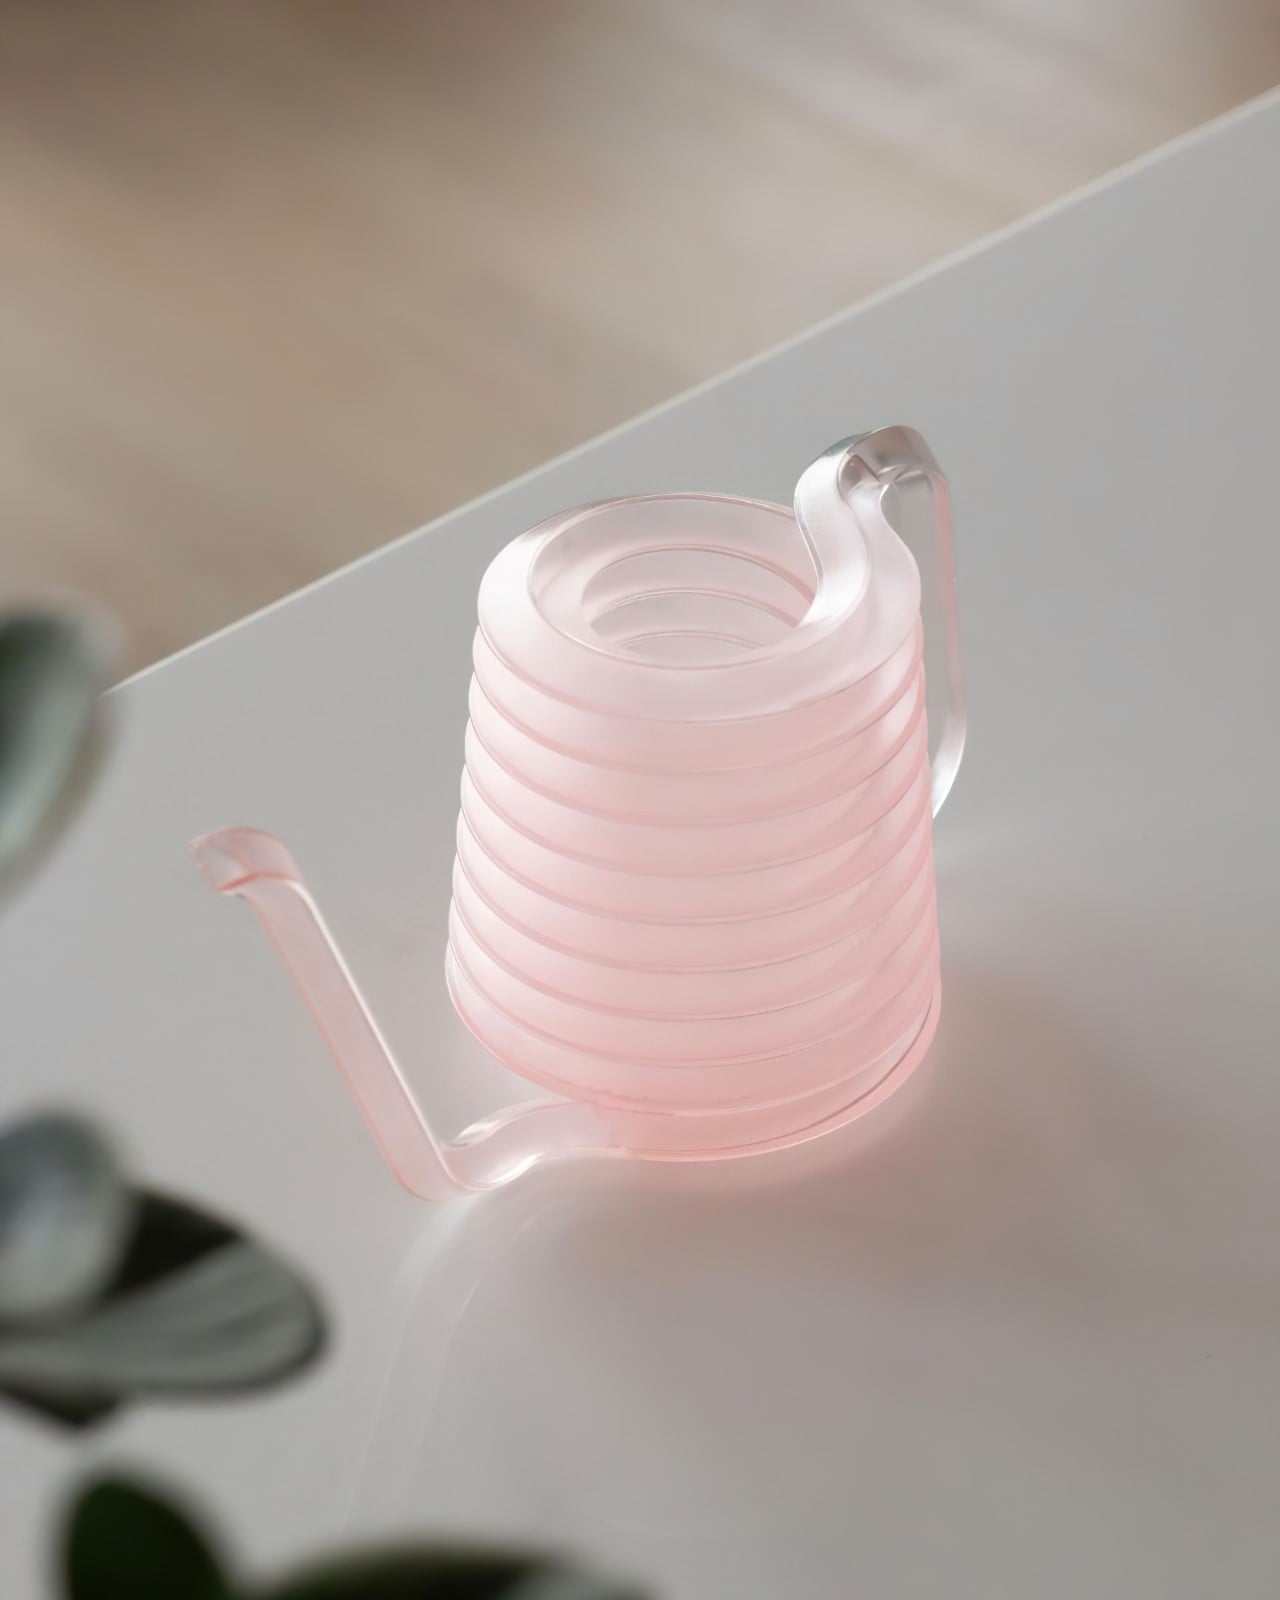
Whimsical 3D-printed watering can creates an illusion of a spiral waterslide

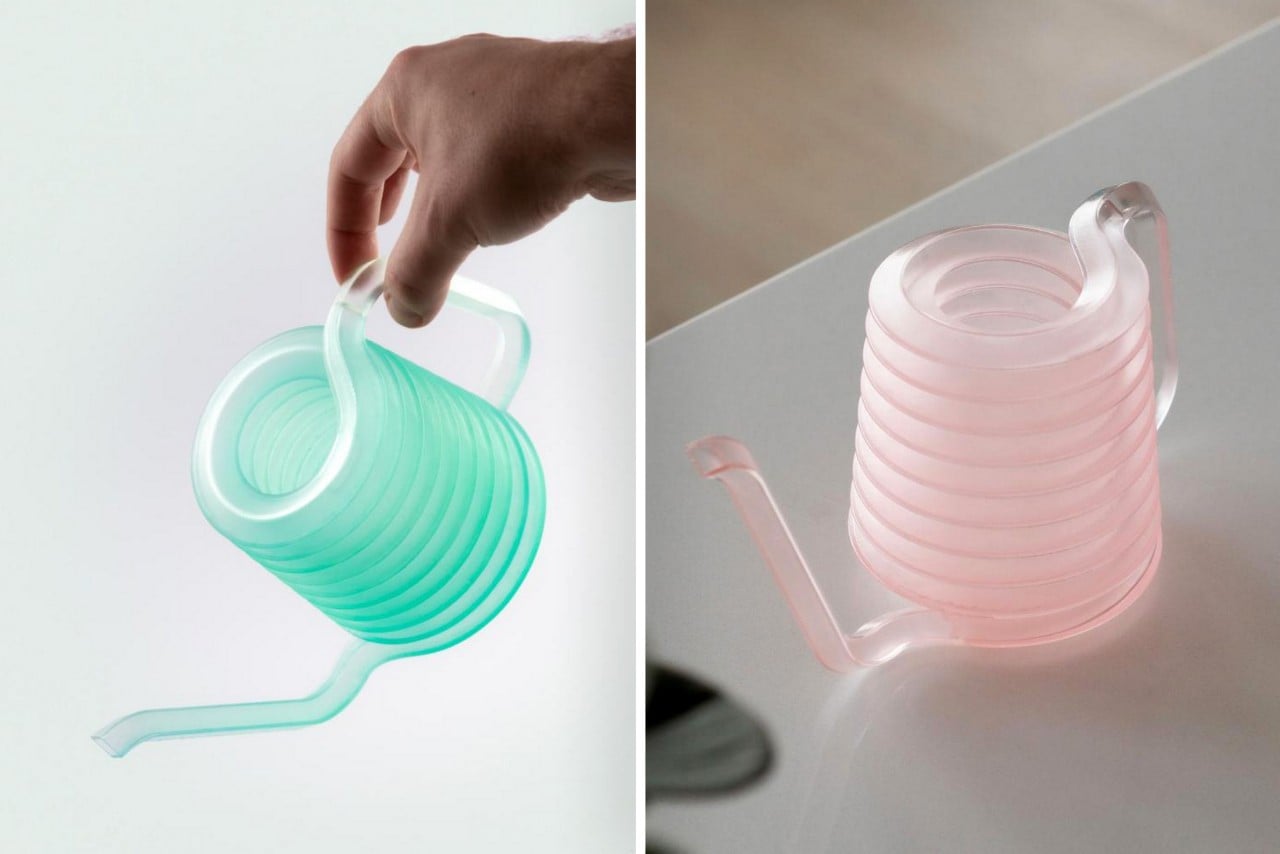
Designed to make the watering can look a little less mundane, the Coil is a rather eye-catching little number that uses an optical illusion of sorts to create a product that’s fun and whimsical to the eye and touch. “Coil is a contemporary take on an age-old tool: the watering can,” say Robert Shudra and Markus Melcher, the designers at Plural. “While many people own watering cans – and several elegant designs exist – the structure remains unimaginative, generally consisting of a container, open at the top with a spout and handle.”

Designer: Plural Creative

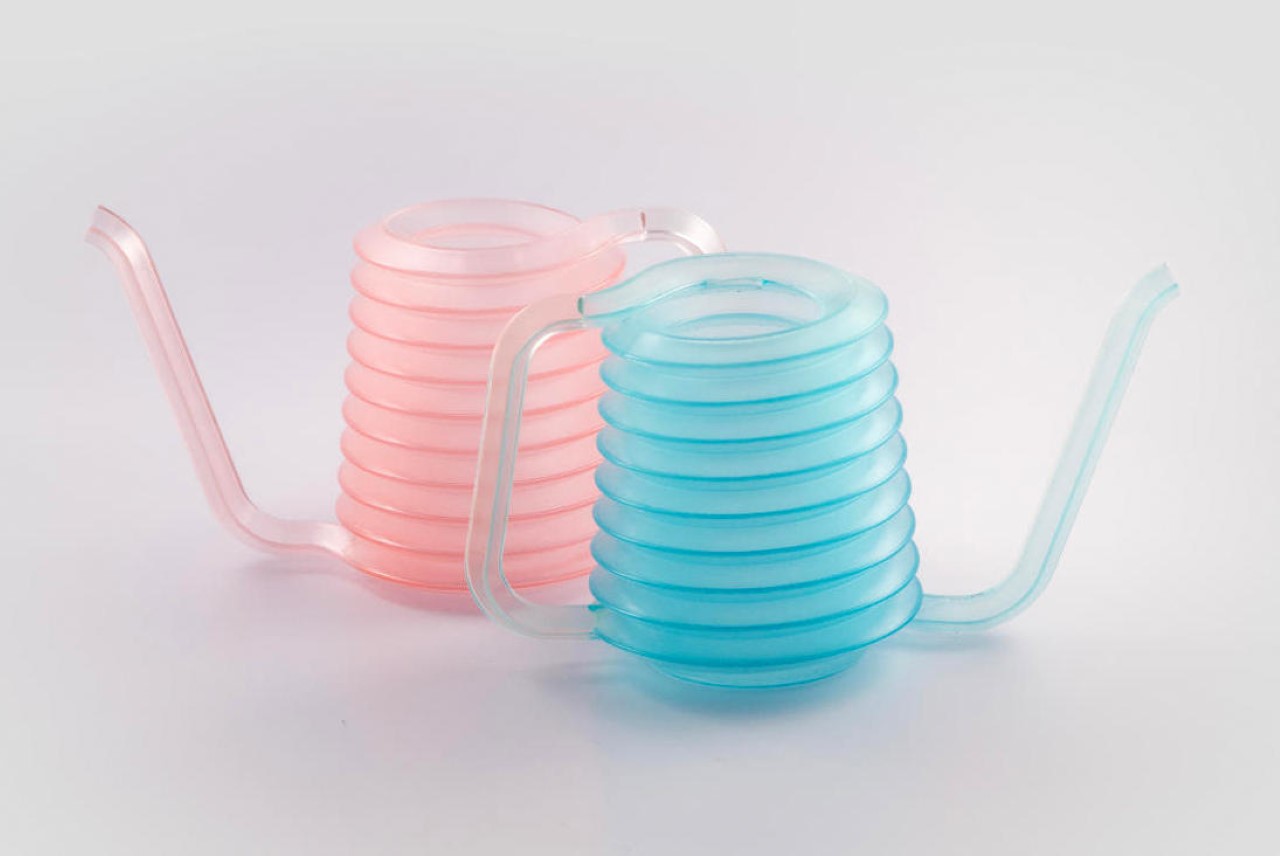
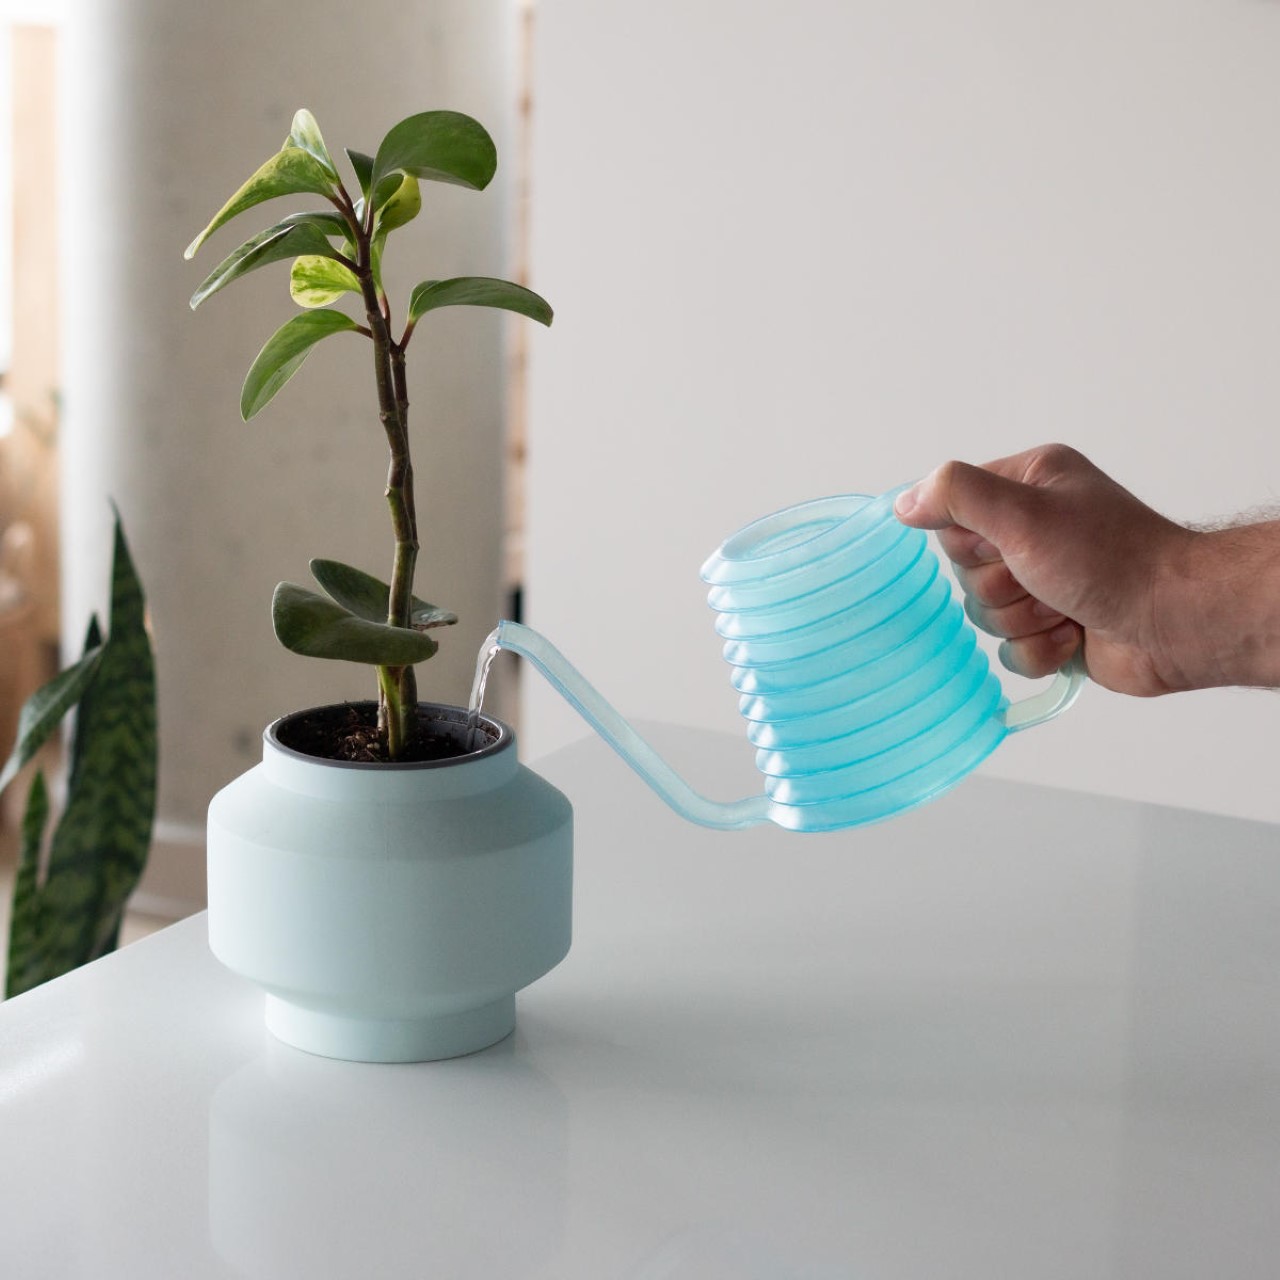
The Coil’s engaging design features a single-piece body where the spout wraps itself dramatically into a cylinder, before branching out to become a handle. Fill the water into the empty vessel and its coiled body fills up with water too, which empties out of the spout when you tip the can over.

The only way to realize this product is through resin 3D printing. The 3D-printed product has a wonderful smokey translucent texture along with a meticulous finish that can only be achieved through this manufacturing process. The interiors are absolutely hollow, without any support structures, creating a product that truly looks magical, and feels absolutely enchanting to use while watering plants, or potentially even using with a pour-over coffee maker.

Coil dynamically fills through a spiral waterslide, resembling an unexpected pairing of delicate chemistry equipment and ‘crazy straws’ from our youth.

A closer look at the resin 3D-printed design reveals the hollow coiled body and an integrated, but sealed-off handle that doesn’t gather water.

The post Whimsical 3D-printed watering can creates an illusion of a spiral waterslide first appeared on Yanko Design.
LEGO launches its botanical collection to merge building blocks with gardening

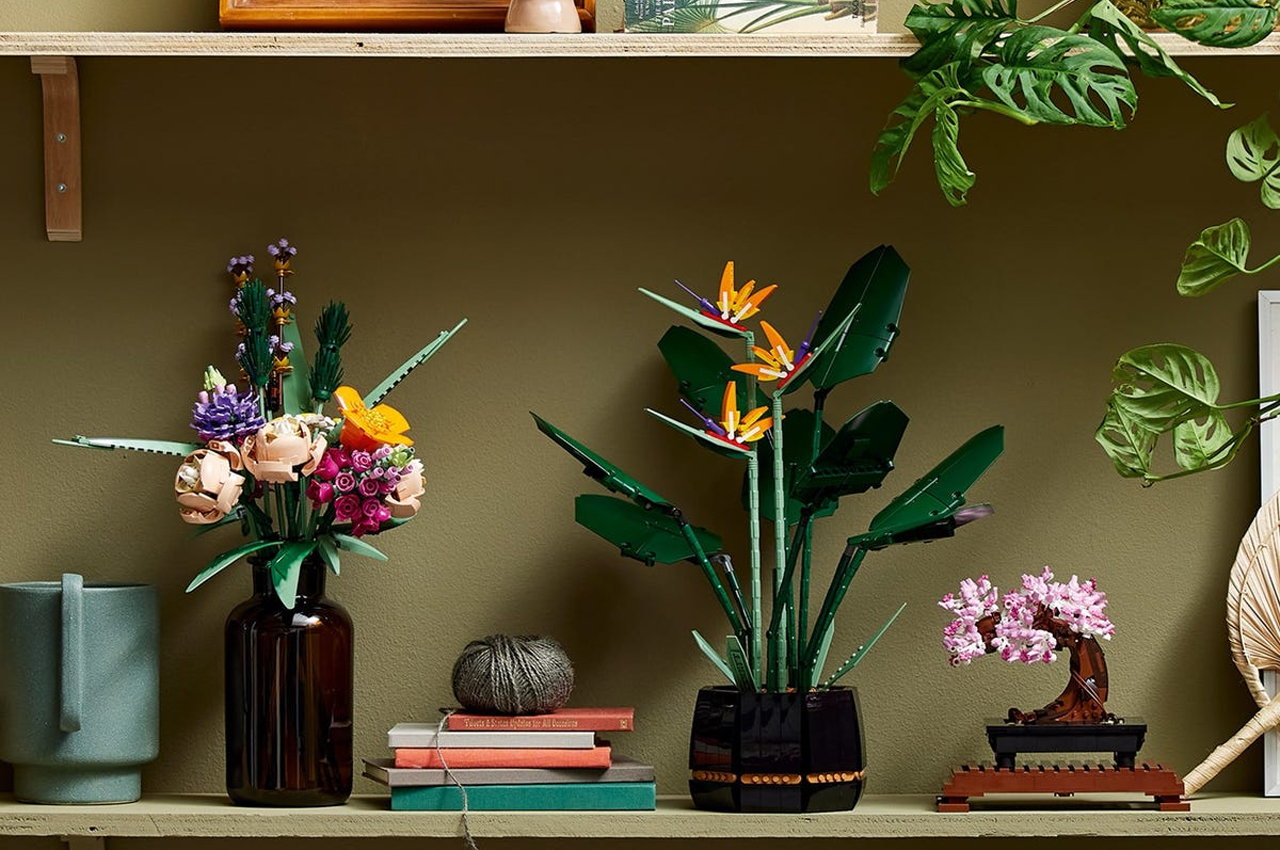
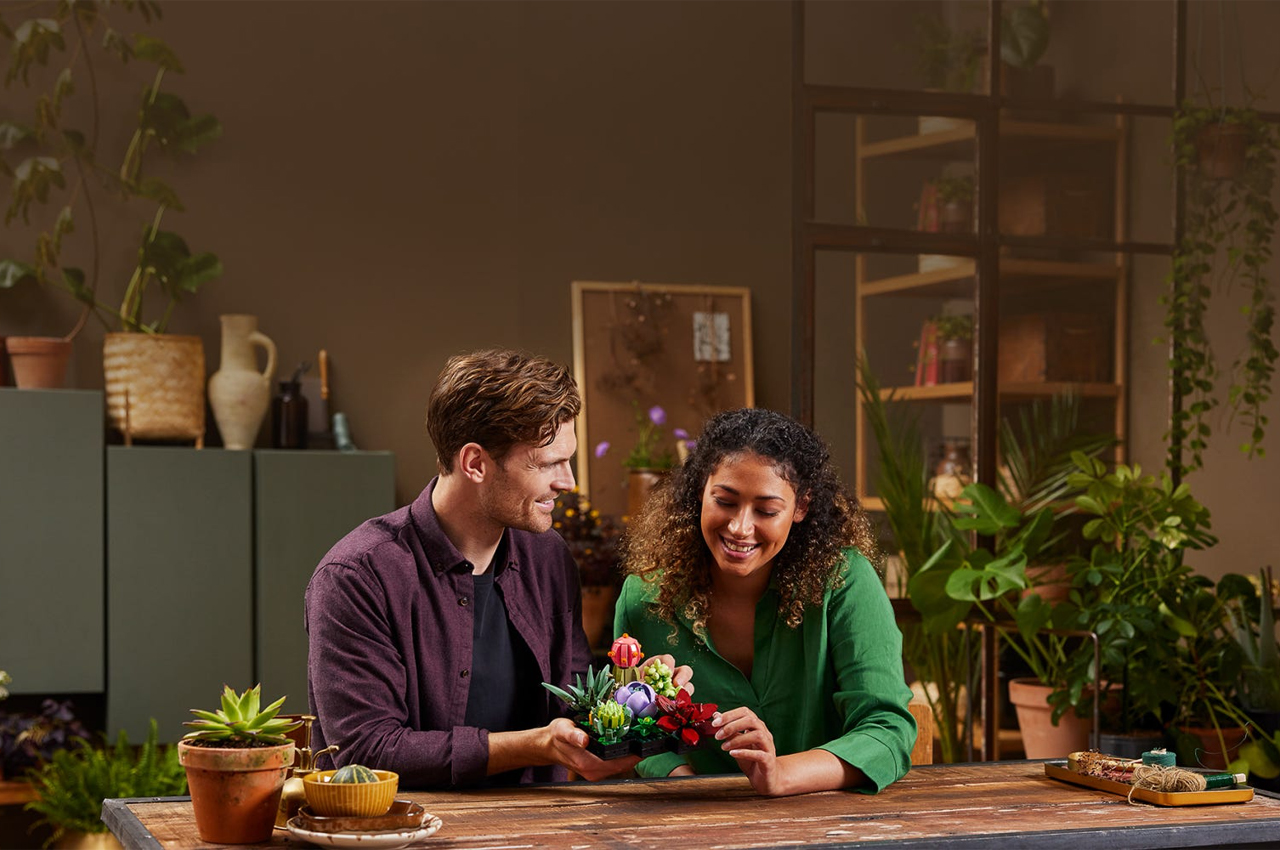
LEGO’s Botanical Collection marks the toy company’s latest effort in merging the joyful pastime of building blocks with the meditative work of gardening.

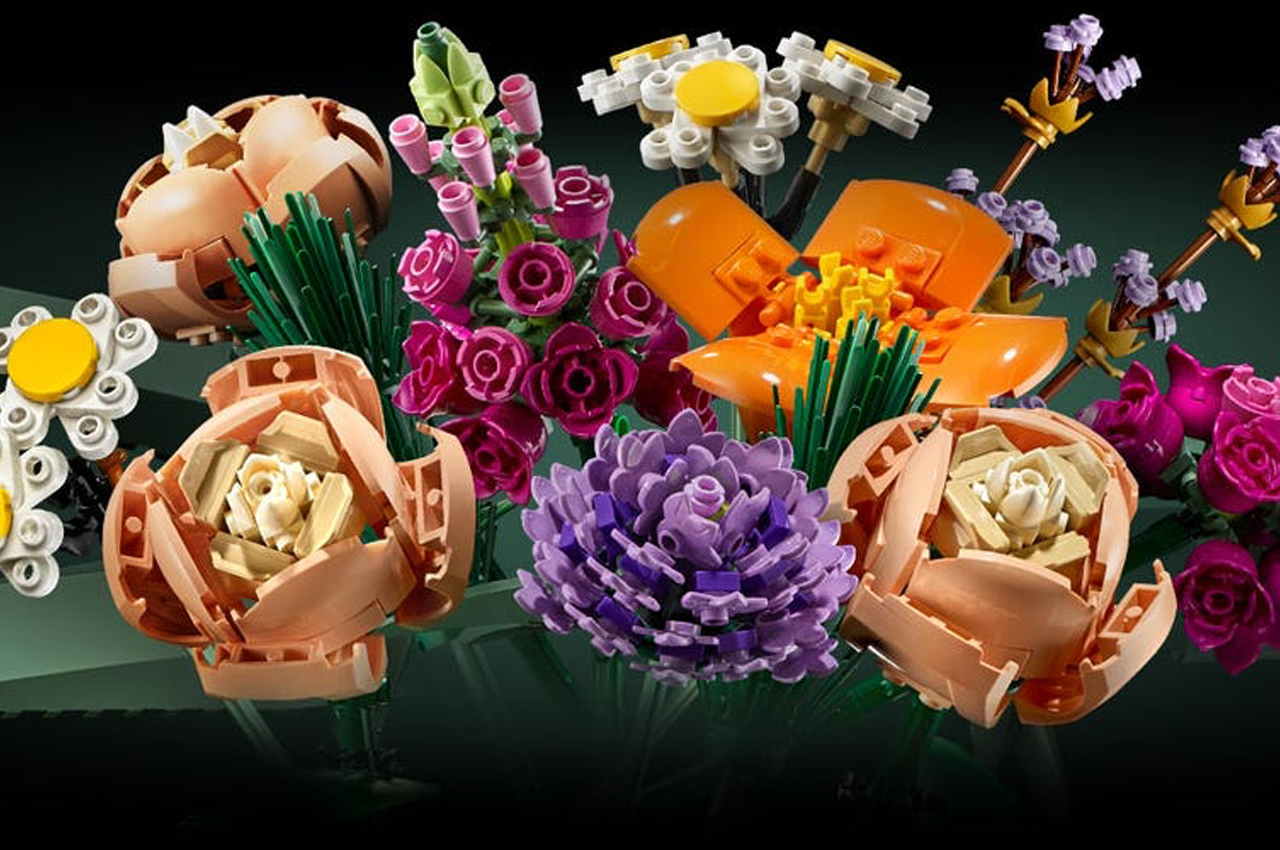
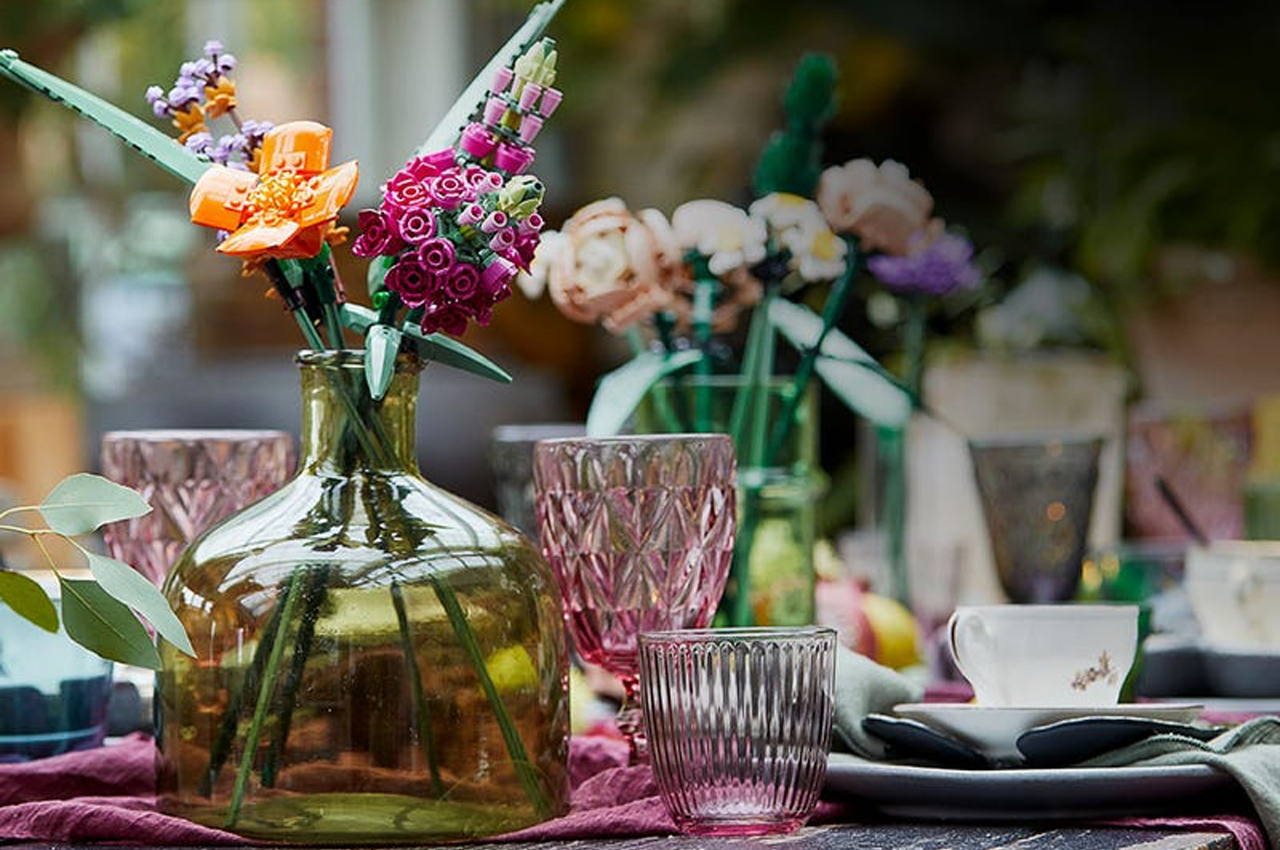
Two of the more popular pastimes to have gained traction during the pandemic have been gardening and building with LEGOs. It seems everyone is filling their homes with flower bouquets and greenery. While there’s no replacement for growing our own gardens, LEGO recently launched a collection of blocks that allow people to build their own bouquets and greenery with LEGO blocks. Dubbed the Botanical Collection, users will be able to replicate flowers like Birds of Paradise and orchids with corresponding LEGO blocks.

Designer: LEGO

Designed to provide users with a means for rest and relaxation, the Botanical Collection is like a sort of three-dimensional puzzle that merges the childhood joy of LEGO building blocks with the patient game of jigsaw puzzles. While children and adults enjoy collecting LEGO blocks and building microscopic cityscapes from that collection, the Botanical Collection marks a clear effort from the toy block’s company to ‘adultify’ their collection of LEGOs.

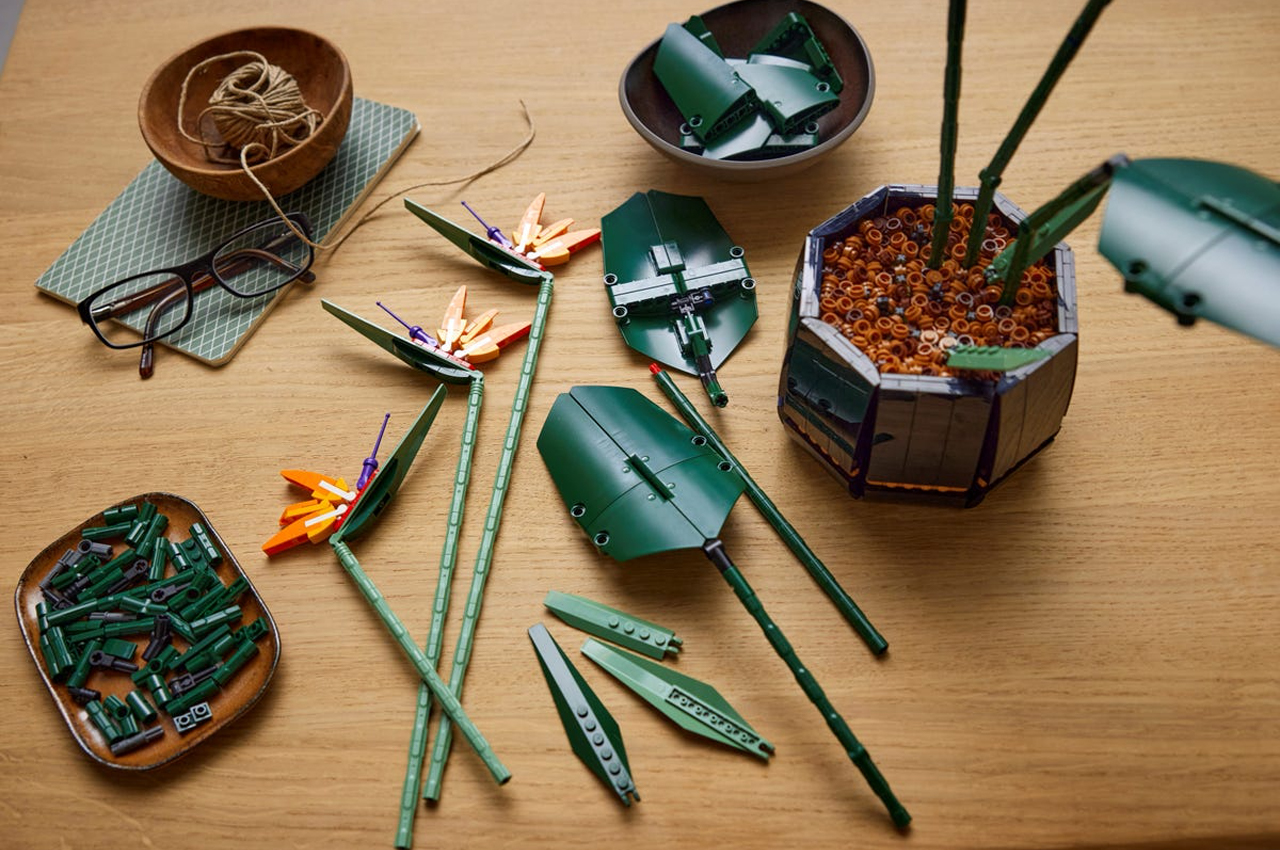
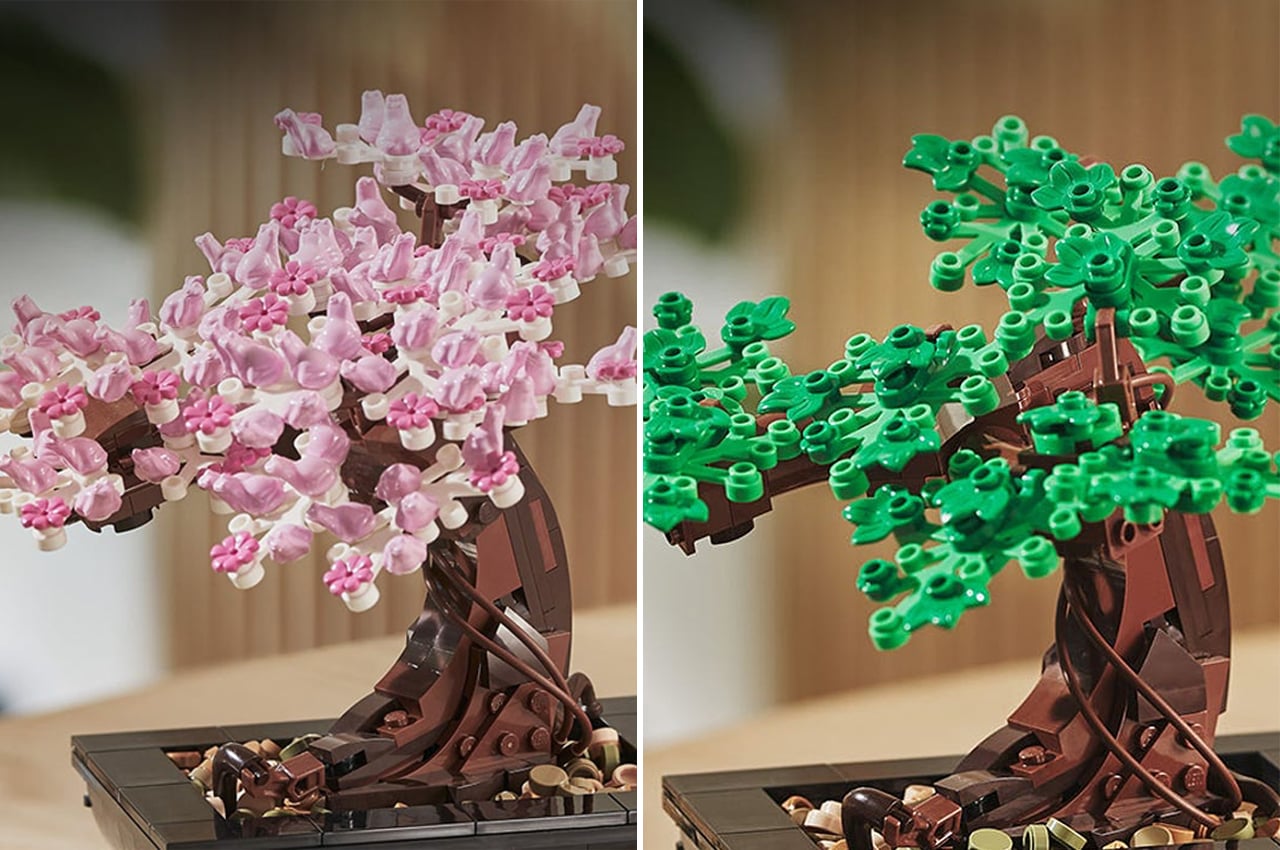
The Bird of Paradise collection features over 1,000 building blocks so users can take their time constructing artful three-dimensional replicas of bouquets and plant life. In addition to the Bird of Paradise option, the Botanical Collection includes pieces to build orchids, succulents, full bouquets, bonsai trees, and whatever else your imagination concocts.

On rainy days, when gardening isn’t an option, LEGO’s new Botanical Collection offers a moment of indoor respite for those of us with green-thumbed tendencies. Of the succulent collection, the designers at LEGO encourage adults to, “Discover the deeper virtues of our resilient friends. Venture into the plant kingdom and let your green fingers do what they do best, with this creative and relaxing build.”

The post LEGO launches its botanical collection to merge building blocks with gardening first appeared on Yanko Design.
Modern indoor gardening solutions to help cultivate the perfect personal green space at home

Gardening is an extremely therapeutic activity, and though I may not engage in it all the time, the few times that I have, I found it really delightful and soothing. Growing, tending to, and being surrounded by plants is intensely satisfying, all your worries slowly fade away, and you are simply enthralled by nature. However, not everyone has access to outdoor gardens, especially with the pandemic locking up most of us in our homes. Indoor gardening is a modern solution that works perfectly in our modern homes. From LG’s latest indoor gardening appliance that is 3 feet tall to an indoor vertical garden with a bio-filter, we have a myriad range of options when it comes to growing plants within the comfort of your home! These unique, innovative, and thoughtful designs promise to take care of all your indoor gardening needs. And I don’t know about you, but I’m really considering trying one of them out, I wouldn’t mind adding indoor gardening to my daily routine!

1. The LG tiiun

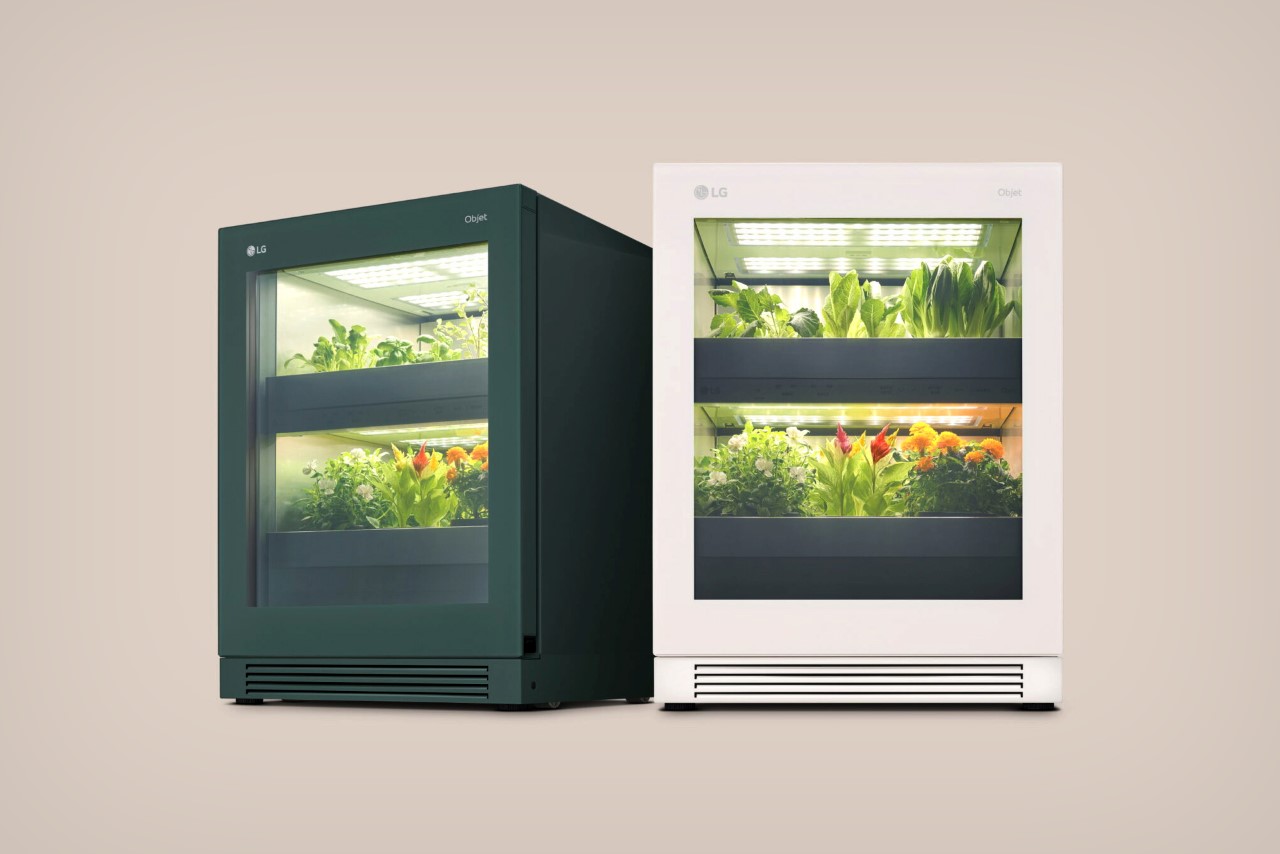
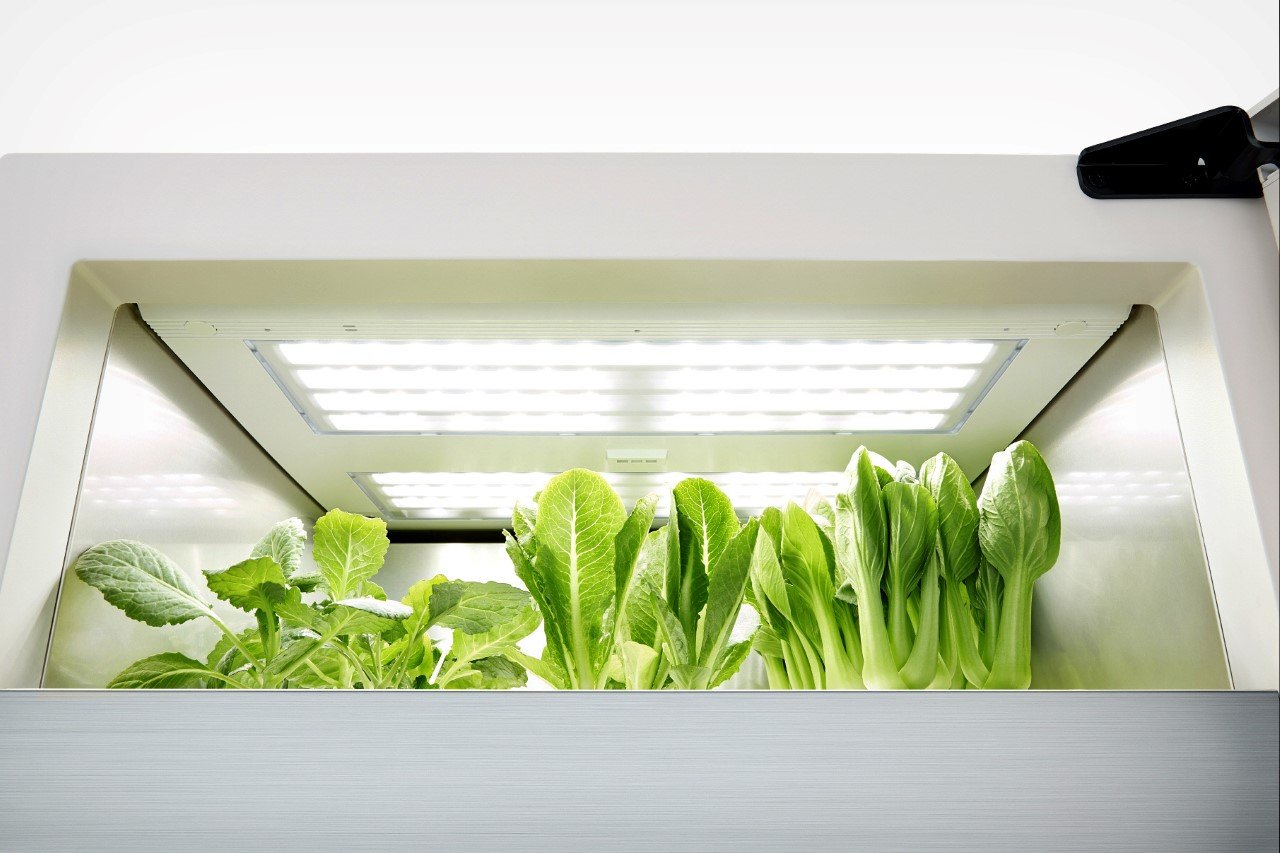
Designed as a unique home appliance that lets you grow your own herbs and veggies the LG tiiun was announced in the run-up to CES 2022. The indoor gardening appliance is roughly the size of a dorm refrigerator, standing at approximately 3 feet tall, and features two shelves that can accommodate up to 6 all-in-one seed packages and various seed kits. The term tiiun comes from the Korean word meaning ‘to sprout’ and is LG’s way of indicating that this appliance is an all-in-one self-sufficient garden. The appliance creates a perfect microclimate and all the right conditions for the plants to grow, even mimicking light cycles so you could potentially keep your tiiun anywhere in a room without worrying about access to proper sunlight.

2. Vertex Zero

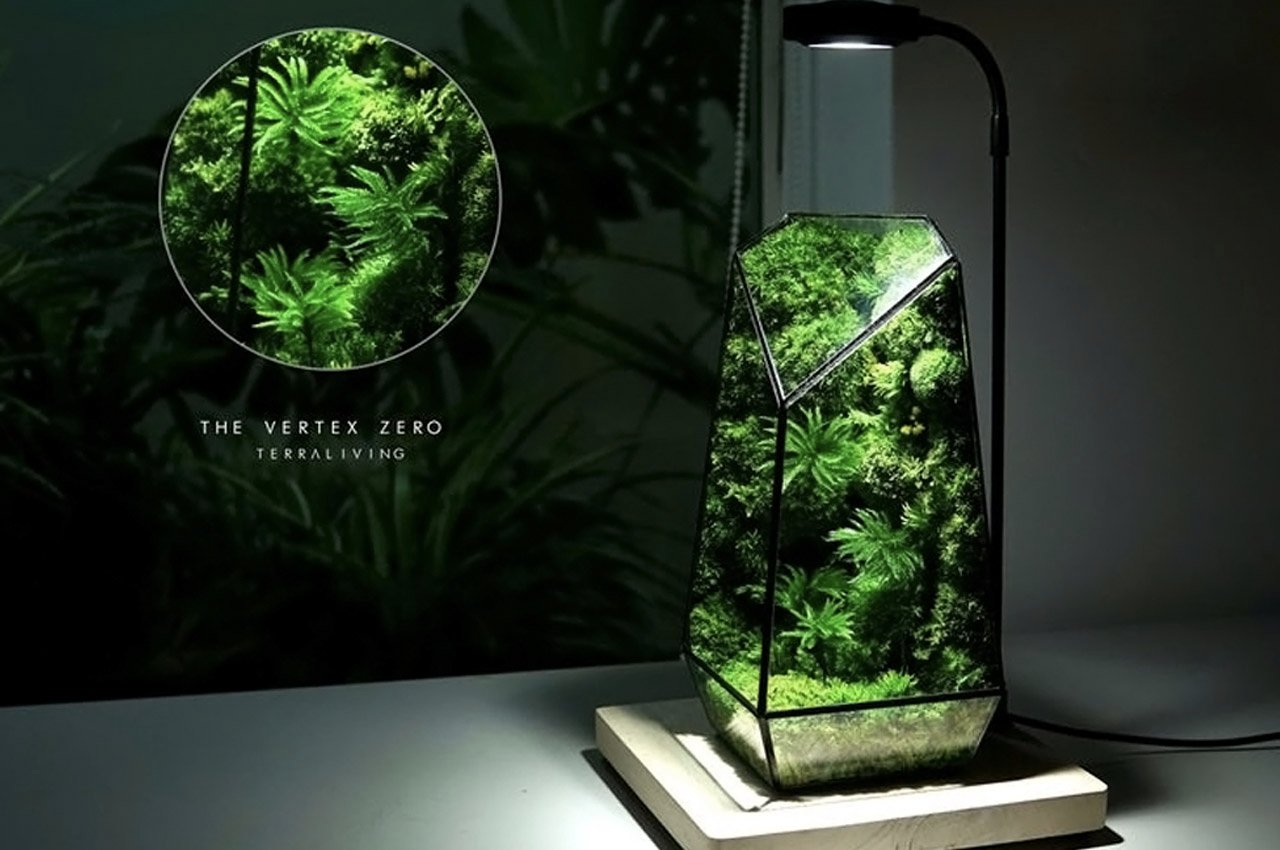
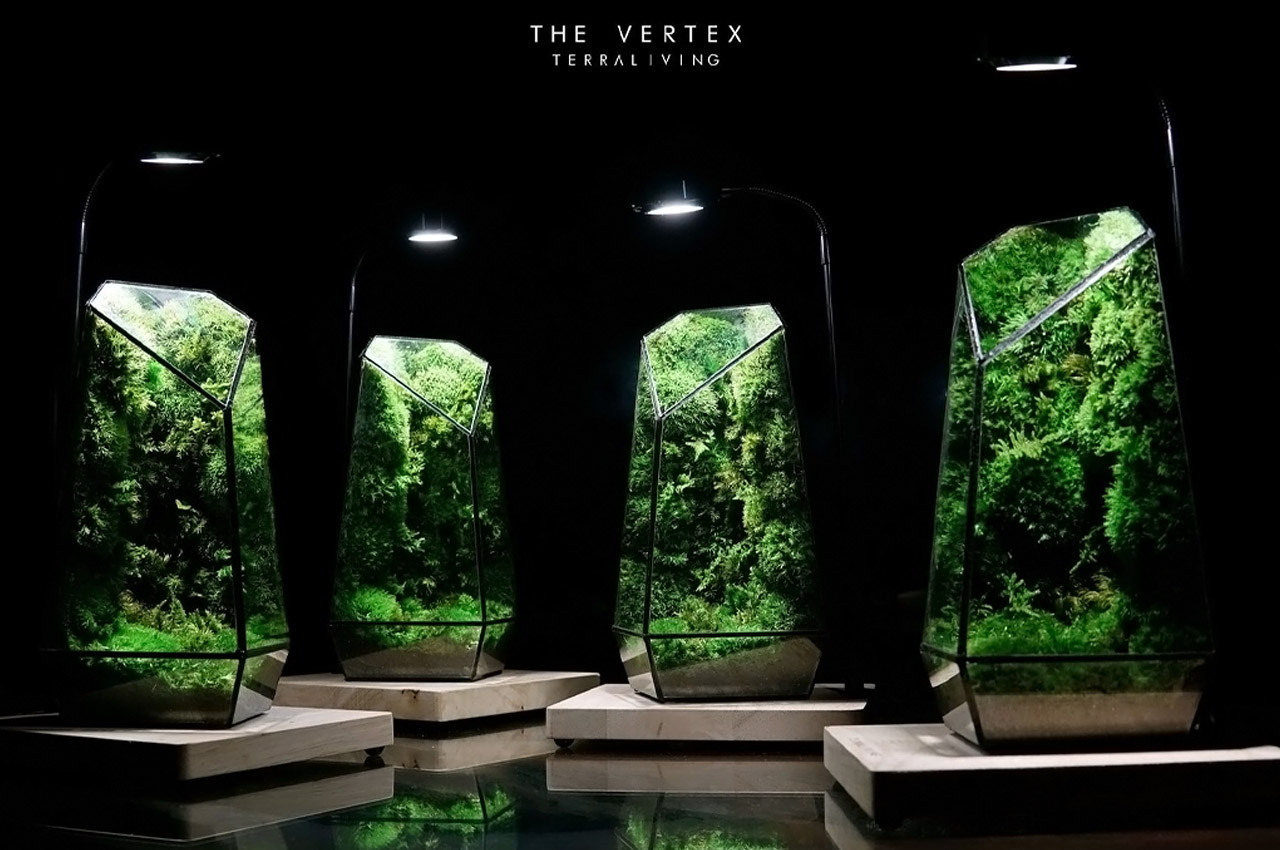
Requiring no water for maintenance, Vertex Zero is a terrarium that encases real, biologically inactive moss, cultivated in TerraLiving’s own greenhouse and preserved in labs, inside museum-grade geometric glass containers. Live mosses are grown and cultivated in TerraLiving’s greenhouse dubbed the “Moss Lab,” before reaching the peak of their health and preserved for encasement. Using proprietary advanced preservation technology, each patch of live moss is stripped of any water content in low-pressure zones and subzero temperatures to freeze their proteins and biological components, rendering them inactive, but frozen in time.

3. Planterior

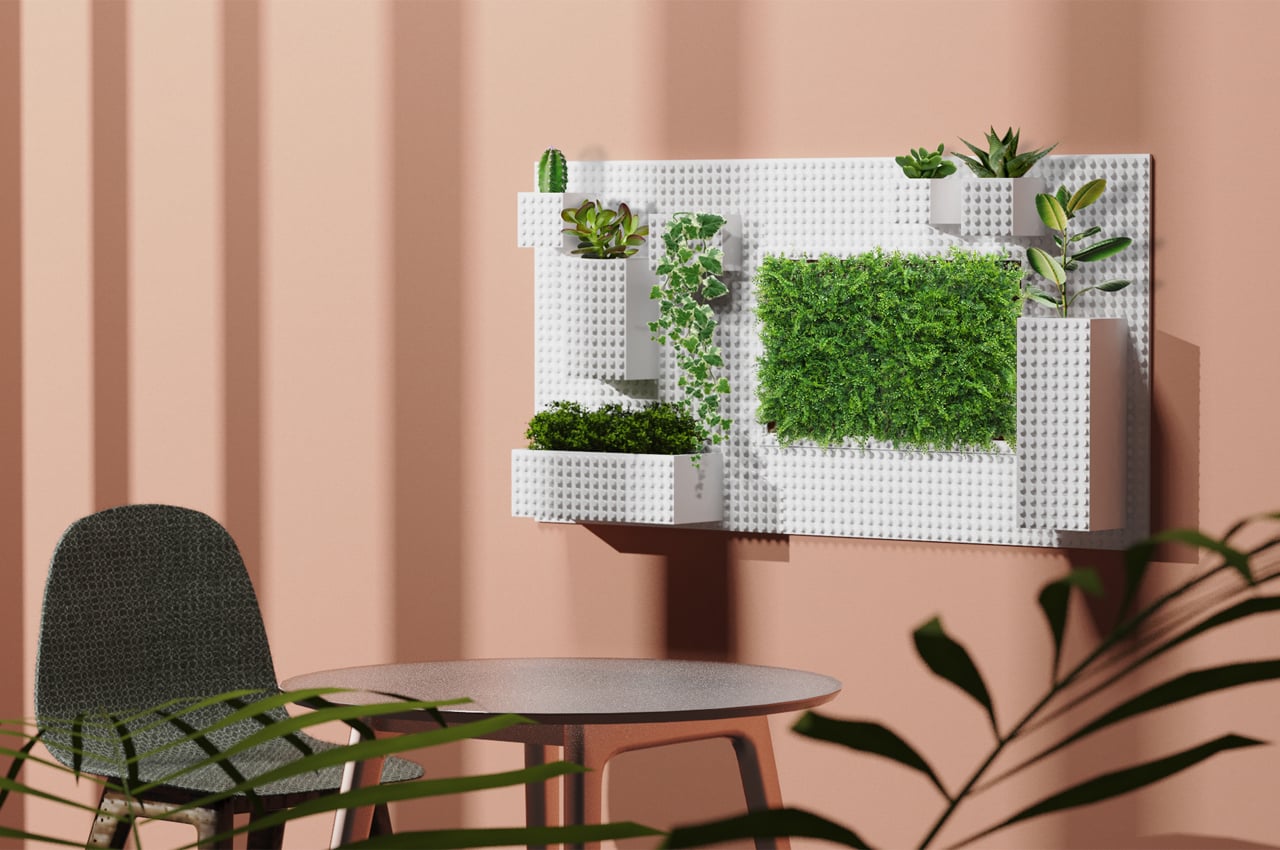
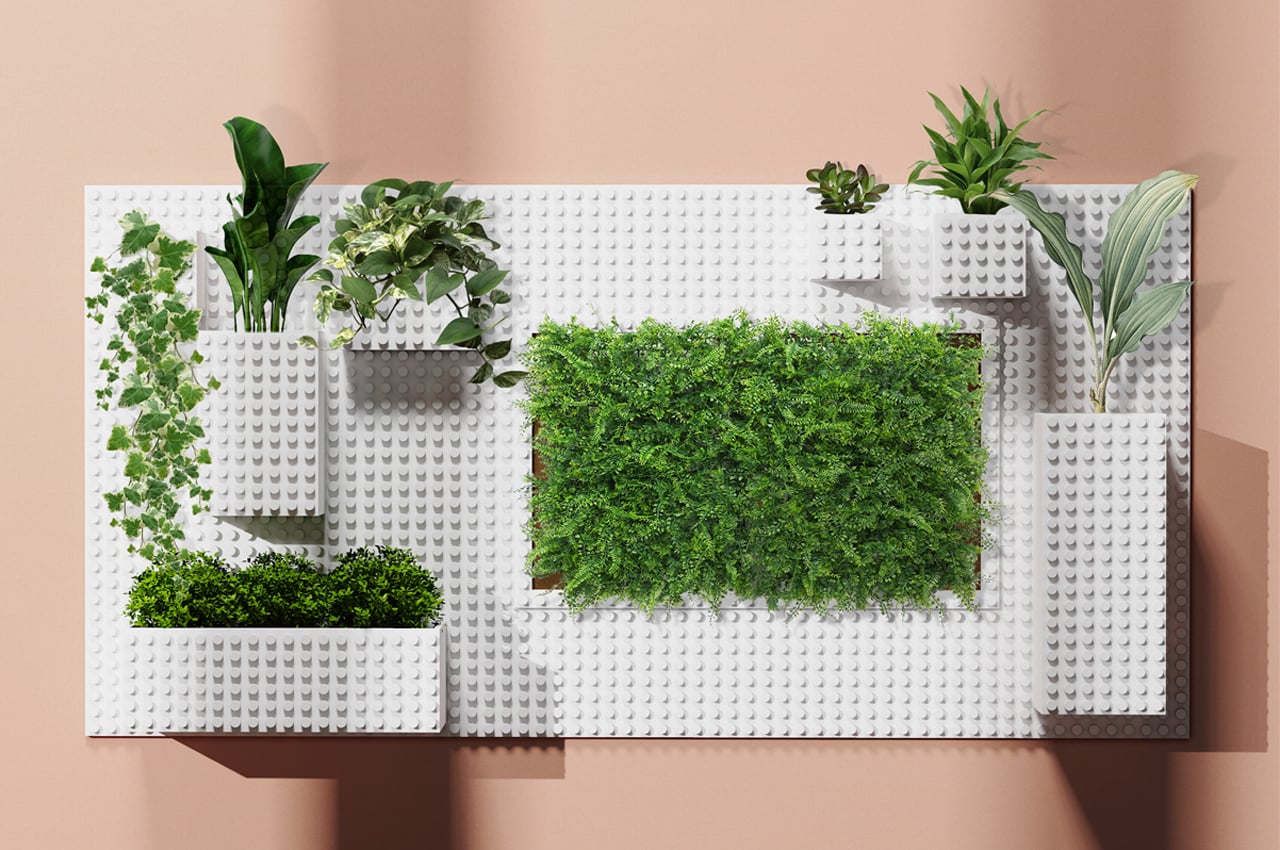
A LEGO-inspired indoor garden called Planterior by designer Dasol Jeong merges LEGO’s building blocks with the frame of a bulletin board to create a unique, modular garden system for any WFH space. Planterior keeps the shape and size of a traditional bulletin board and integrates a gardening system into its structure to bring greenery to any workspace. Describing Planterior’s inspiration in their own words, Dasol notes, “Due to the influence of fine dust and COVID-19, people, who do not have the opportunity to access plants outdoors, are increasingly putting plants into their homes…Home gardening and plant territories are gaining vitality [as a result].”

4. Vista

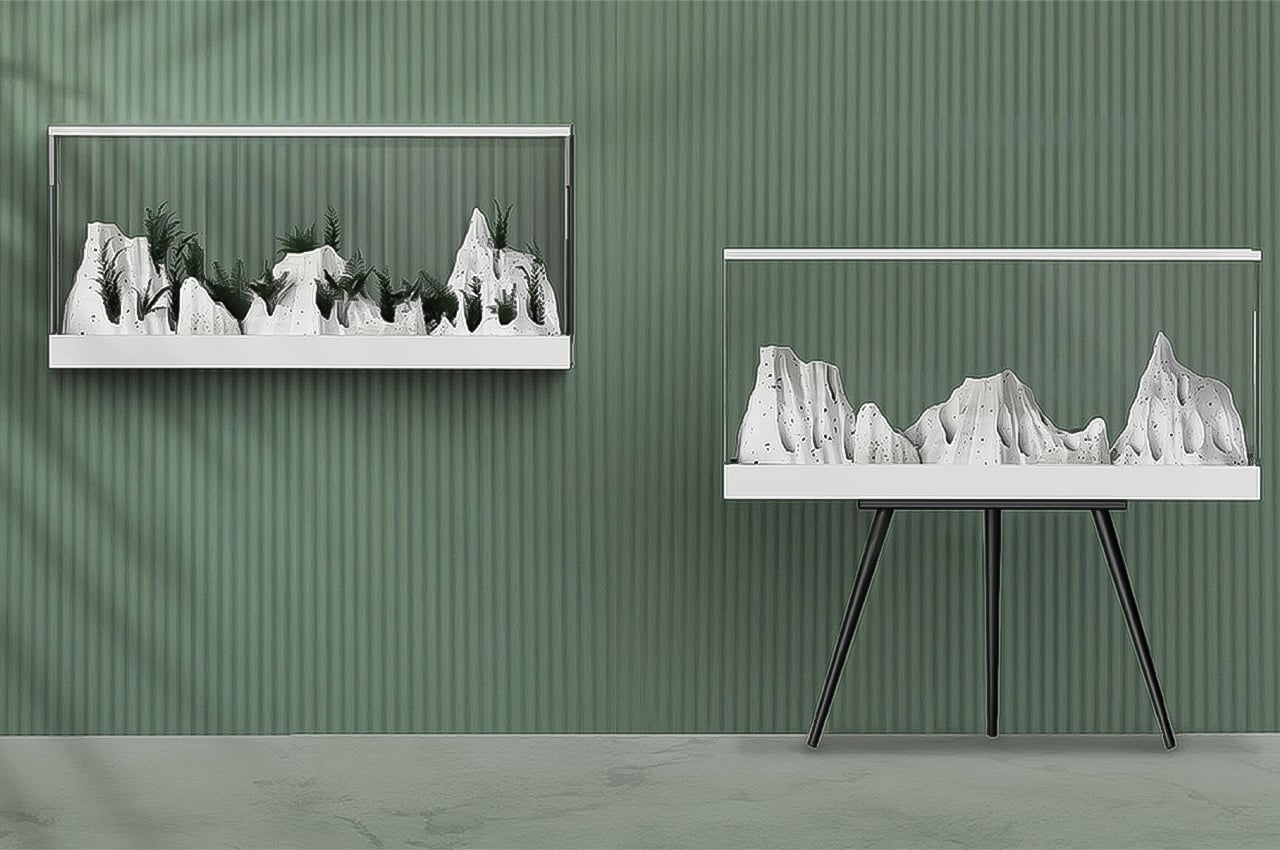
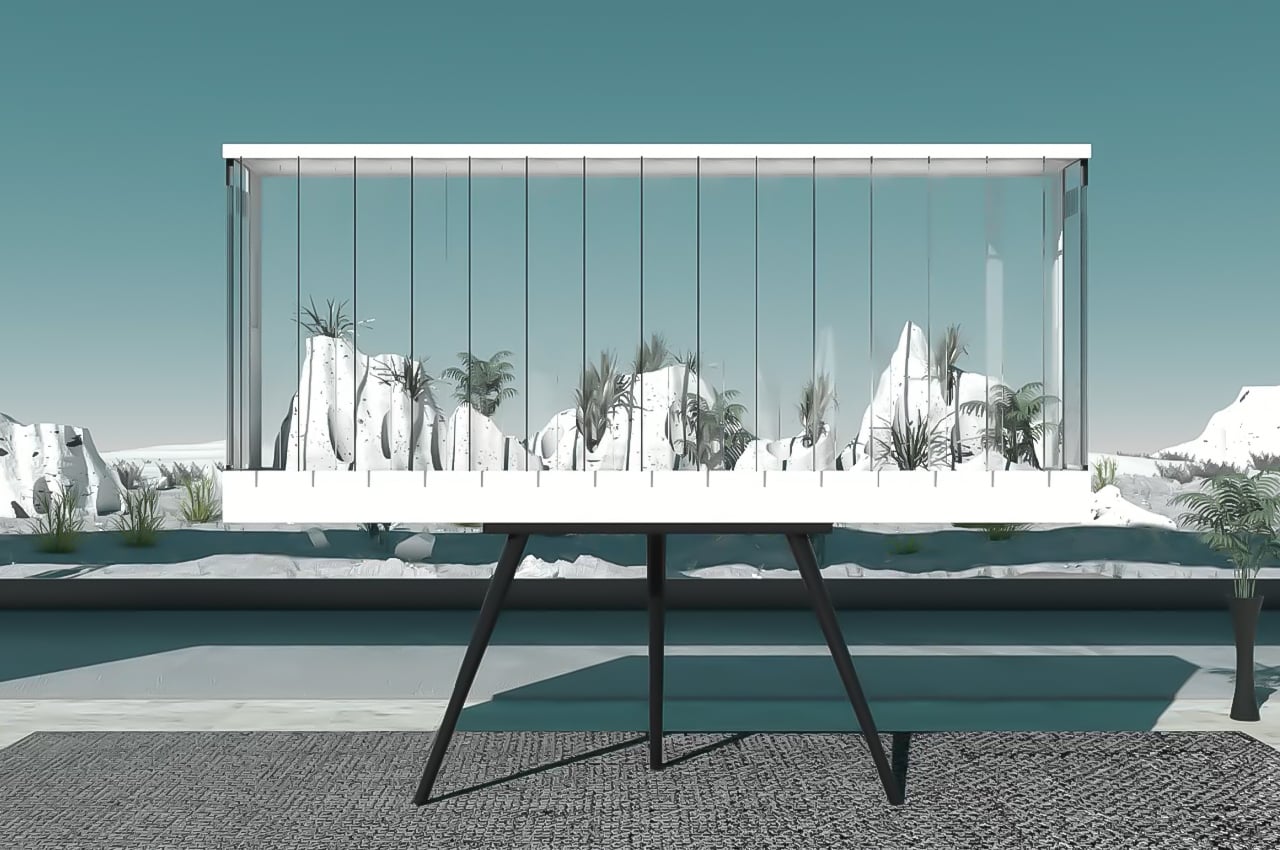
Too many of the smart gardens on the market today prioritize function over aesthetics, amounting to cold, vertical farms that would look more at home in a research center’s greenhouse than a living room. That’s why designer Juhyuck Han created Vista, a smart garden appliance that mimics a landscape’s natural terrain and scales it down to fit in our homes. Designed to either stand-alone or be mounted on an interior wall, Vista takes up around the same space as a large fish tank. Featuring a hydroponic gardening system, Vista’s grow tray mimics the terrain of a natural landscape to bring users closer to nature. Through an immersive structure and smart technology, Vista combines functionality with aesthetics to create a gardening experience.

5. Elpo

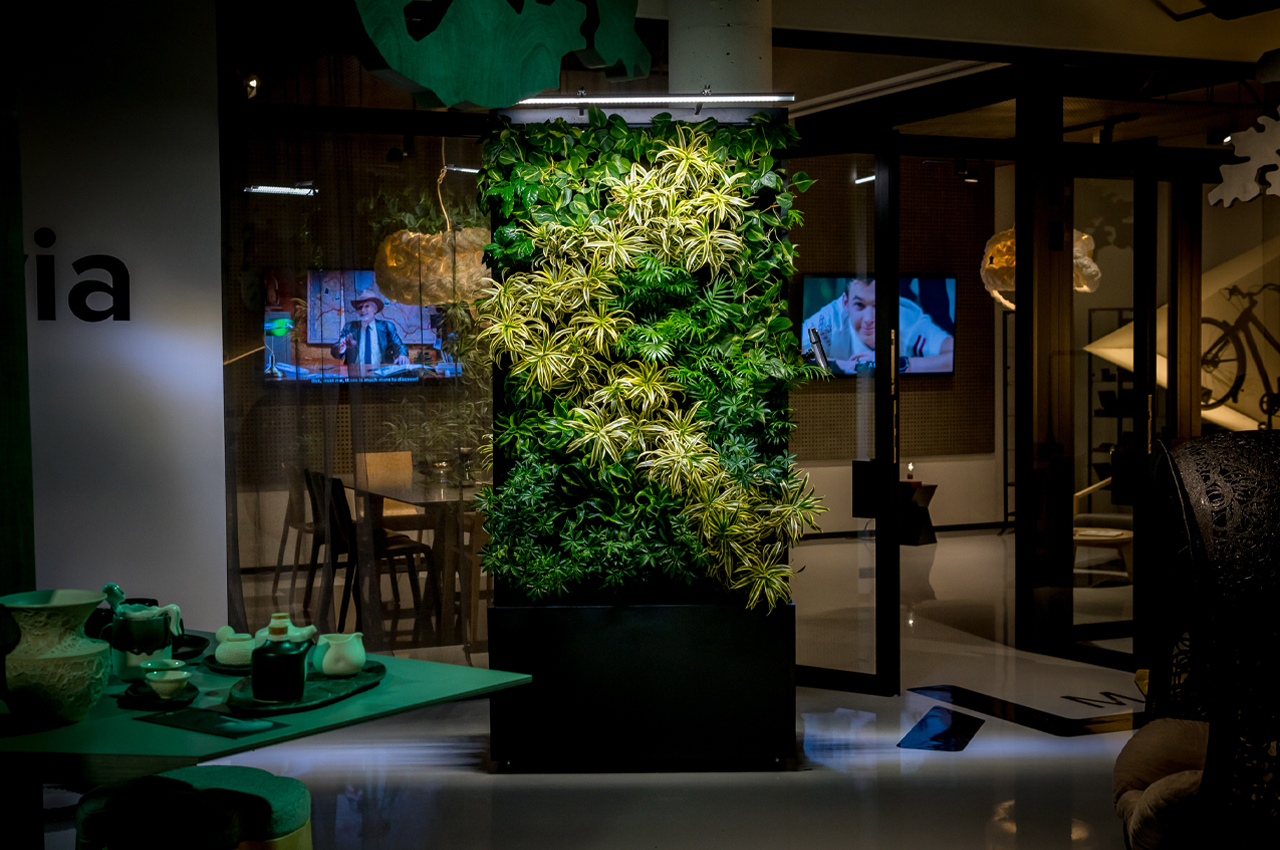
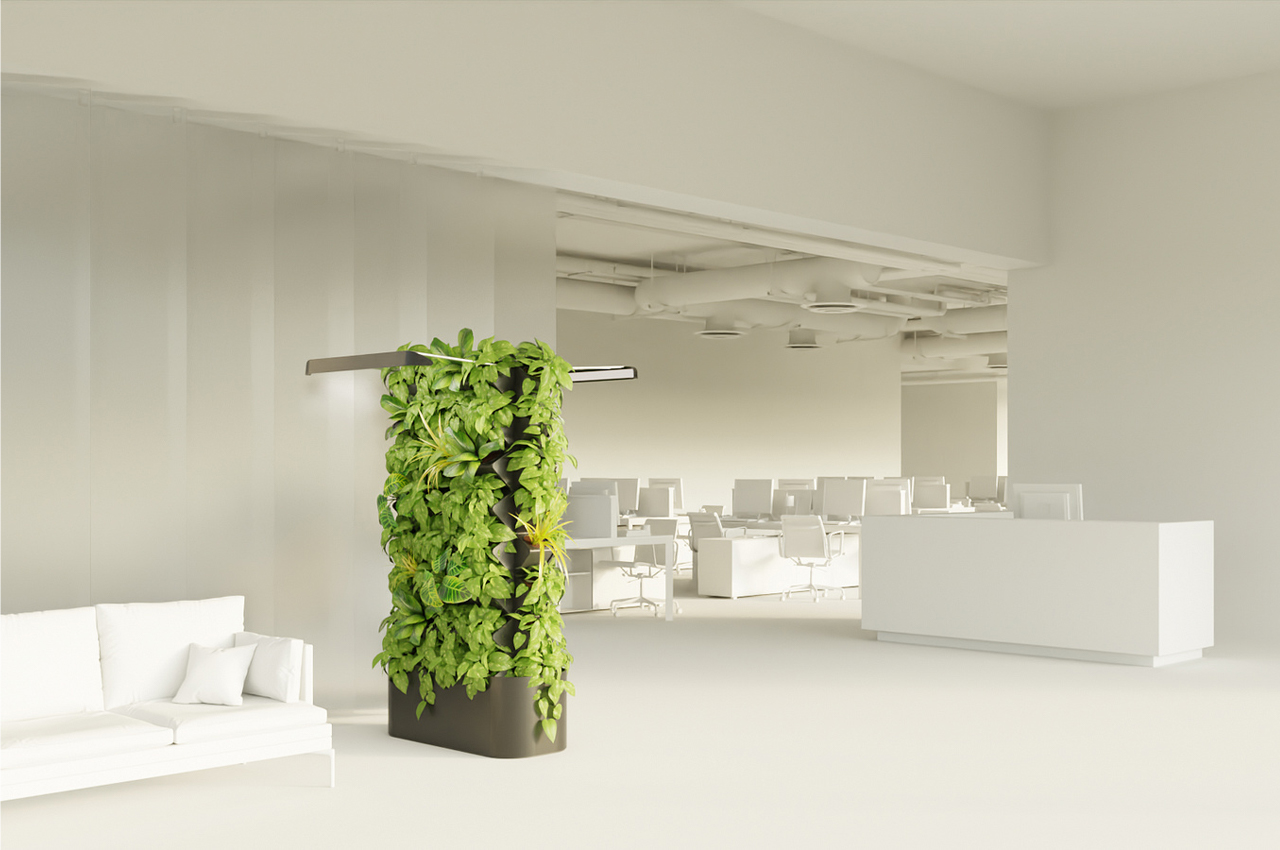
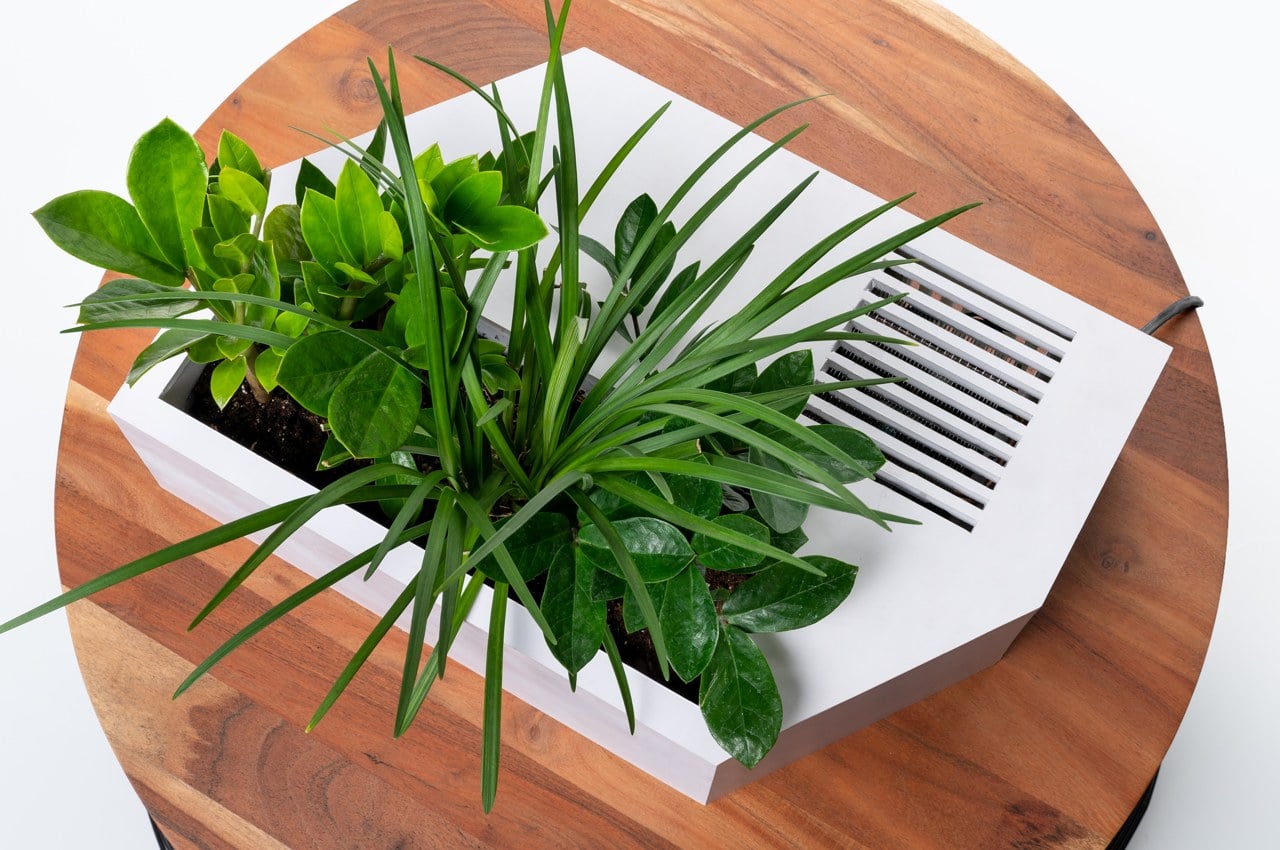
Inspired to provide an air filter for collaborative spaces, designers Kārlis Vītols, Lolita Epnere, Buka Bērziņa ushered Elpo into the office, a smart biofilter that doubles as a teeming, indoor garden. By absorbing airborne toxins and gases into their leaves and sending them down to their roots, some plants are able to help purify the air we breathe. Equipped with a smart biofilter, it’s not only the plants that Elpo uses to improve indoor air quality. Like many modern indoor gardens, Elpo comes stocked with automated, smart technology that lights, fans, and irrigates the potted greenery. In creating a smart biofilter that doubles as an indoor garden, Elpo improves indoor air quality while also functioning as a room divider in office settings.

6. The BloomingTables

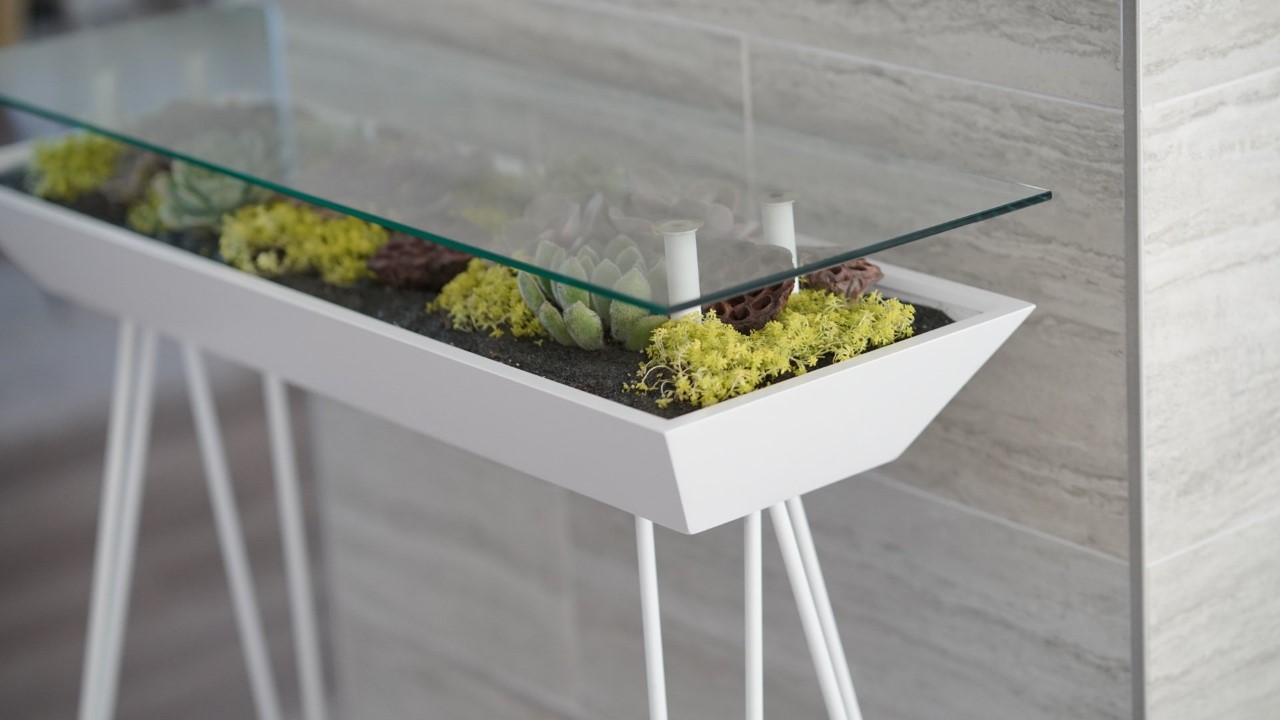
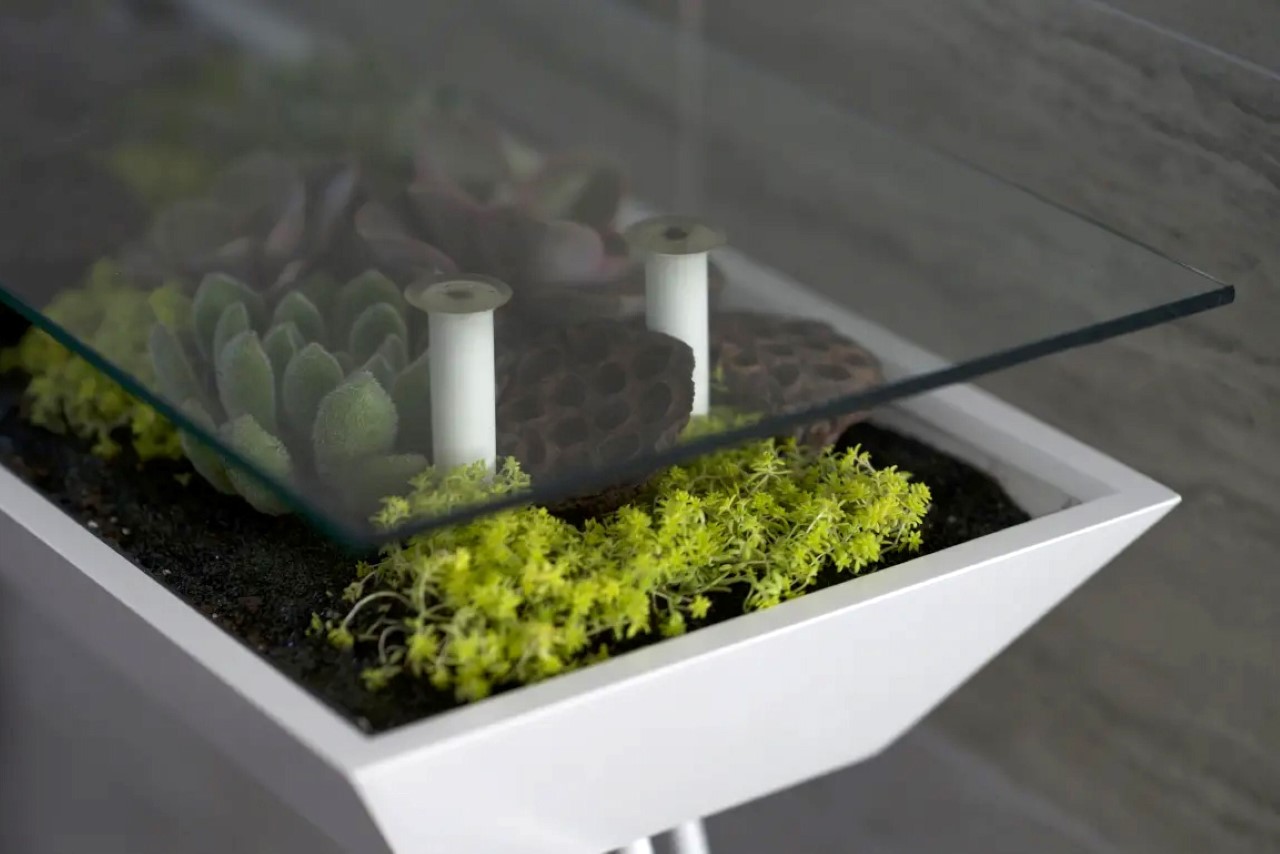
Designed to be the world’s first ‘living furniture series’, the patent-pending BloomingTables allow you to grow herbs and vegetables, cultivate microgreens, or enjoy the beauty of succulents and vining plants in the comfort of your home. With homes and apartments growing smaller and balconies becoming more of a luxury, the BloomingTables provide a uniquely aesthetic compromise – giving you a table along with the added benefit of a tiny terrarium for your house plants. The BloomingTables come in 4 sizes – a desk, coffee table, entryway table, and a side table – all featuring a waterproof acrylic trough-shaped base and a flat glass panel on top. Each table is equipped with a drain valve at the bottom (just in case you want to drain out any excess water from your planter’s soil), and the glass panel on top is removable too, allowing you to easily water, prune, and tend to your plants!

7. The Bridge

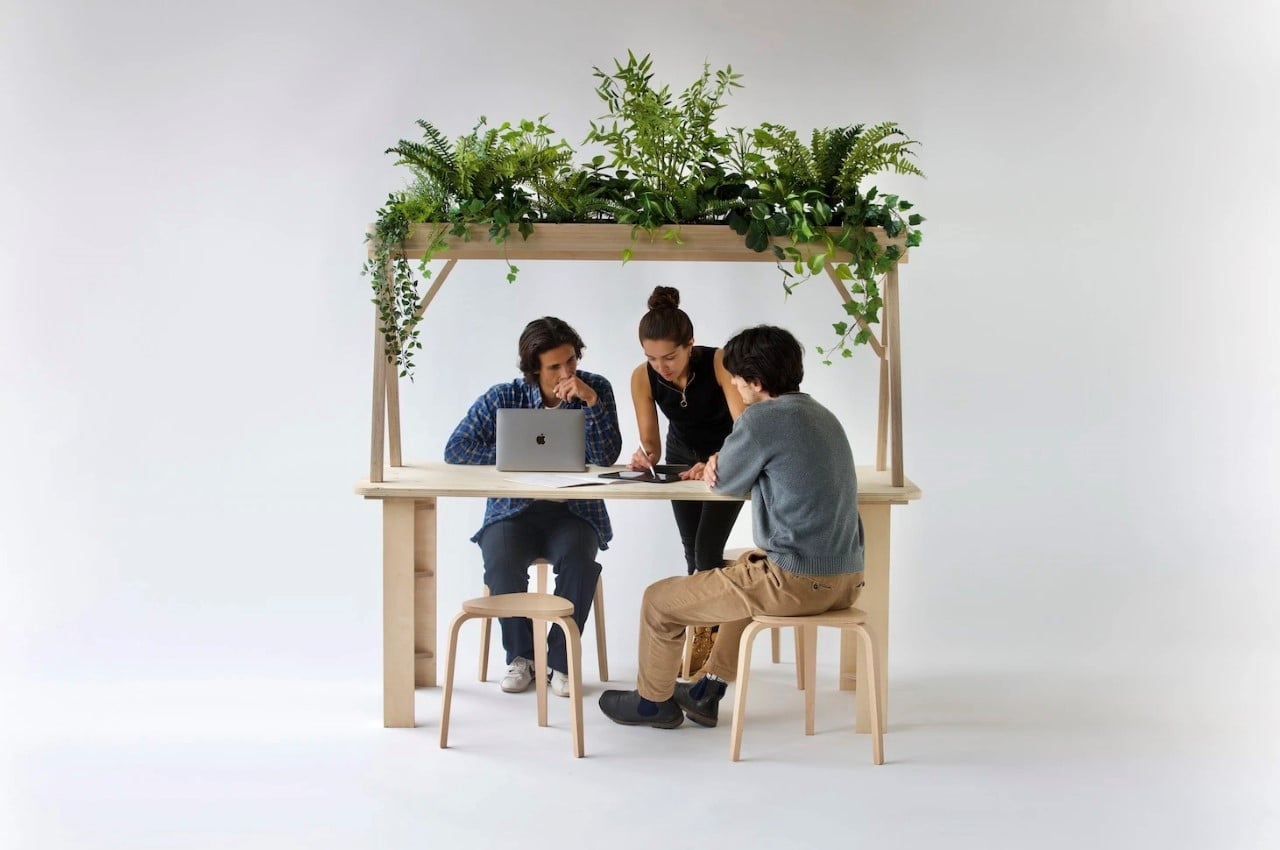
The Bridge builds on the increasingly popular idea of an open office and a collaborative workspace (as opposed to compartmentalized cabin spaces). It’s entirely made from plywood and can be flat-packed to a location and assembled on spot. It uses wooden joineries instead of metal/glue fixtures, and can be assembled and propped onto any open desk, uplifting your current workspace with a neat touch of greenery. The channels are big enough to hold potted plants and they give you the freedom to add plants of your own choice. Since the plants sit in their own planters (instead of directly in the wooden channel), they can easily be watered too without worrying about wood-rot or exposing the plywood to excess water/moisture. Just be slightly wary against dropping water on the expensive computers/equipment below!

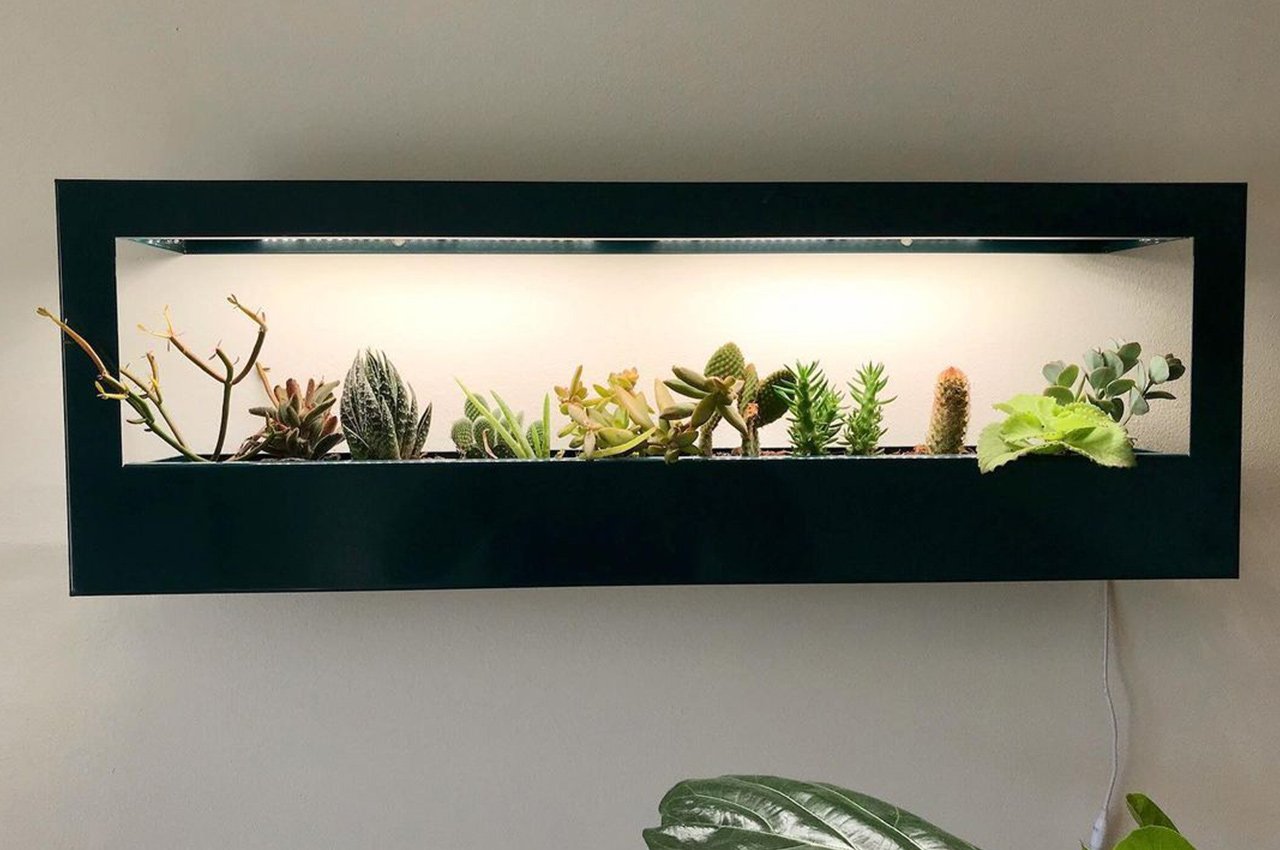
8. The Smart Landscape Growframe

Designed by Modern Sprout, the Smart Landscape Growframe is a minimal frame that can be mounted on any wall on your home, and whose functionality is more complex than its simple looks! It nourishes all kinds of plants – from ones that seek low light, to ones that seek bright light. Once mounted on a wall, you can slide your favorite plants into the Growframe, and connect to the Modern Sprout app. The app is a complete godsend! The app features an on/off switch and can be used for customizable programming and pairing recommendations for partial shade, partial sun, and full sun plants. You can easily select and switch between light settings.

9. WALTY

Designed to take the absolute hassle out of watering and taking care of your plants, WALTY gives them the water they need by simply pulling it out of the atmosphere. Because a singular plant can’t generate and capture enough atmospheric humidity as an entire forest, WALTY basically does that part for your plant. Now it might sound borderline magical, but the way WALTY works is similar to a dehumidifier. A dehumidifier pulls moisture from the air using cold plates that force water droplets to condense on them. The droplets then drip down into a reservoir tank, and when it fills up, you simply empty it out. WALTY’s approach is similar, except it uses that very water to keep your plant hydrated… sort of like a win-win.

10. Vega’s modular planter

Vega’s modular planter was designed to be a solution for vertical farming in small living spaces. Starting with a single modular cube, seeds can be planted and harvested using traditional planting methods, then another module can be positioned on top of the first cube, forming a link for additional planters to be added. Each modular planter comes as a dish with an accompanying cubic case that grants room for the crops and plants to grow and reach their full height. Inspired by the look and durability of Japanese metabolism and Social modernism architecture, Lorenzo Vega conceptualized his vertical farm to be stripped-down and clean by design. The sleek, simple finish of Vega’s modular planter echoes its intuitive usability and modular customization.
The post Modern indoor gardening solutions to help cultivate the perfect personal green space at home first appeared on Yanko Design.