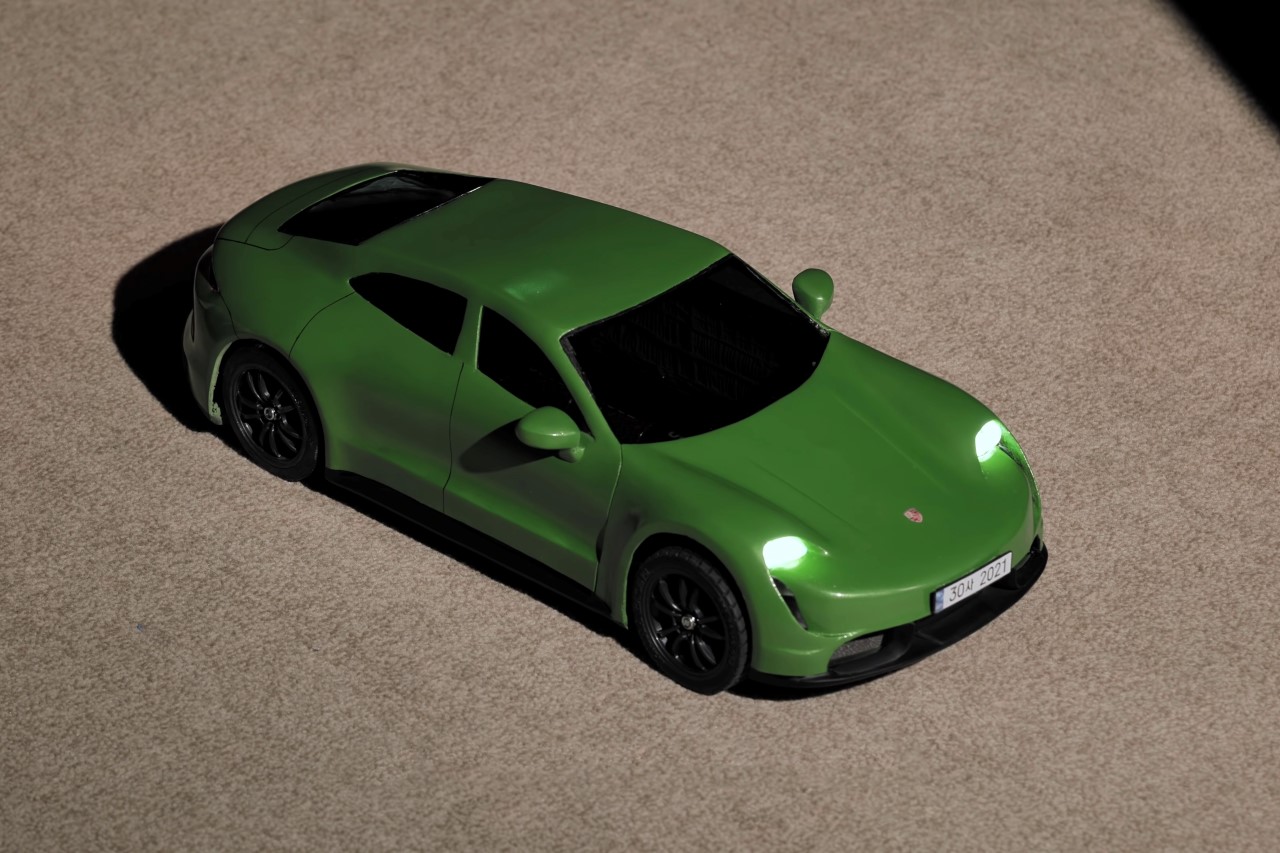
This Porsche Taycan scale-down model was constructed using a 3D Pen. Watch how it was built!


It’s time to ditch the automotive clay. A 3D pen works out to be a much cheaper, easier, and more effective way to build out prototypes. A designer/YouTuber by the name of Sanago shows how versatile a 3D pen can be when you want to rapidly build designs from scratch.

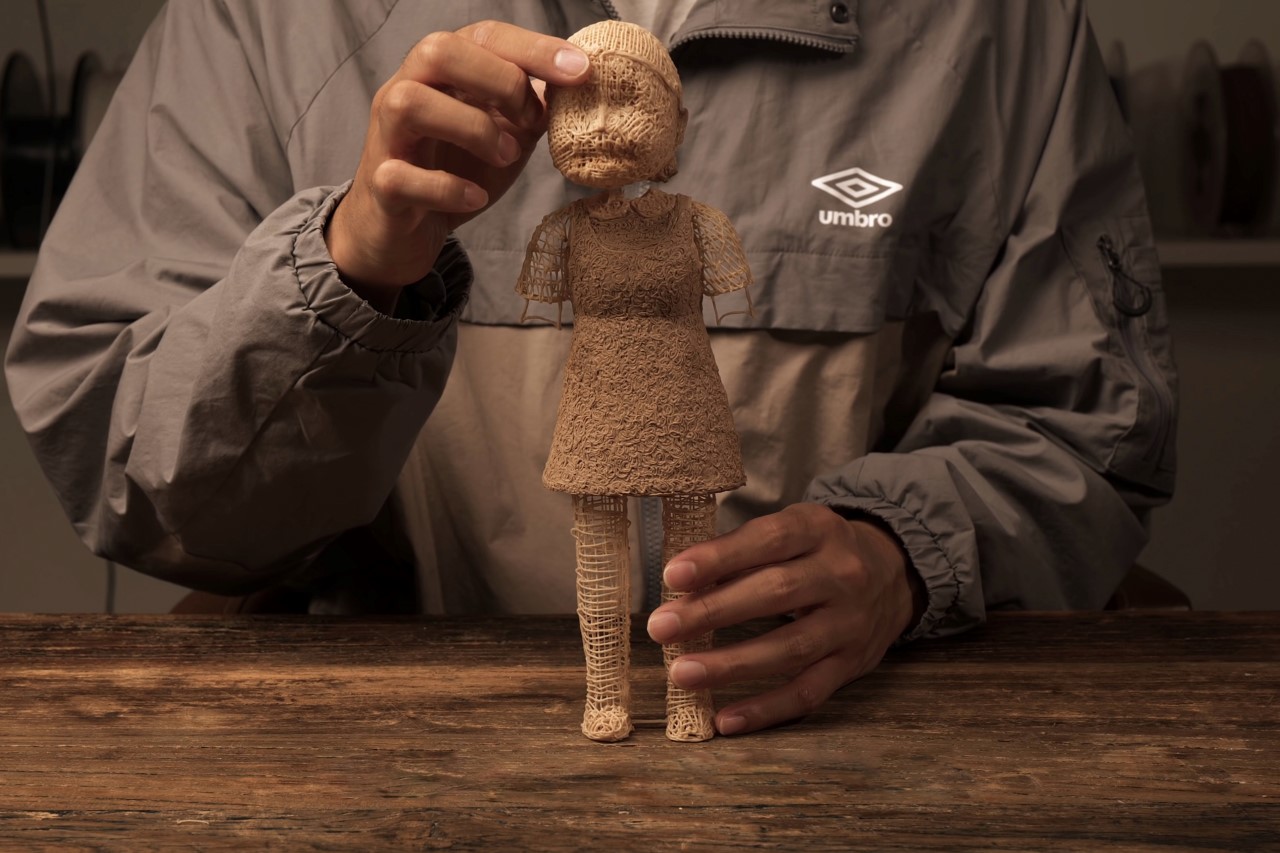
Earlier last year, we watched as Sanago built a functioning motorized scale-down model of the Red Light Green Light Doll from Squid Game. With the Porsche Taycan, however, Sanago is demonstrating how the 3D pen is more than just a mere recreational hobbyist device… it has serious potential to be integrated into a designer’s ideation and testing arsenal.

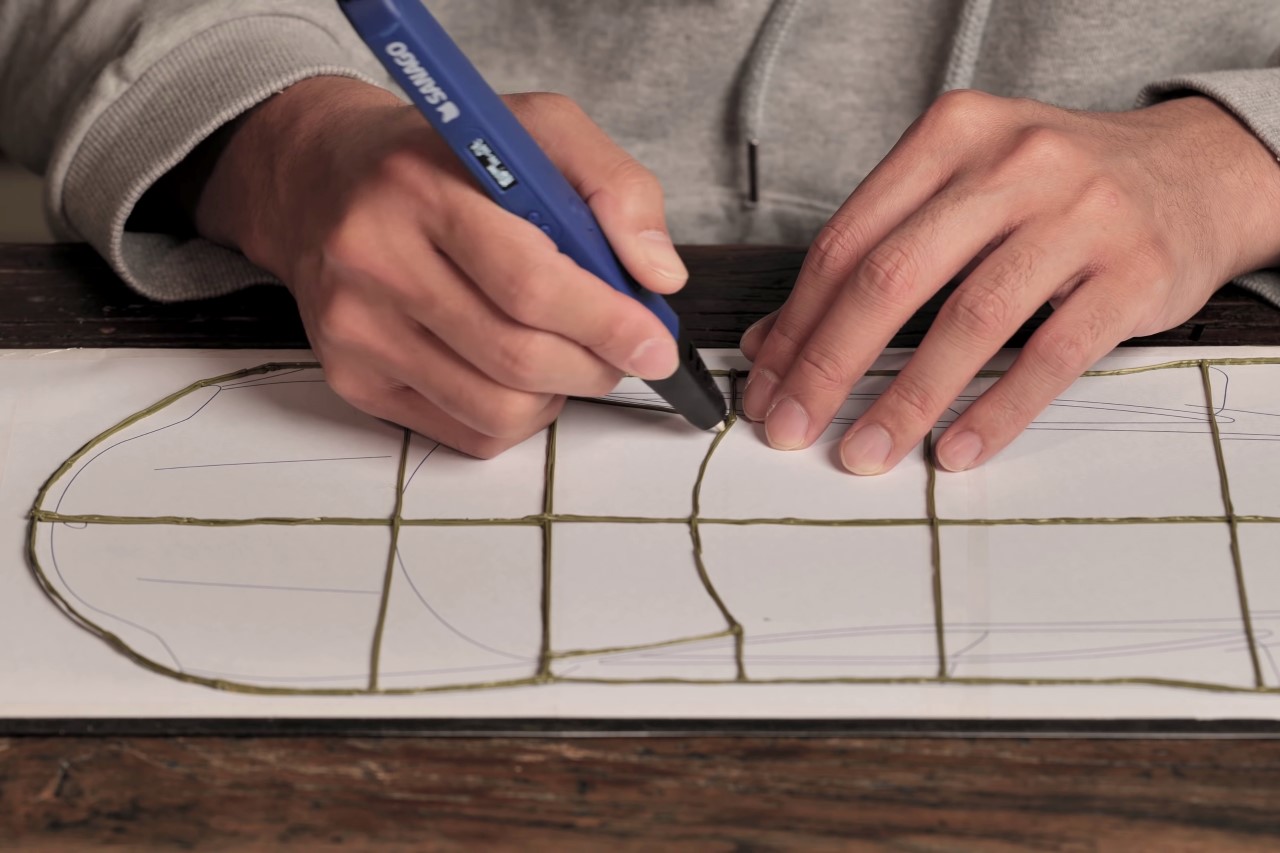
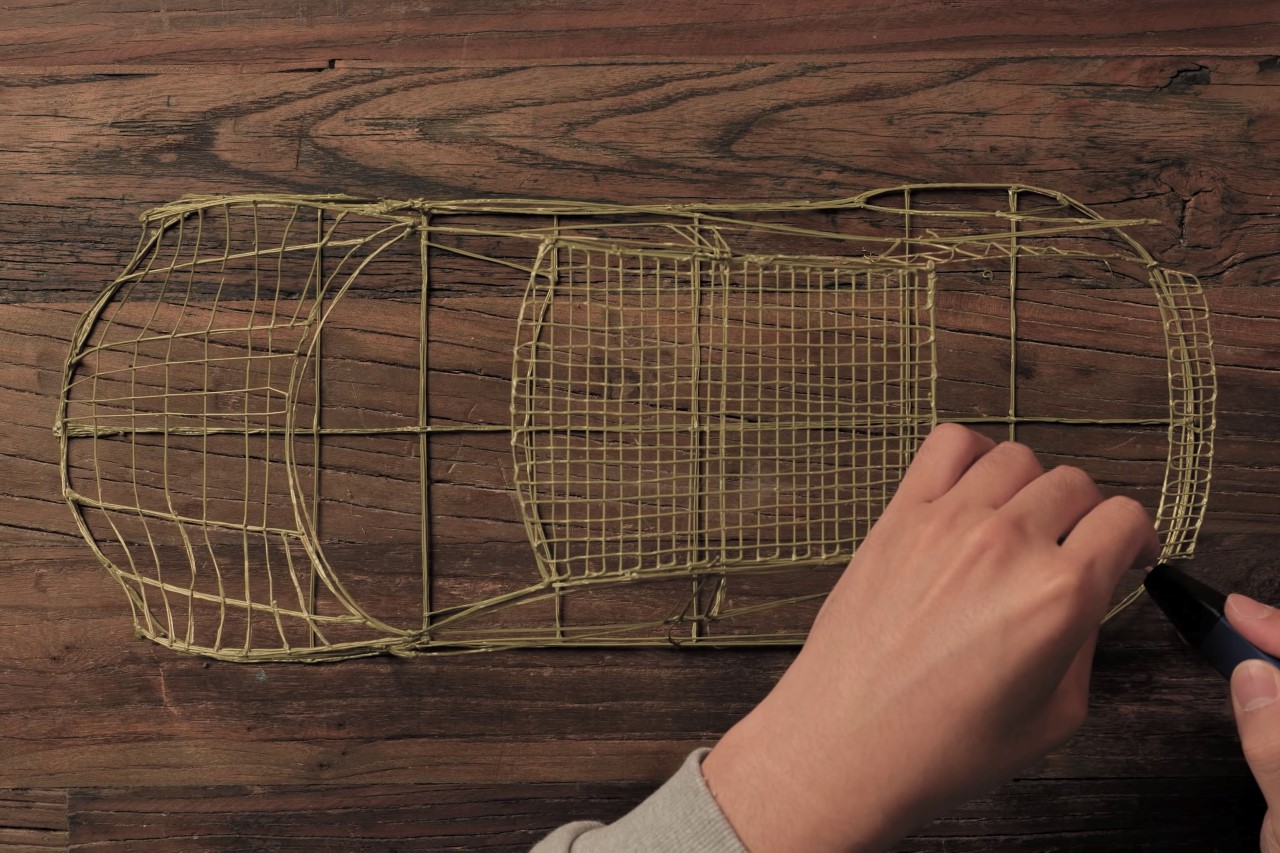
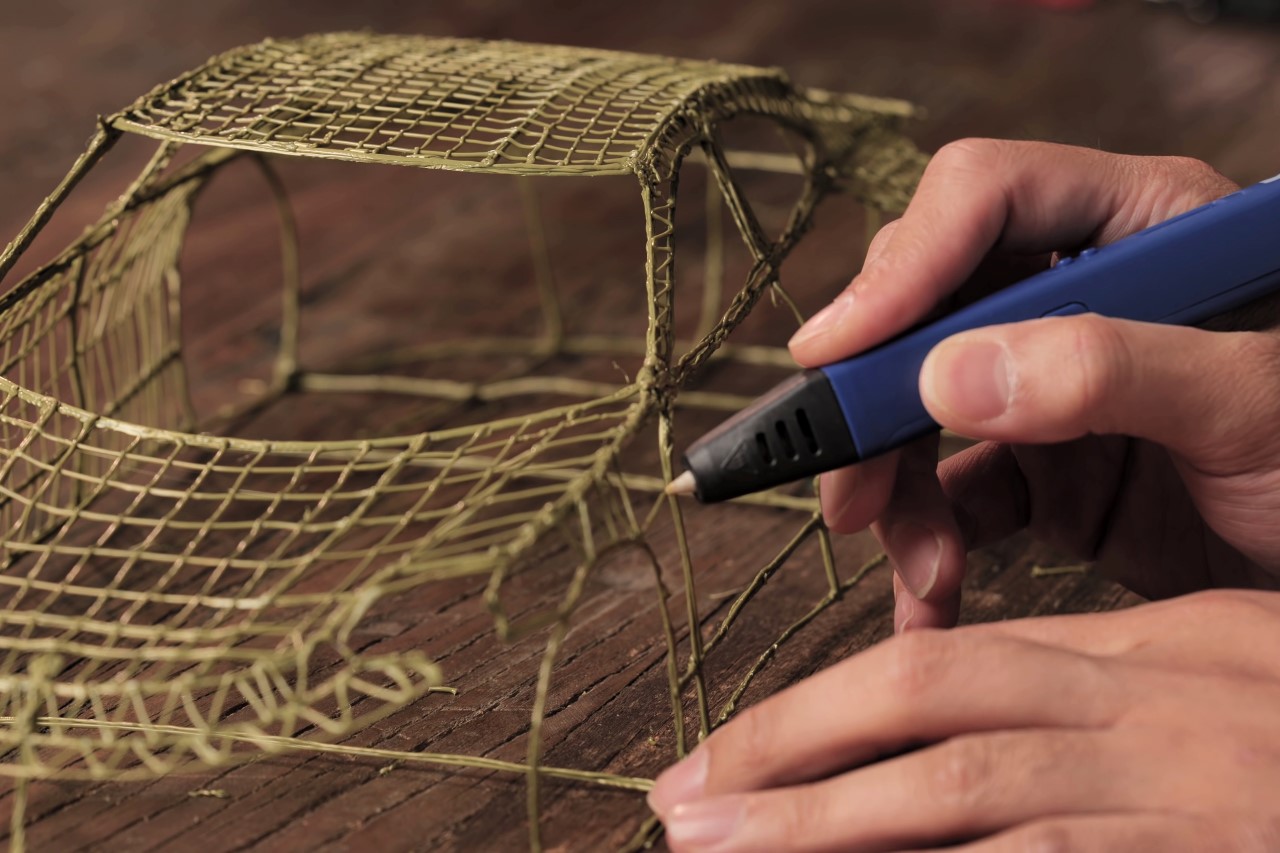
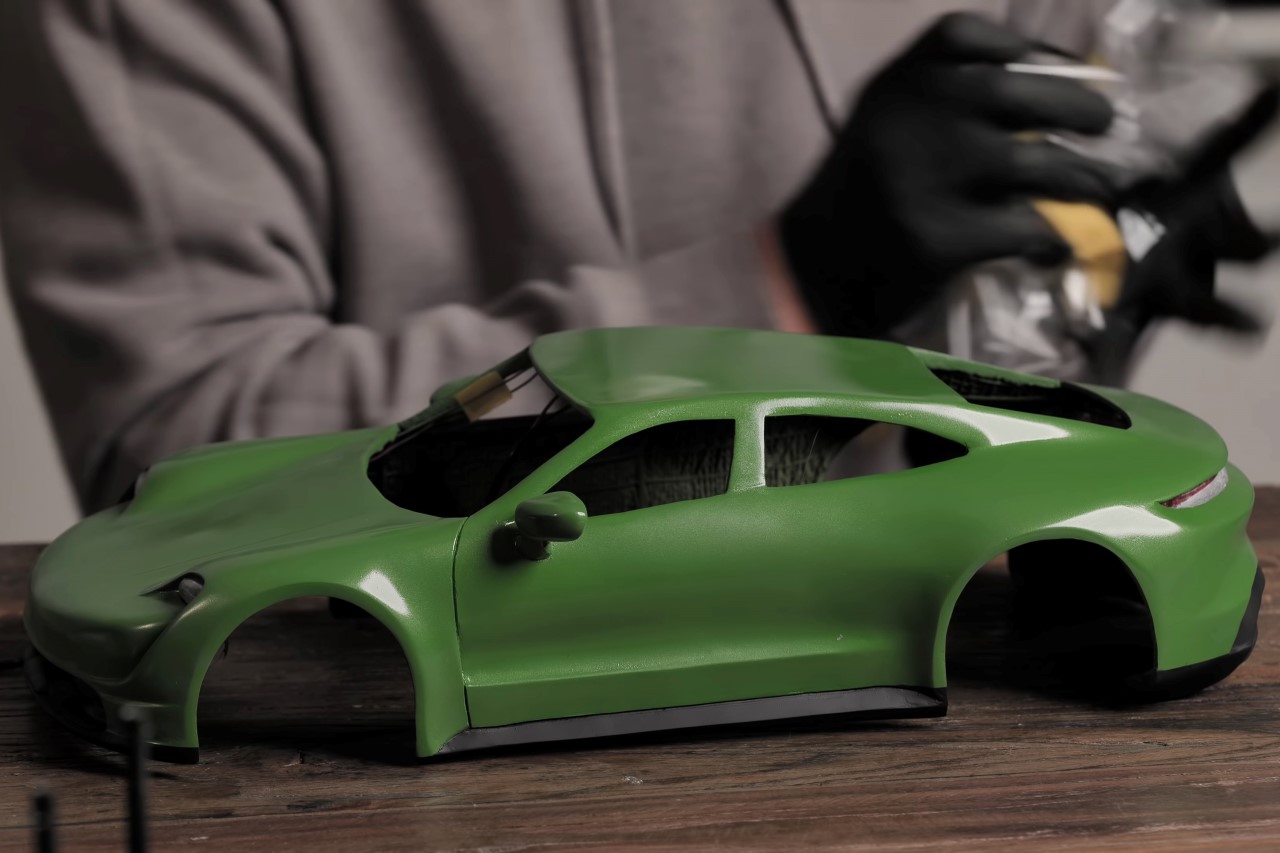
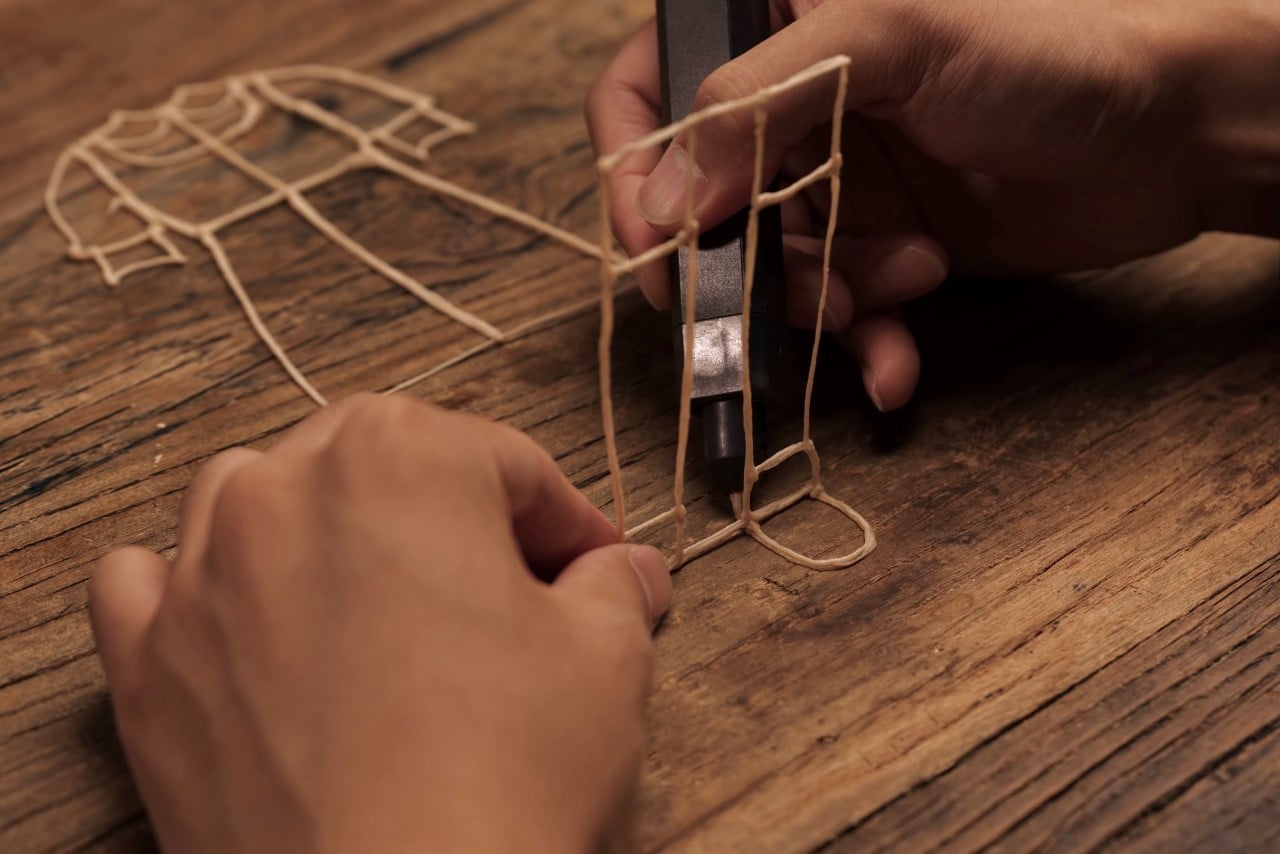
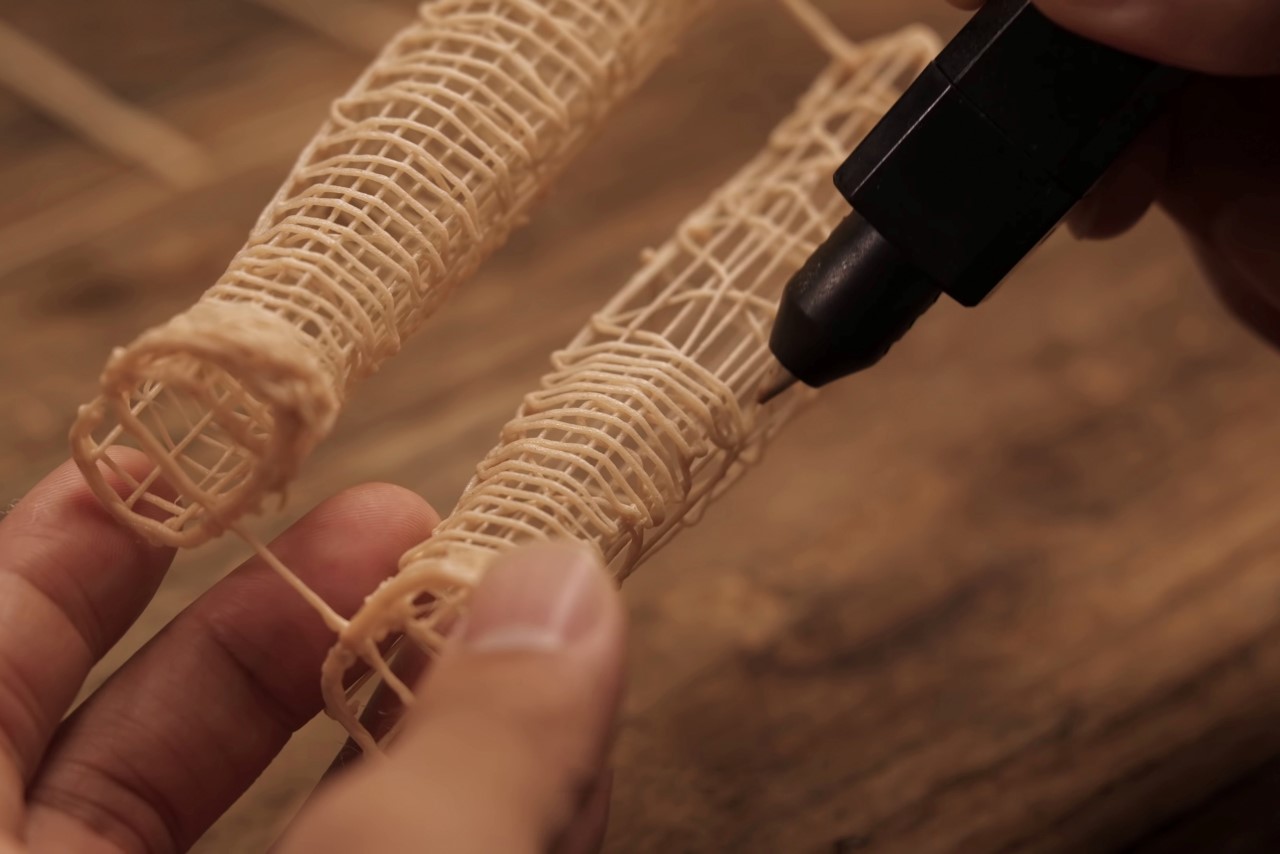
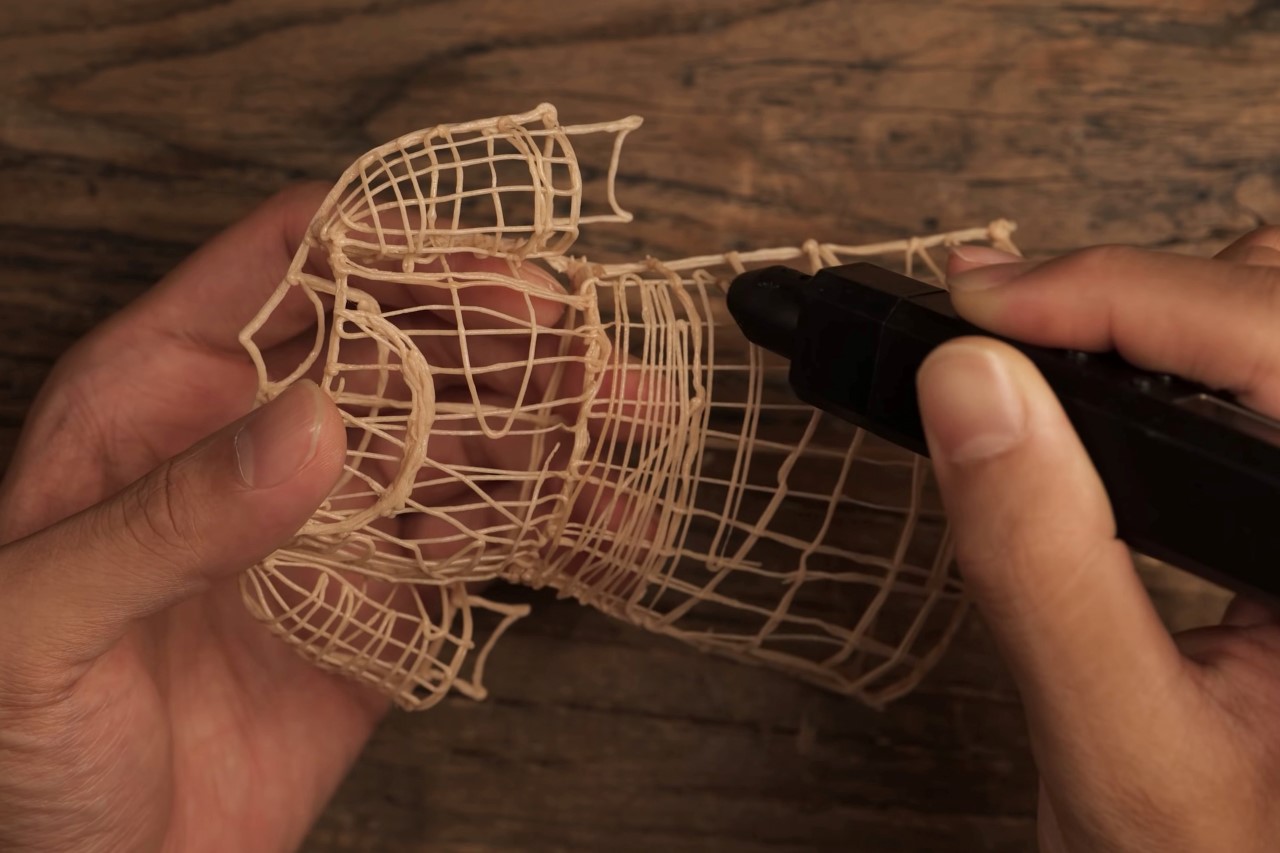
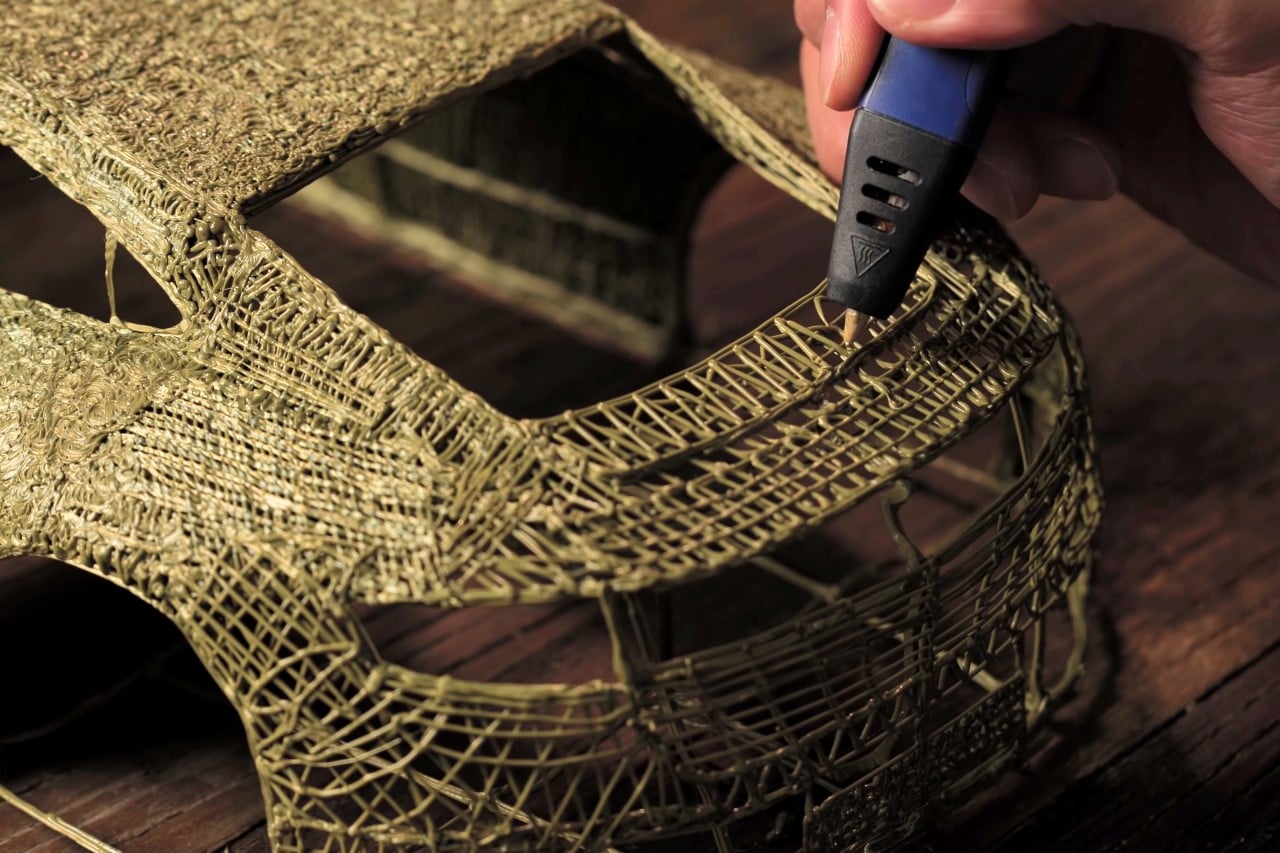
In the video above (and the images below), Sanago covers the prototype-building journey, sketching directly over printed schematics of the Porsche Taycan and building a rough skeleton before ‘filling’ the surfaces in. The process doesn’t purely rely on a 3D pen, however, the pen acts as a primary building device, following which Sanago smoothens the surfaces using heat, sanding bits, and car primer. Once built, the outer body gets treatment with headlights, taillights, a coat of paint, and branding on the front and back. Finally, the car is mounted on an RC platform and taken for a spin outdoors!

If you’re interested in buying a 3D pen, you can find one here.

Designer: Sanago
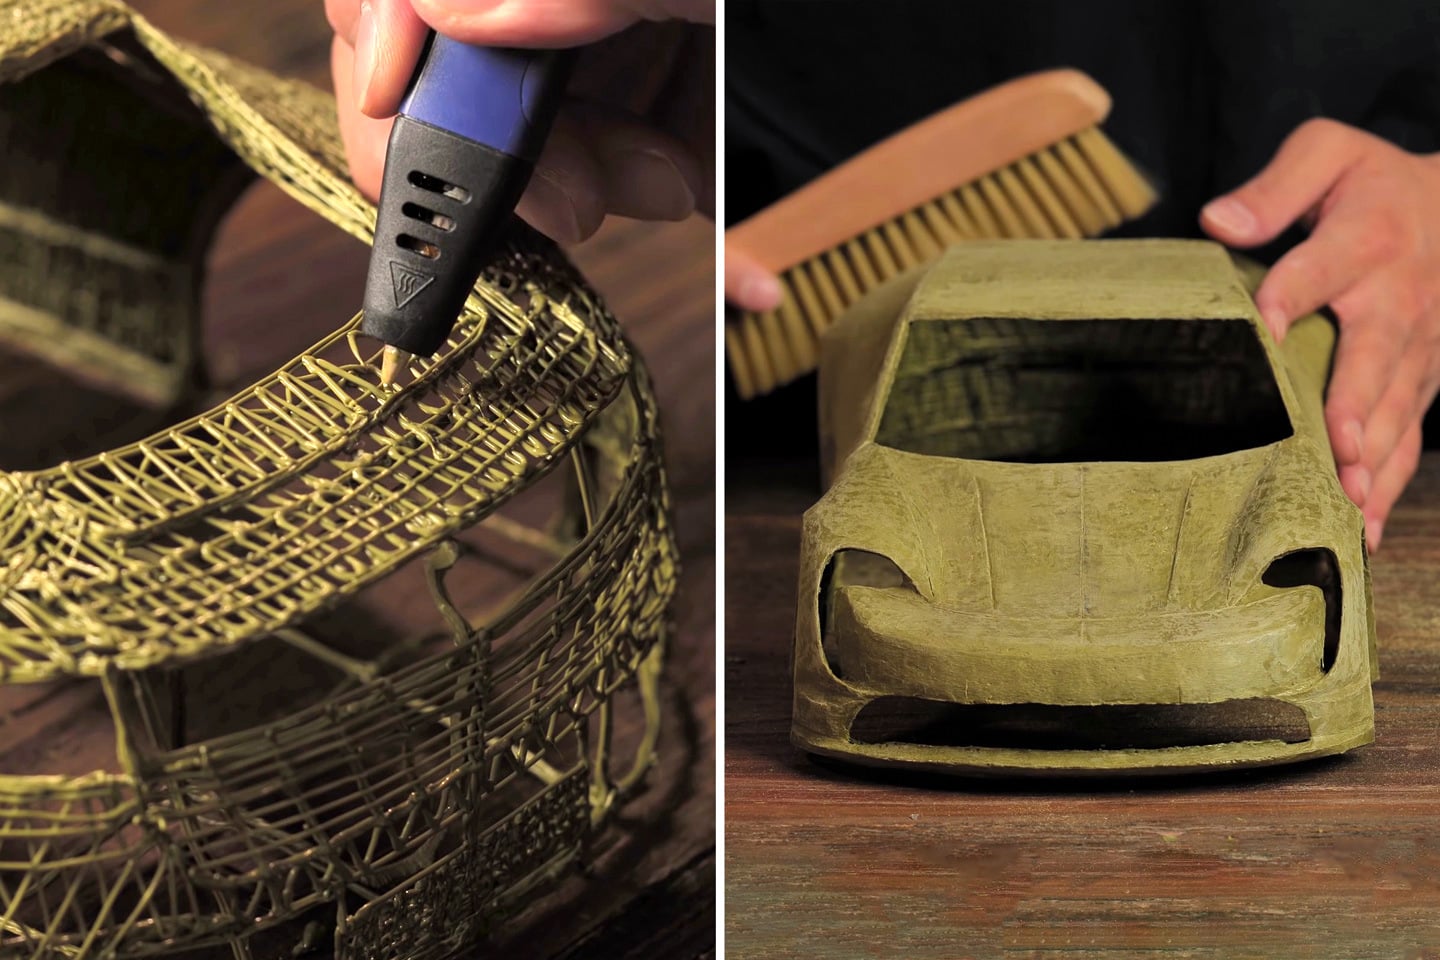
The 3D pen is used almost like a real pen would be for sketching. First the outlines of the Porsche Taycan are defined, following which the surfaces are ‘cross-hatched’ in. Sanago (who even sells his own 3D pens commercially) makes sure there are absolutely no holes or blank spots in the build. The benefit of using a 3D pen over a 3D printer is the ability to undo mistakes simply by cutting/sanding your mistakes out and rebuilding the parts again correctly.
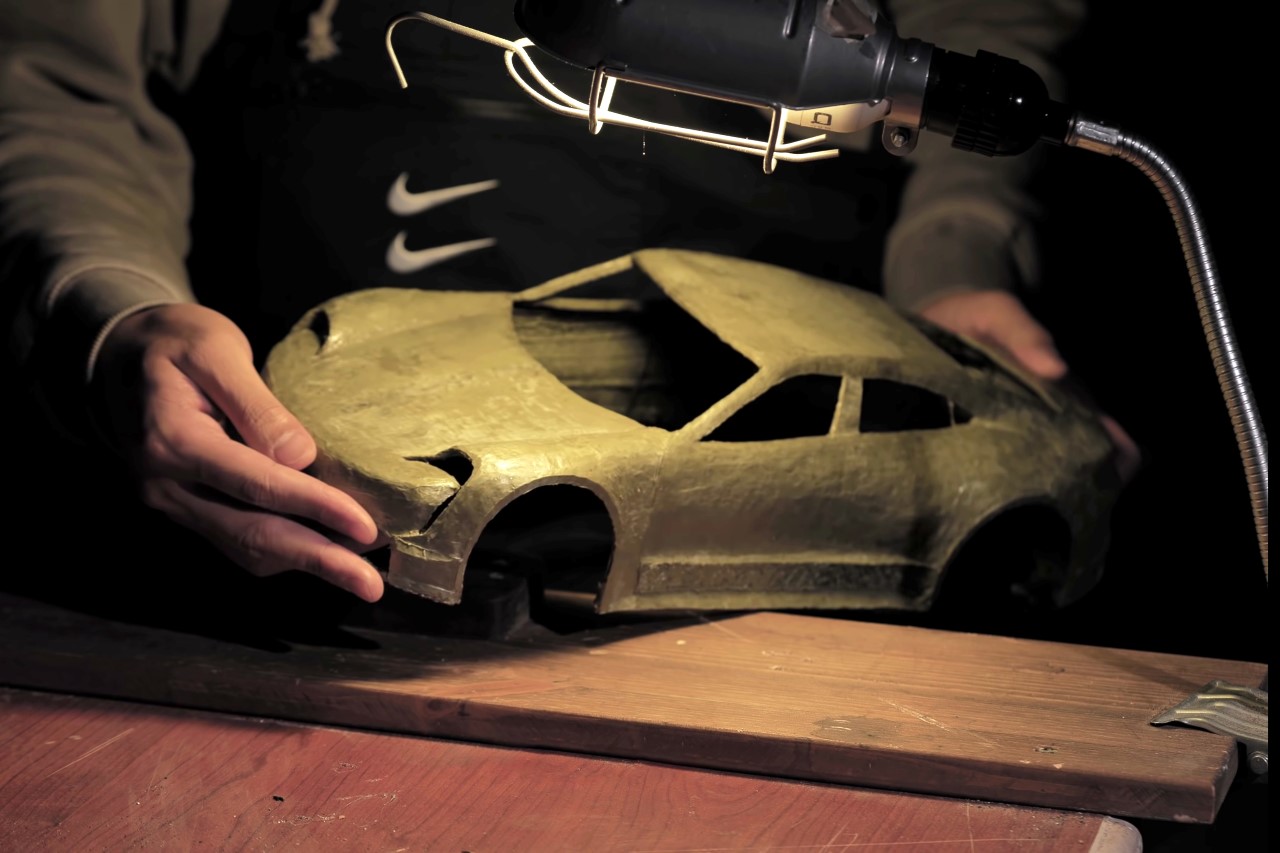
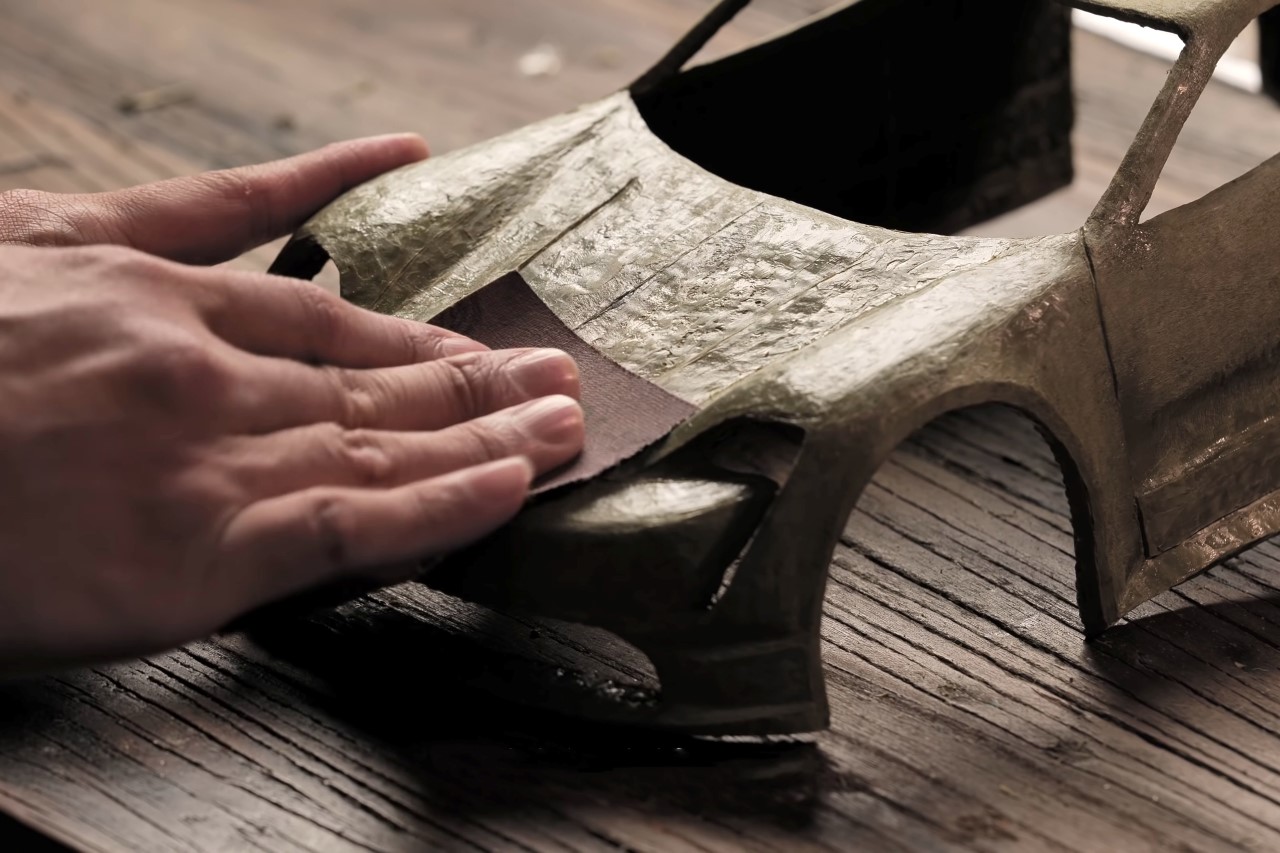
Once the base model of the Taycan is ready, the 3D printer is discarded for finishing tools, i.e., a heat-knife, sandpaper, and a handheld Dremel sanding tool. While the 3D pen’s process was additive, these tools are subtractive in nature, helping remove any excess material to give you a smooth, clean design. Any mistakes can either be fixed by bringing the 3D pen back in or simply using a bit of heat to adjust the model to your liking.
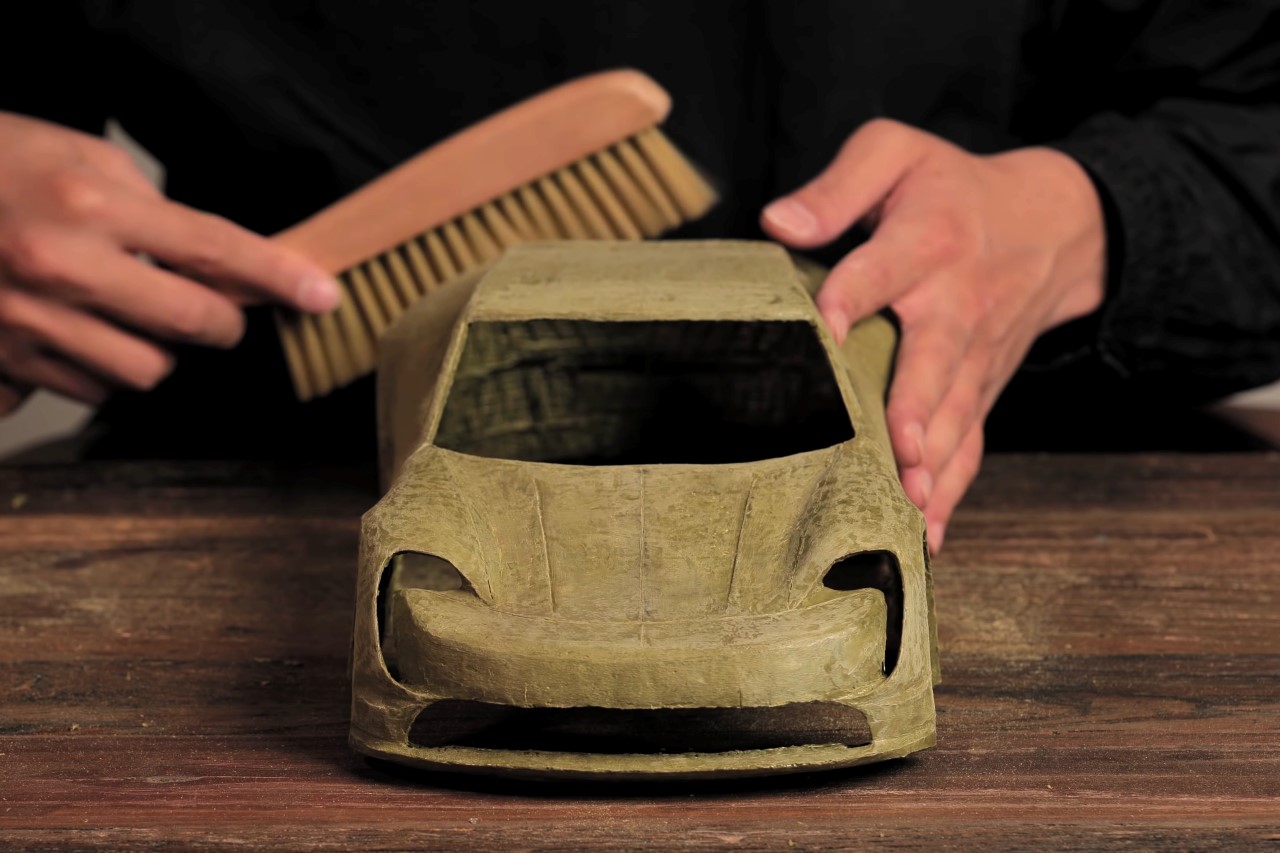
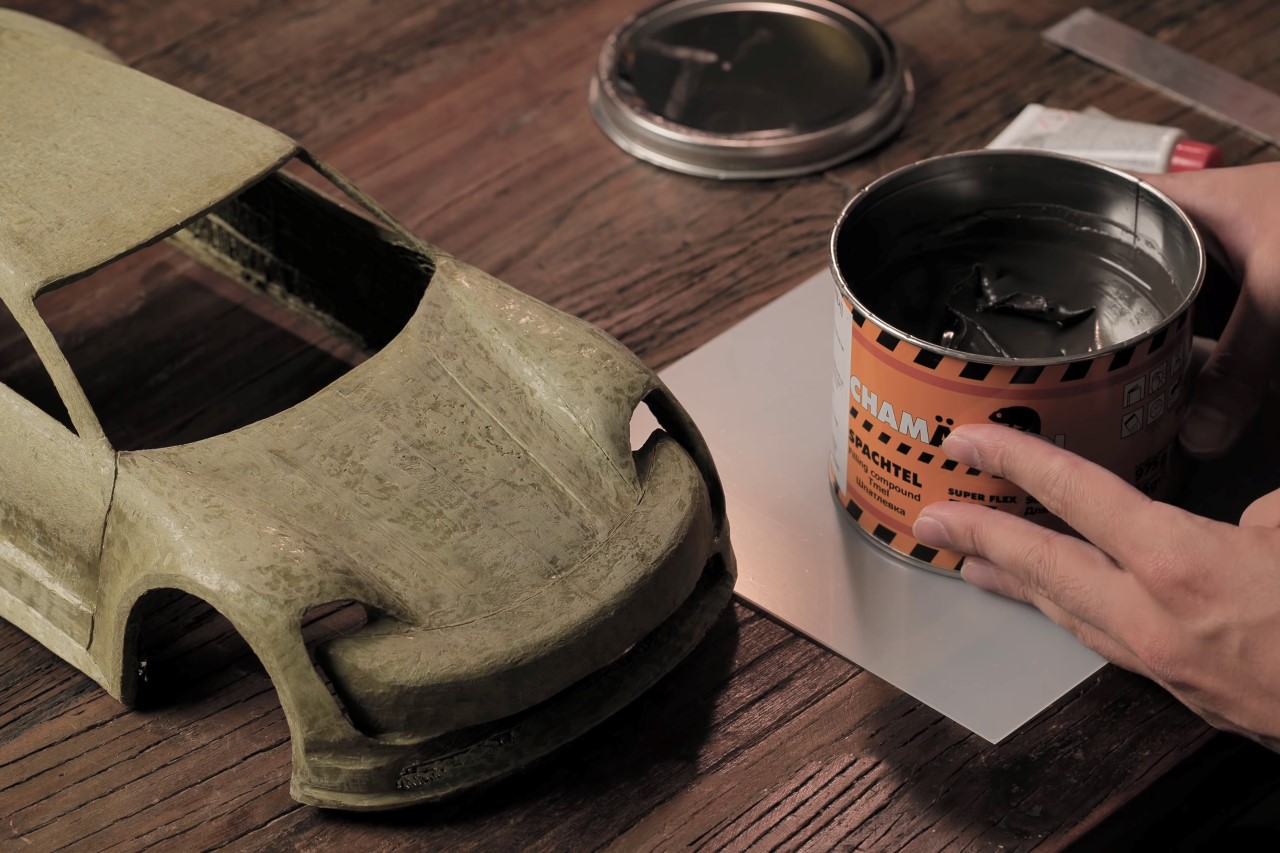
Once the Porsche’s body is ready, it gets a coating of primer to fill in any dents and gaps. This is where you’re back in regular model-making territory. Although the advantage with a 3D pen (as opposed to using a CNC machine on a block of wood or metal) is the ability to quickly build hollow models that are exceedingly lightweight and require measurably less time to construct.
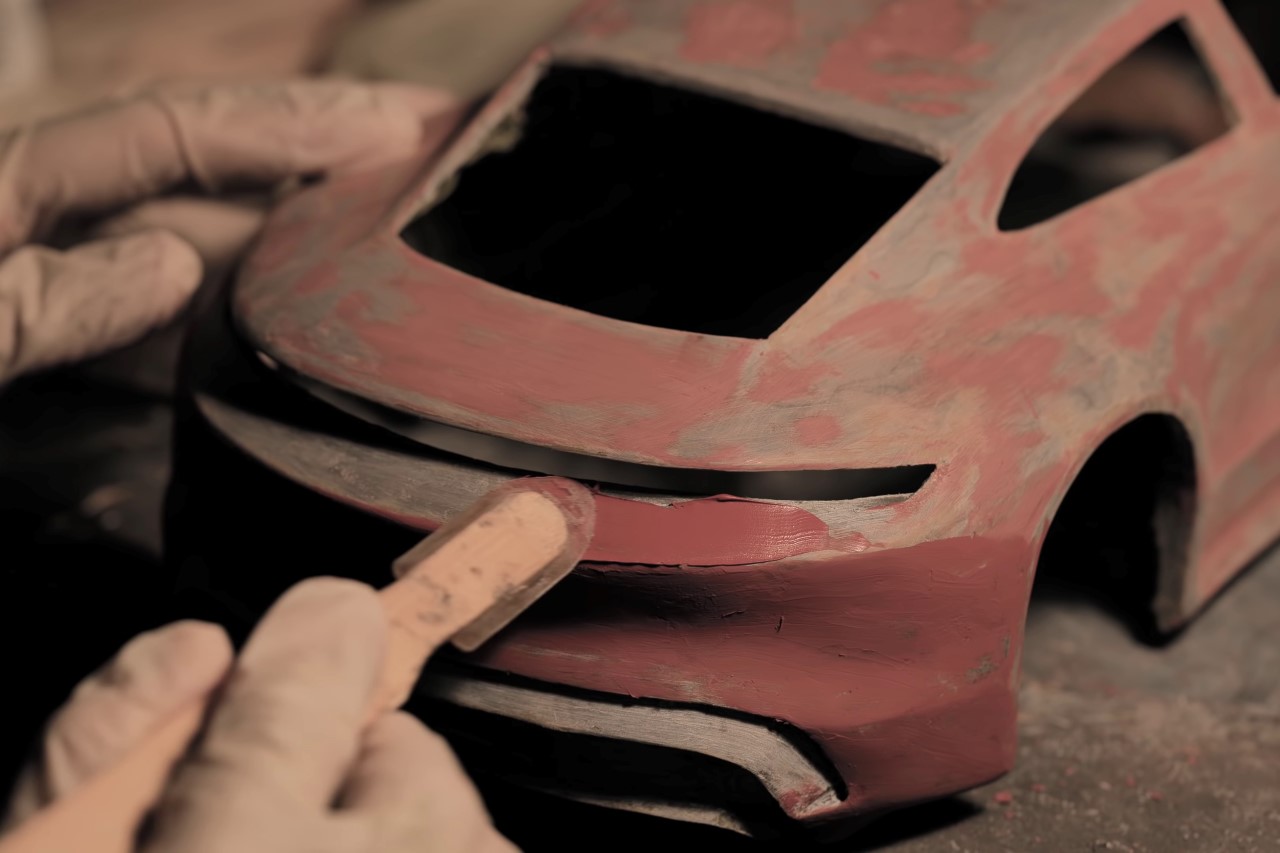
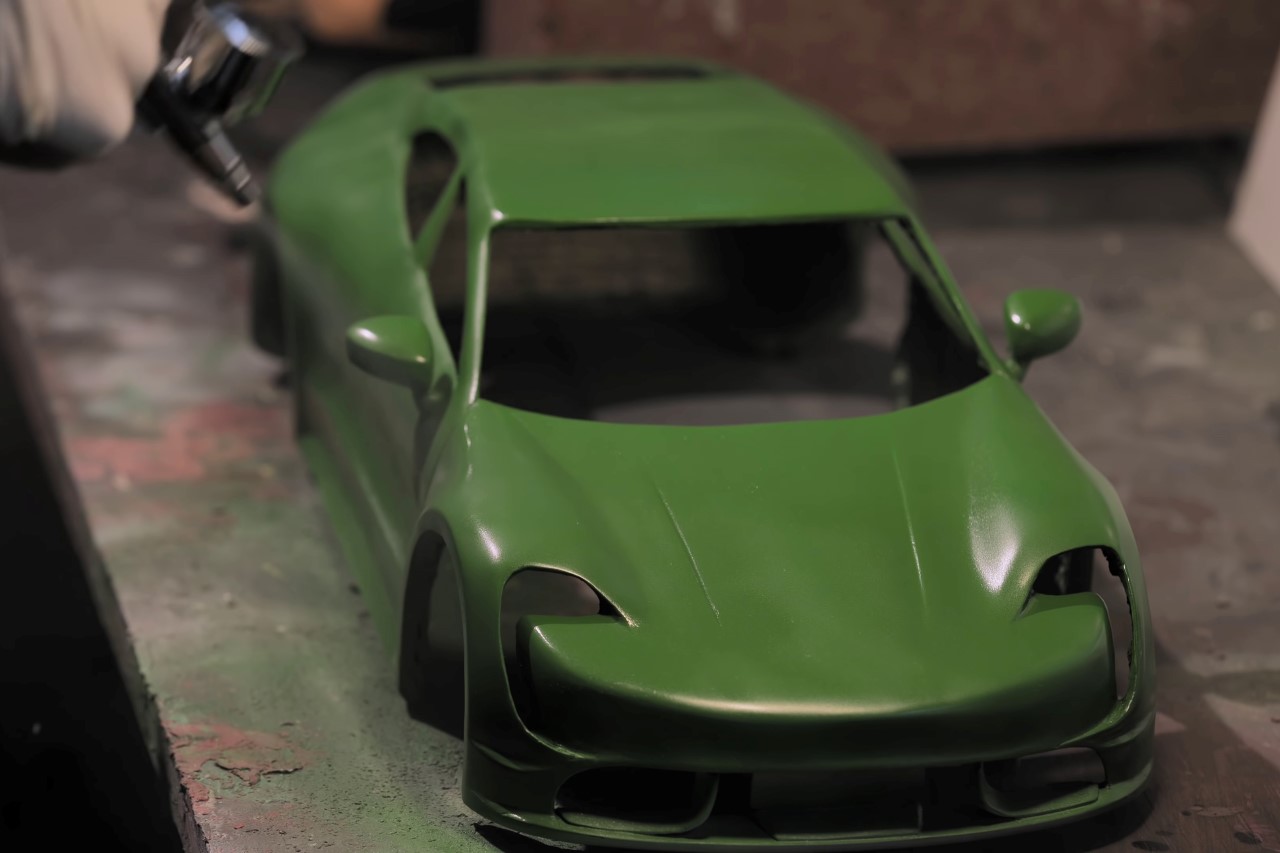
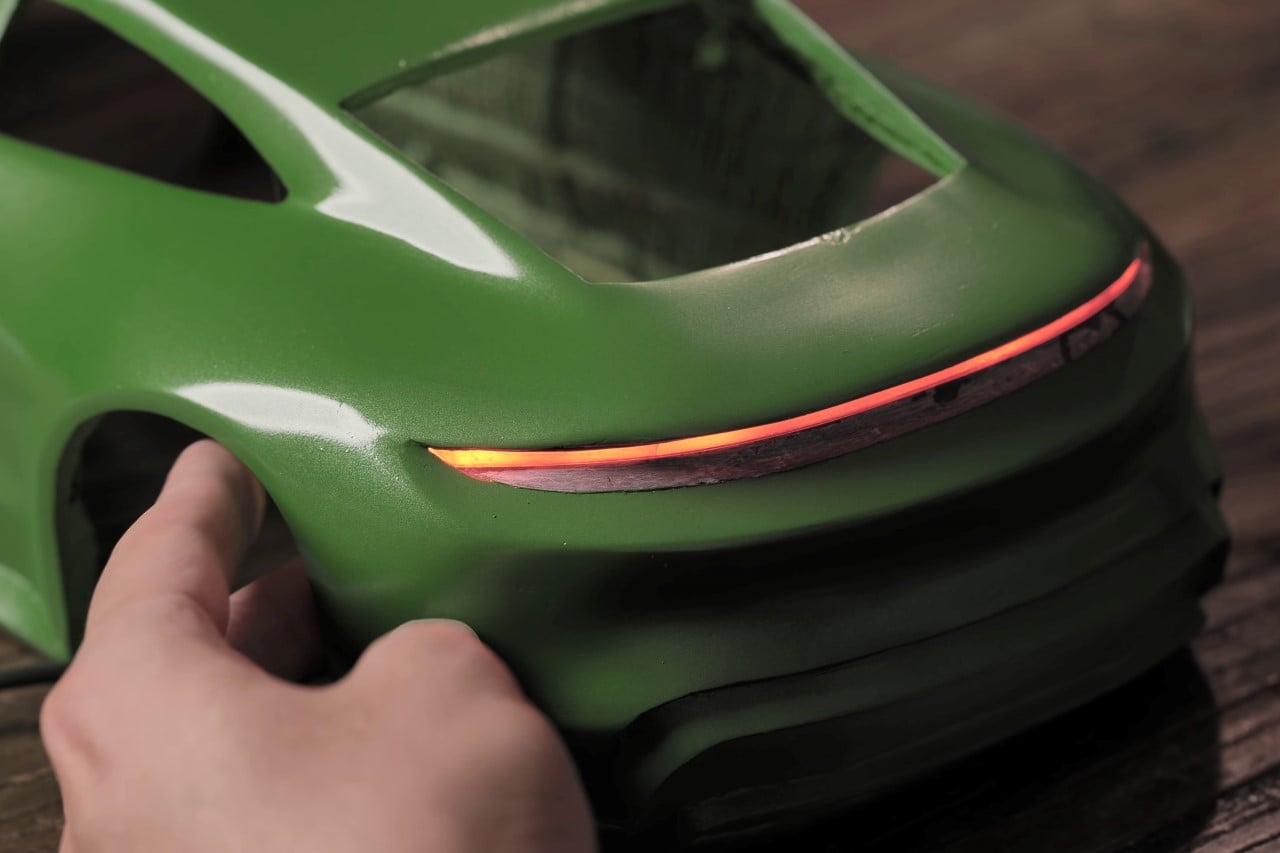
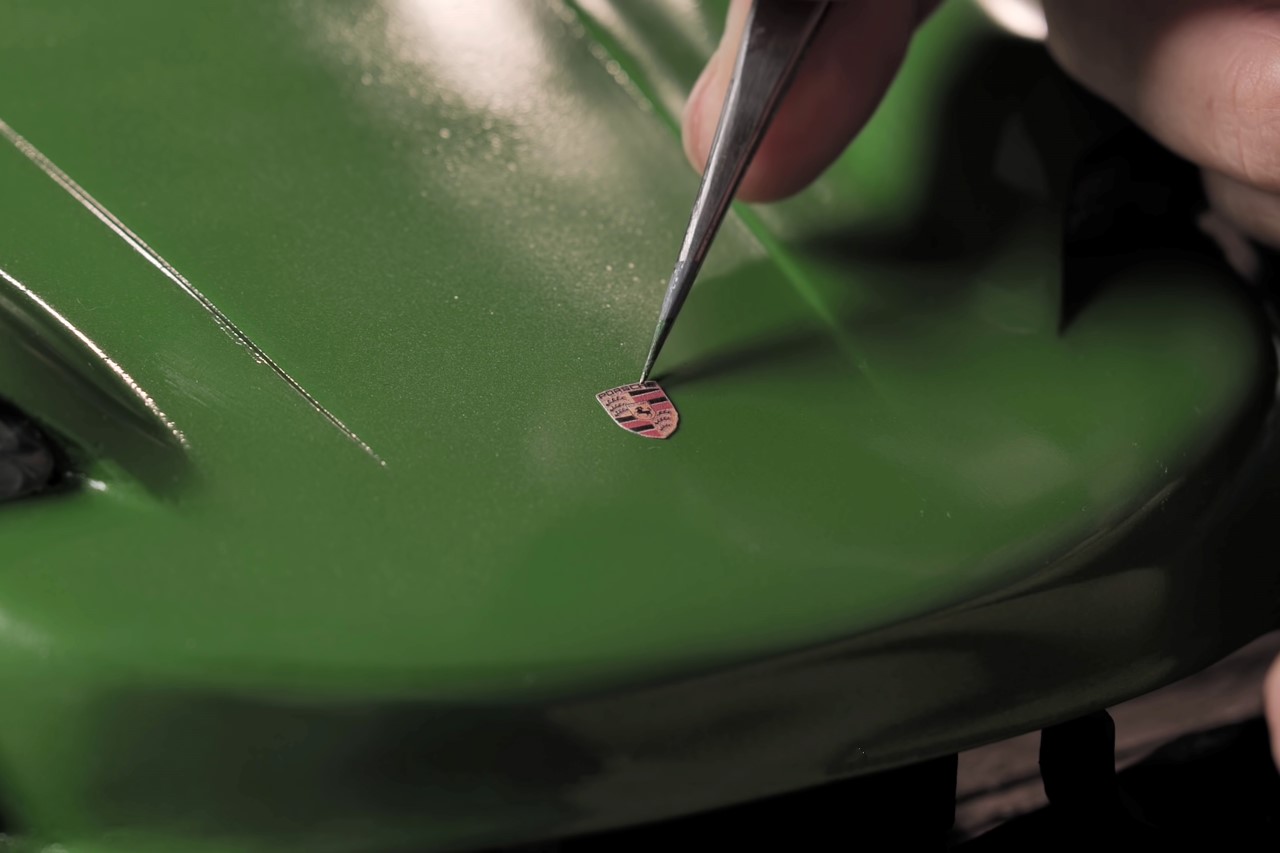
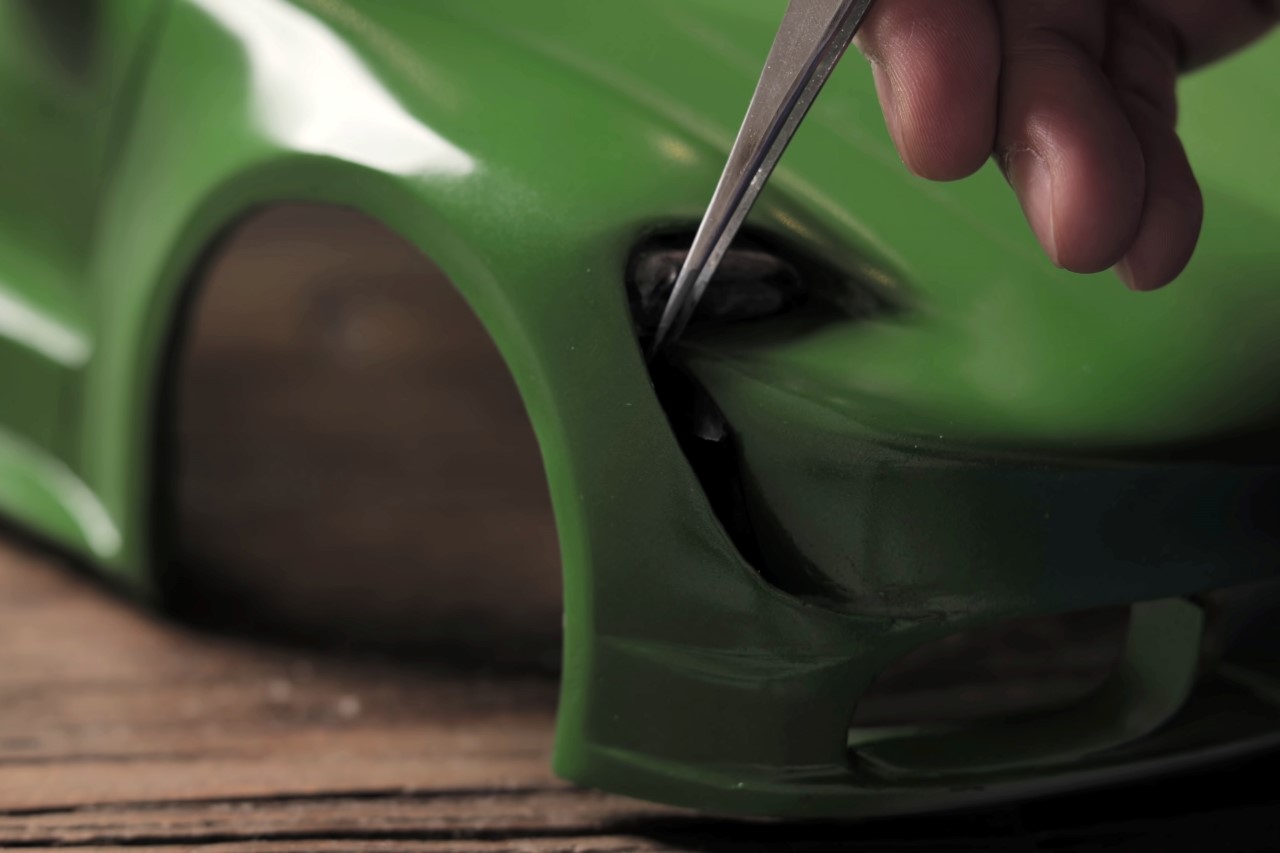
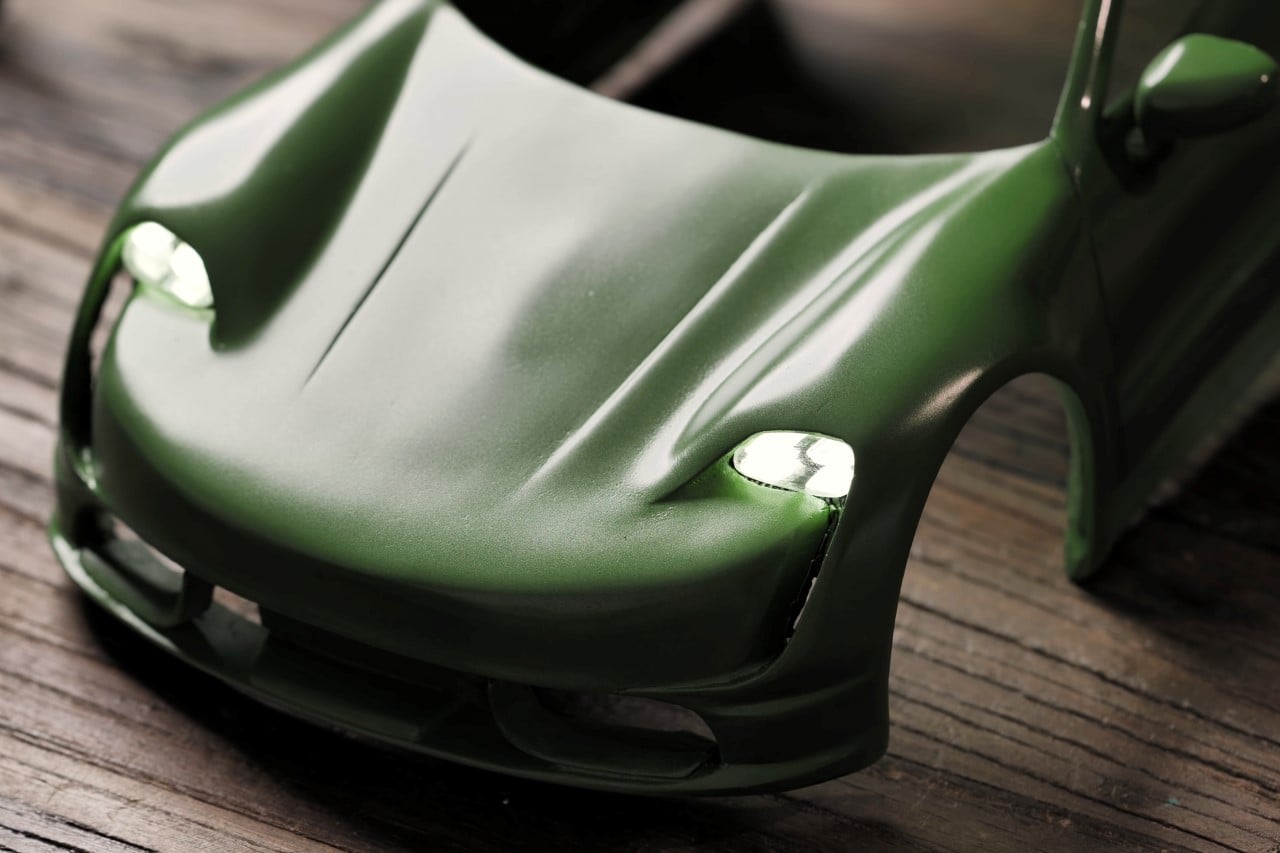
The Porsche Taycan gets a coat of paint before being fitted with heat-formed headlights and edge-lit acrylic taillights that have LEDs mounted on the behind. Finally, Sanago cuts clear tinted acrylic pieces for the windows and front and rear windshields, while adding the final details like the logo on the front, model number on the back, and a license plate for good measure!
Once the car’s ready (and mounted on a toy RC car base), Sanago takes it for a test drive. The toy car doesn’t perform rather well against overwhelmingly snowy terrain, but its wheels do cause snowflakes to shoot backward into the air for dramatic effect!

The overall YouTube video (which has nearly 5 million views) is just 18 minutes long, although one could assume Sanago took nearly, if not under, a week to complete the build, factoring in the primer and paint drying times too. Ultimately though, this is a victory for the 3D pen, showing how effective it can be for constructing models and prototypes in days without spending weeks building and perfecting 3D CAD models, and then shooting them to a 3D printer which takes hours to make (with a high failure rate too). Making models with the 3D pen is about as easy as sketching. All you really need are a few schematics and a decent amount of plastic filament!

If you’re interested in buying a 3D pen, you can find one here.

The post This Porsche Taycan scale-down model was constructed using a 3D Pen. Watch how it was built! first appeared on Yanko Design.
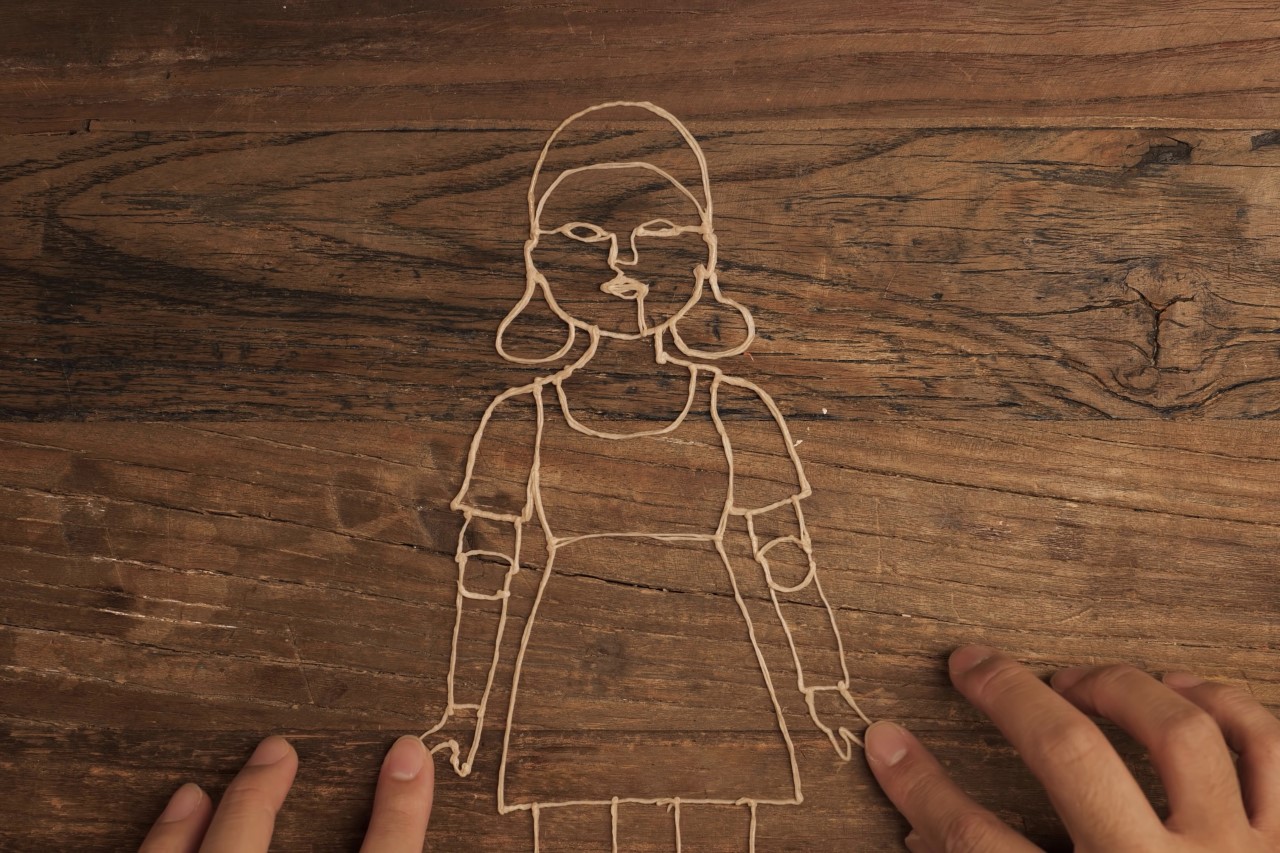
How to make your own Squid Game Doll using an iPad and a 3D Pen


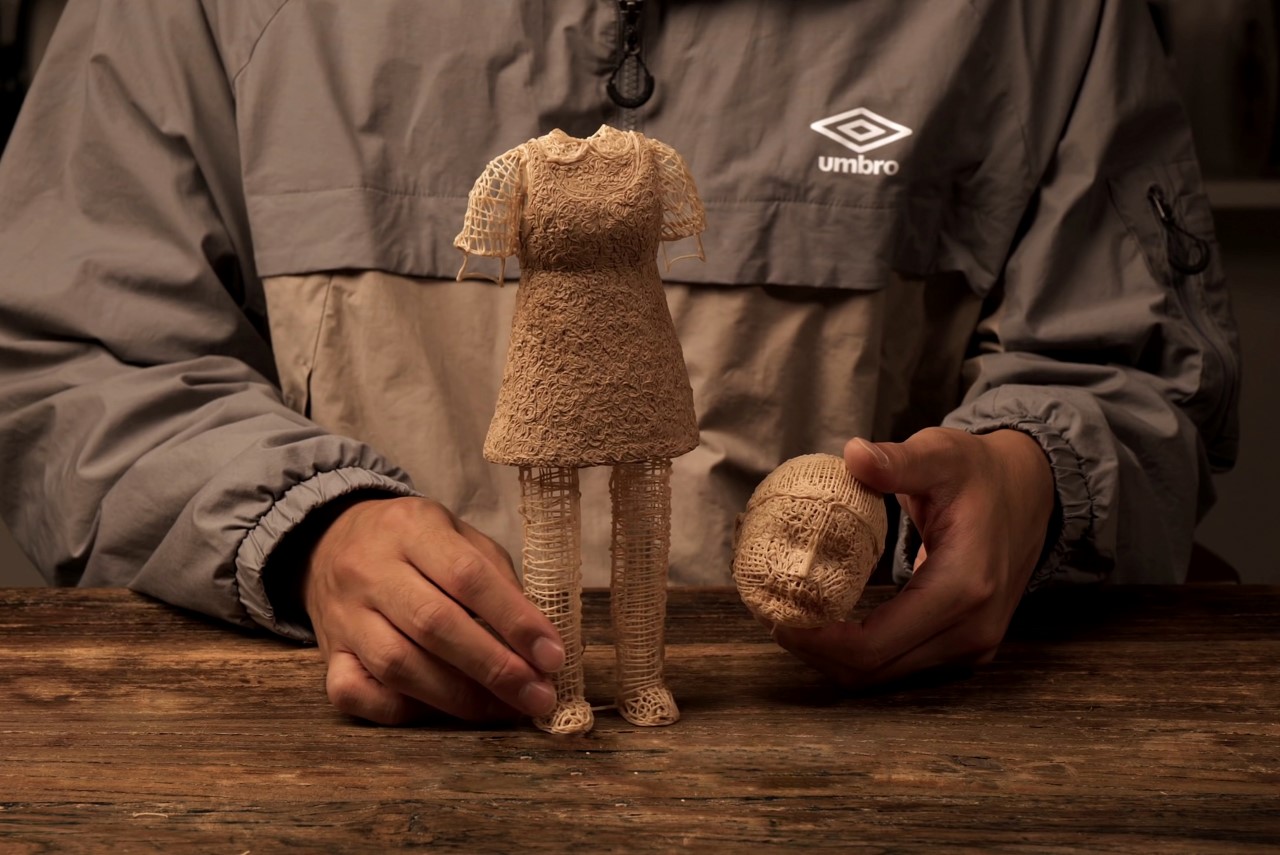
Every hit movie, TV series, or even trailer is predictably followed by two things – memes, and merch. Although Netflix’s Squid Game hasn’t seen any release of official merchandise, designers and builders like Sanago are taking it upon themselves to create their own collectibles. The ‘Squid Game Doll’ isn’t a product you can buy off the shelves, although Sanago’s video shows you how you can make it on your own. All you need is a $50-$70 3D Pen, a length of plastic filament, an iPad, and a couple of workshop tools to create a scaled-down replica of the killer doll from the smash-hit Korean series. If you want, you can even chuck in a stepper motor to make the doll’s head turn 180° for dramatic effect!

Click Here to Buy A 3D Pen

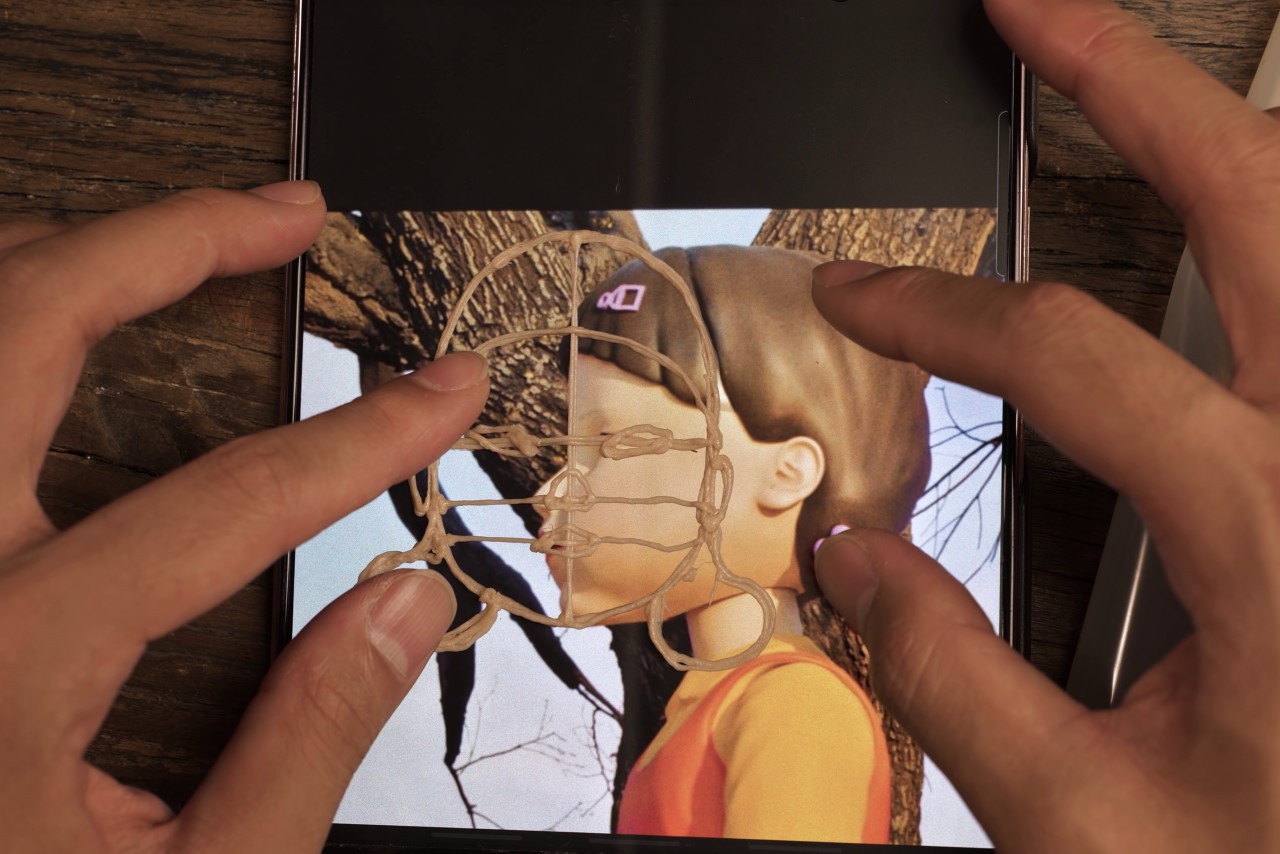
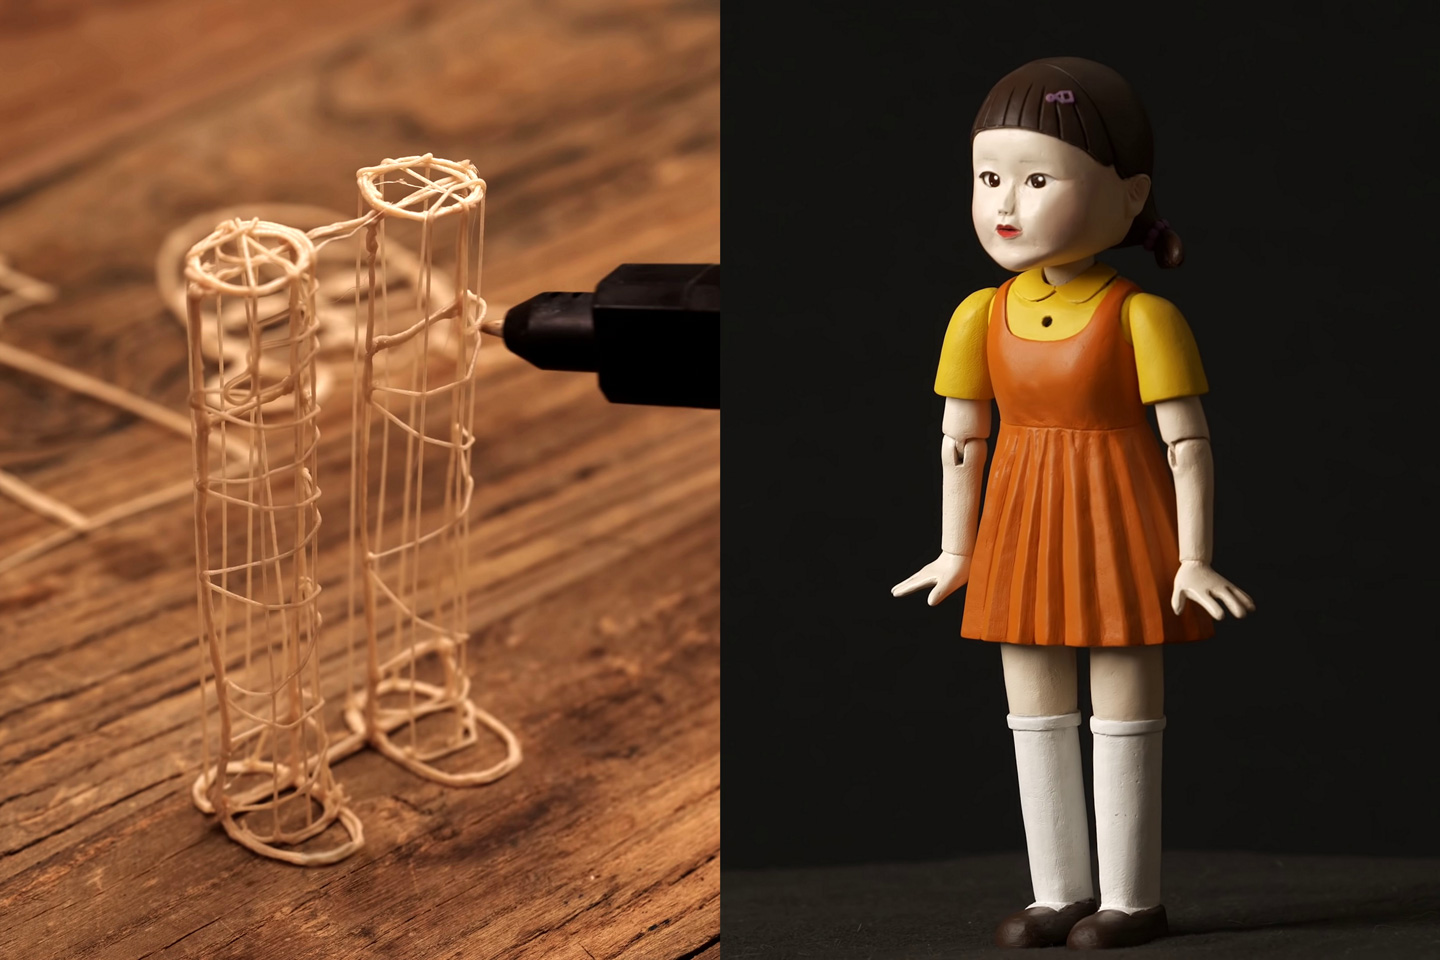
With a YouTube channel devoted specifically to 3D Pens, Sanago makes videos documenting how versatile 3D pens can be. Although the Japan-based YouTuber sells 3D pens under his own brand on Naver, the videos are more about showing what the pens are capable of, as he builds out tiny models of BMWs, Porsches, houses, cartoon/video-game characters, and occasionally also takes it upon himself to repair broken walls, stairs, and pillars with 3D pens. With the Squid Game Doll, however, Sanago taps into a wonderfully creative trick to making perfect collectible toys by simply tracing over images on an iPad. Fundamentally, this ensures that his models are perfect in their basic detail and proportion, and a steady hand always helps too. Sanago starts simply by drawing out the front profile of the doll to act as a guide for the rest of the 3D building.

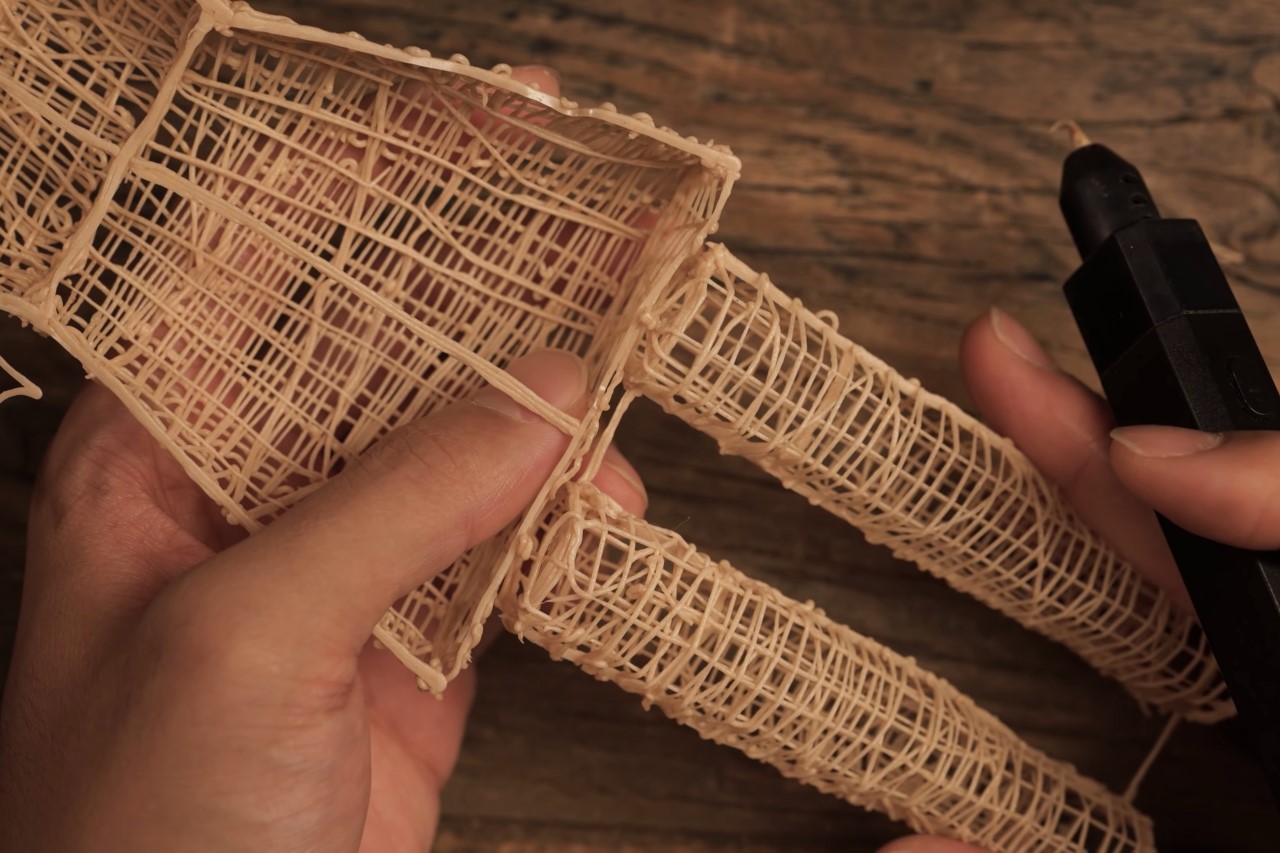
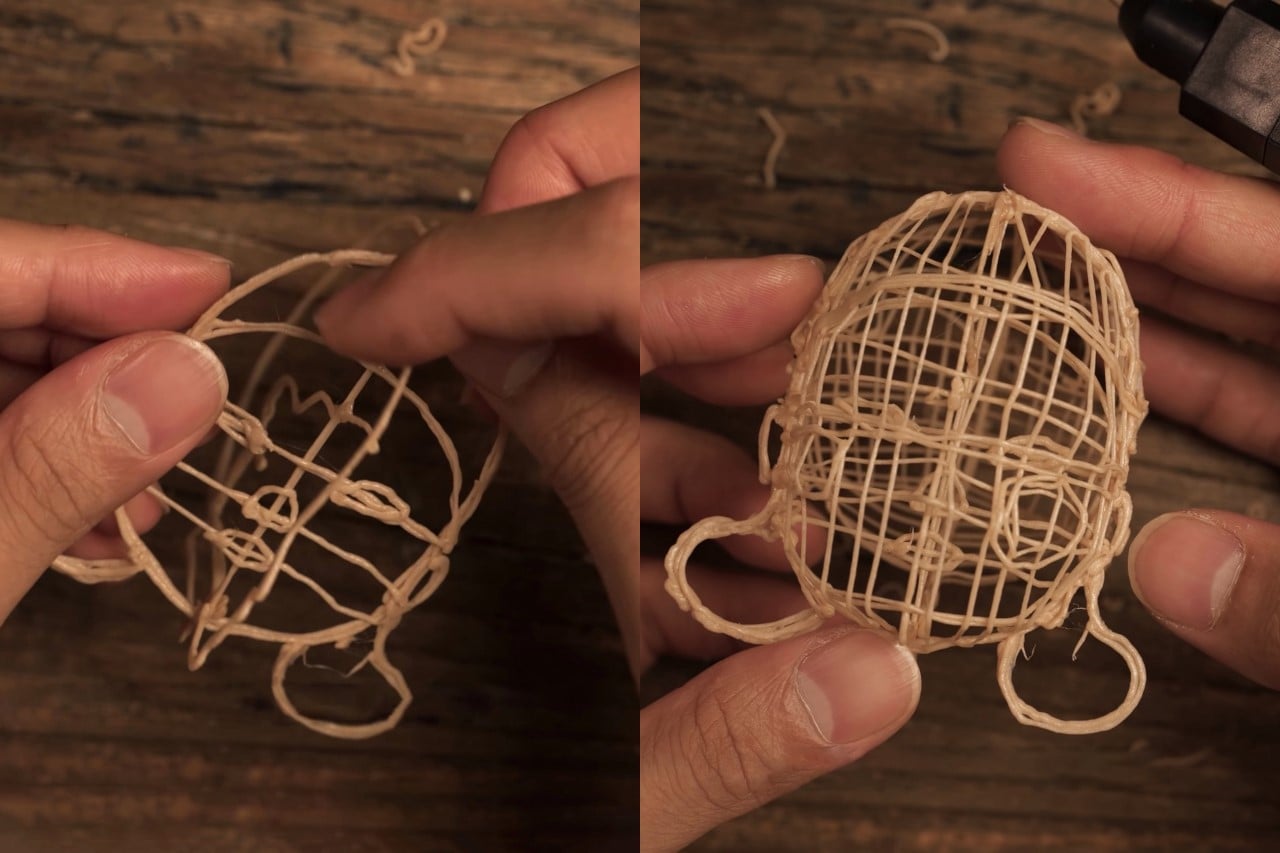
The next steps involve turning the 2D profile into 3D forms by adding more cross-sections, building out first the legs, then the dress/torso, and finally the head.

Once there’s a rough skeleton to work with, Sanago basically fills in the gaps to create a ‘solid model’. Working almost like a 3D printer would (although taking less time, using less filament, and accruing a fraction of the cost), Sanago fills up the gaps rather rapidly, focusing more on getting the job done fast and well, instead of on proper accuracy. It’s absolutely fun to watch how the 3D pen essentially draws in air, and Sanago’s deft handiwork makes it even more incredible to watch as the rough forms come to life. The following steps will ensure that the model looks absolutely perfect.

The face is built out the same way as the rest of the doll, with a focus on the details like the eyes, nose, lips, etc. Two things are crucial here – firstly, making sure that you ensure the base model looks roughly the way you want it to look, and secondly, ensuring that there are absolutely no inconsistencies or gaps while filling up the rough 3D structure. Just the way a 3D printer adds layers to create a rigid surface, it’s imperative that you do the same, because even though the layers may look completely rough to begin with, they’ll be finished to reveal a much smoother model.

At this point, the model looks like a cake of ramen noodles before they go into boiling water. This is absolutely intentional because the design process here is a combination of additive and subtractive modeling. Sanago first creates a rough model of the toy, and when he’s satisfied with how it looks overall, he works on the finer details, creating a smooth product from the rough, hollow, plastic mass.

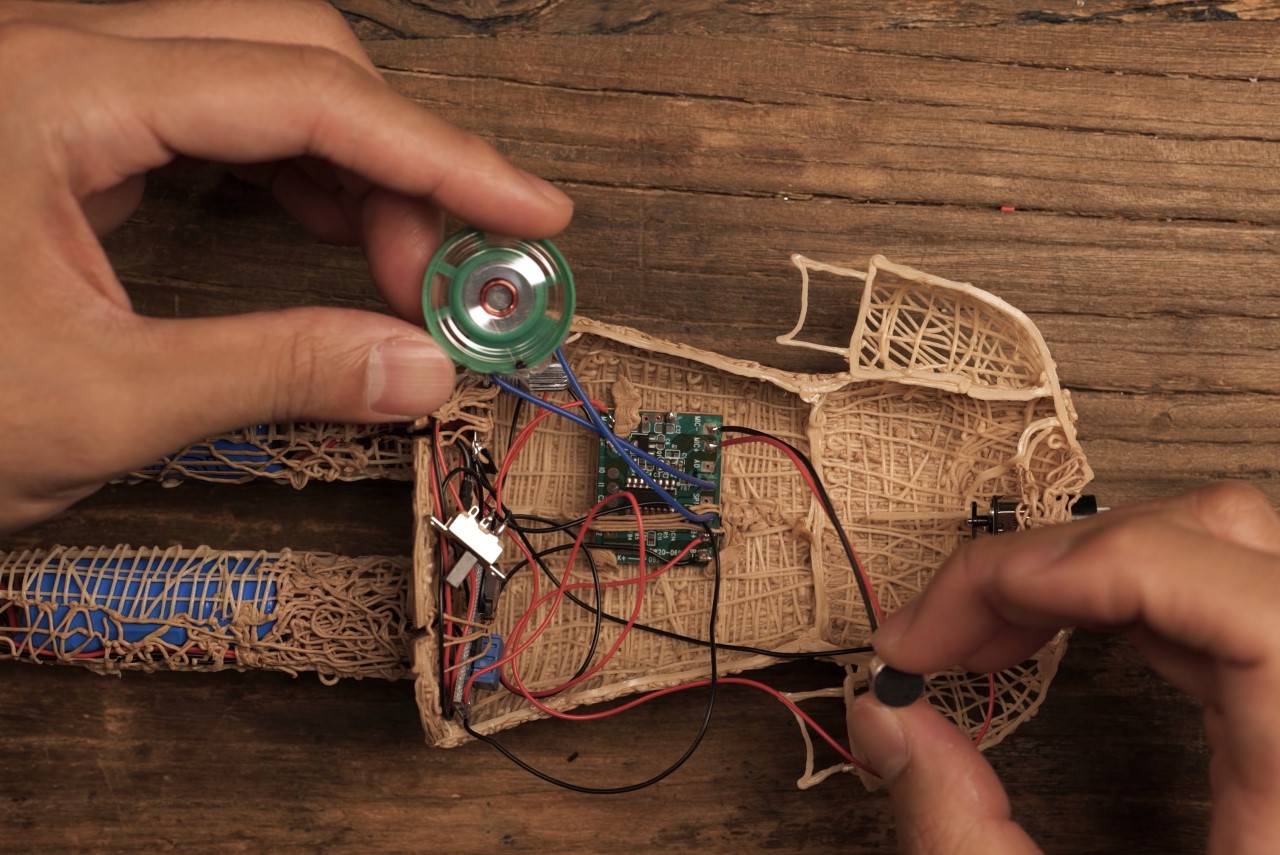
Speaking of hollow mass, Sanago also repurposes electrical components from a toy parrot and places them inside the doll. A control board, microphone, and speaker go in the hollow torso, two AA batteries go into each leg, and a stepper motor sits in the neck, allowing the head to rotate on command.

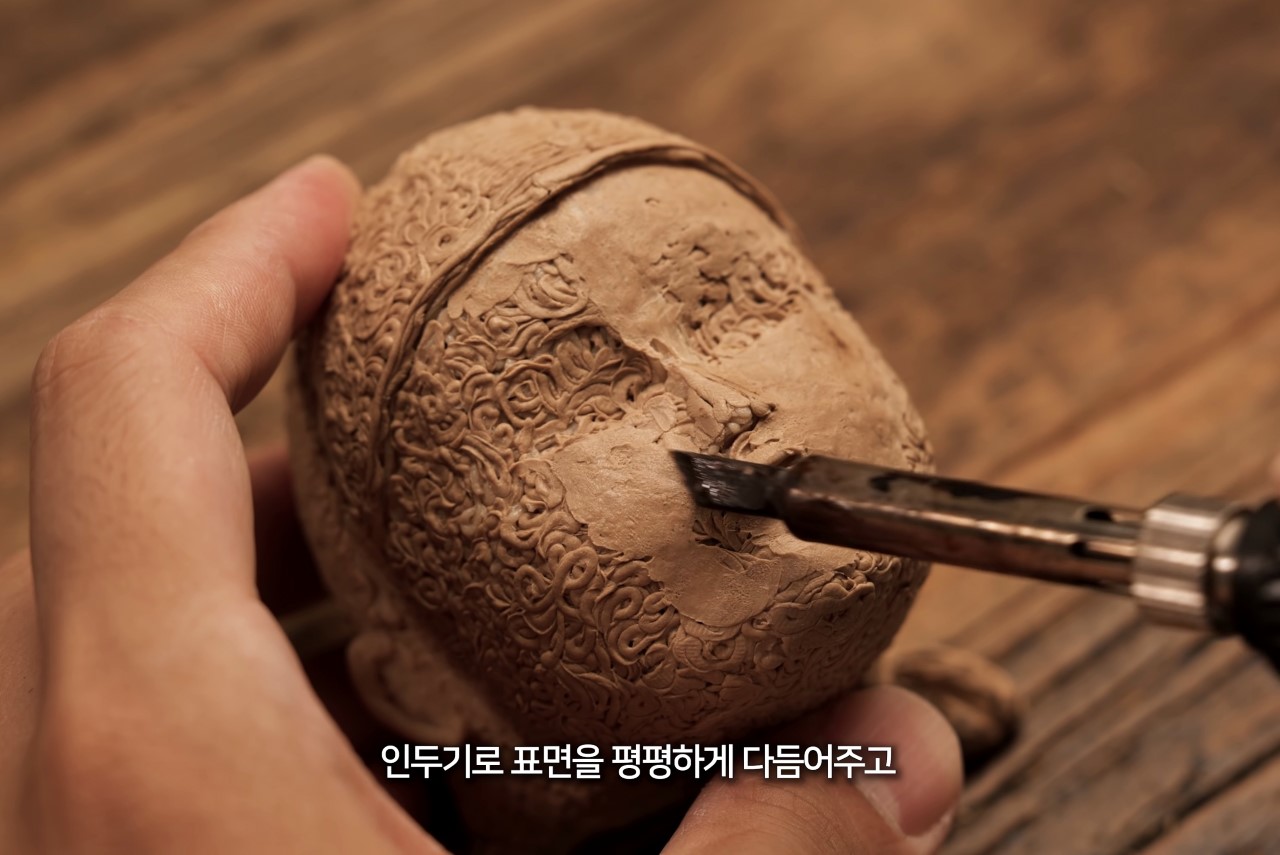
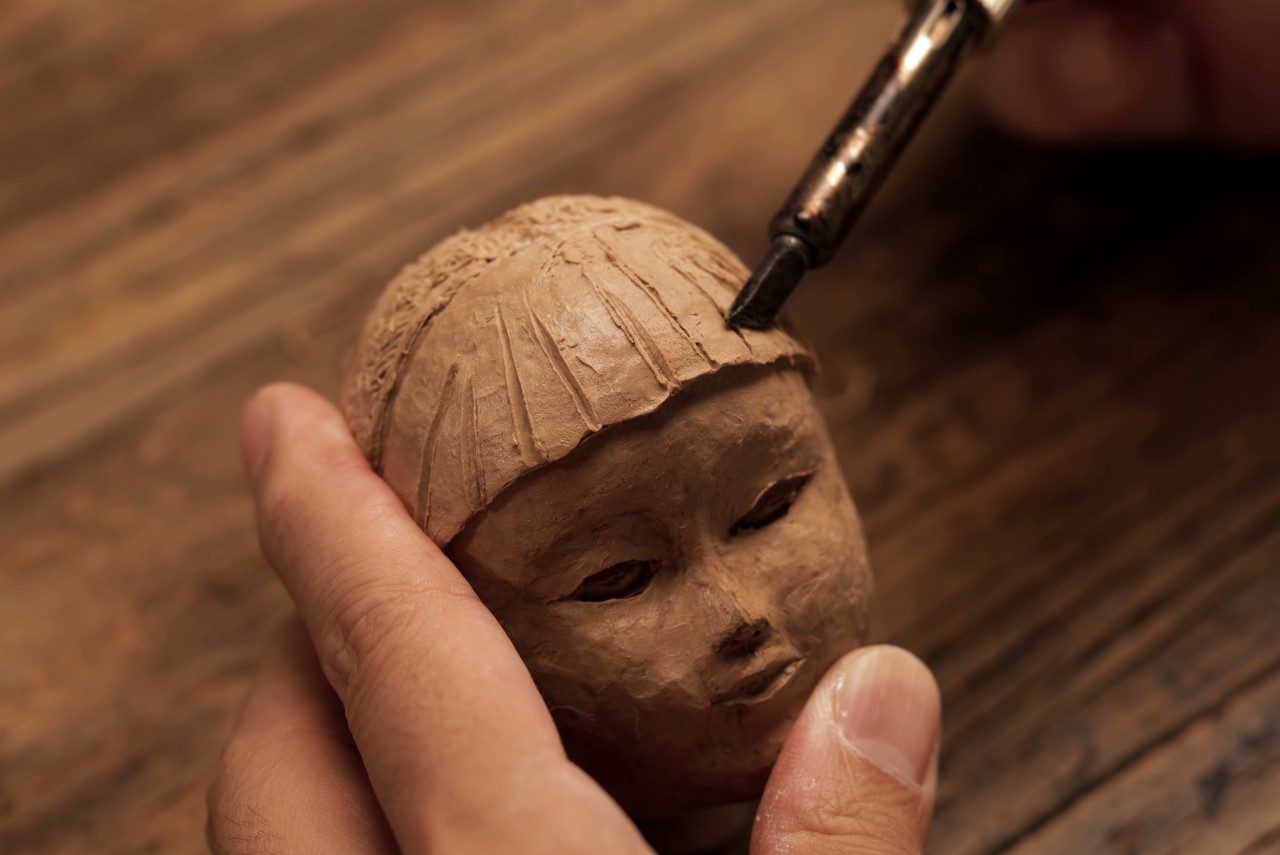
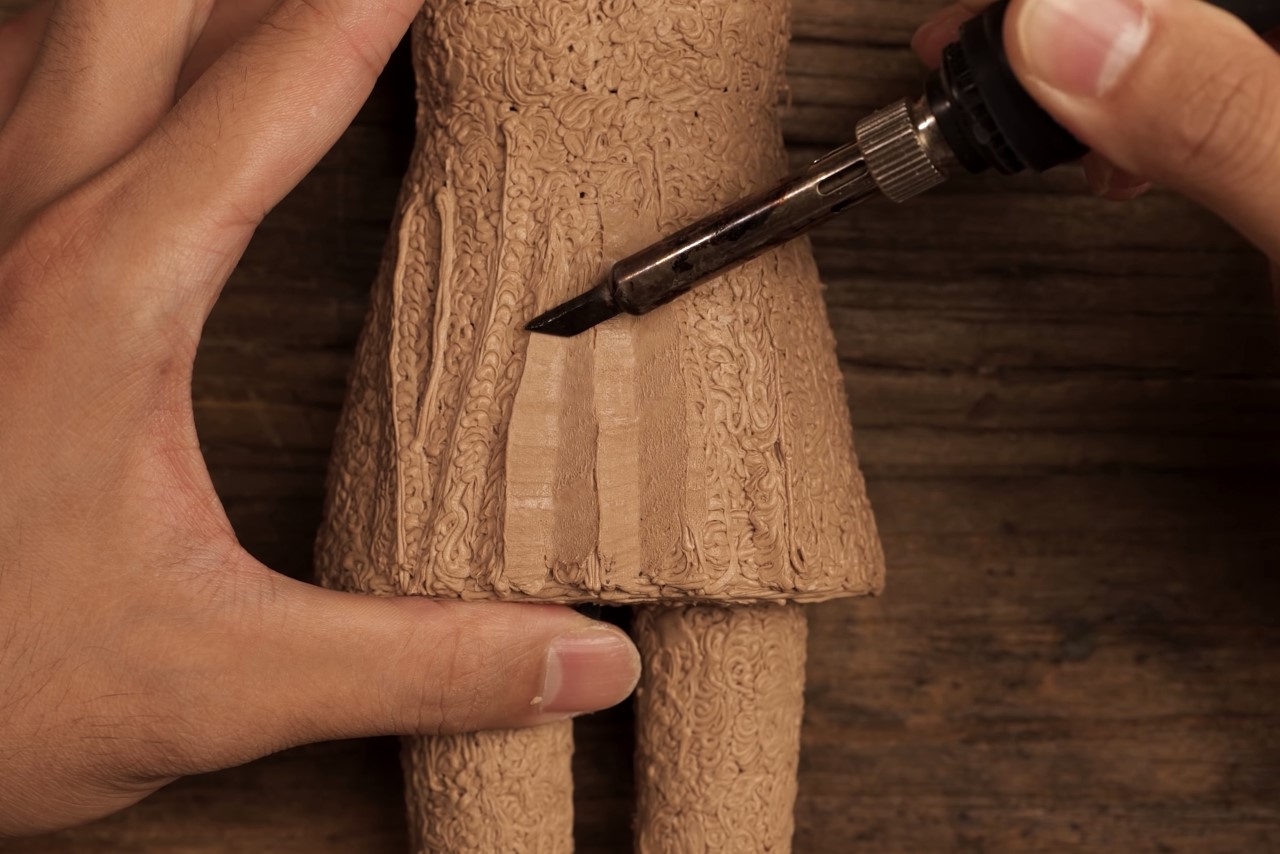
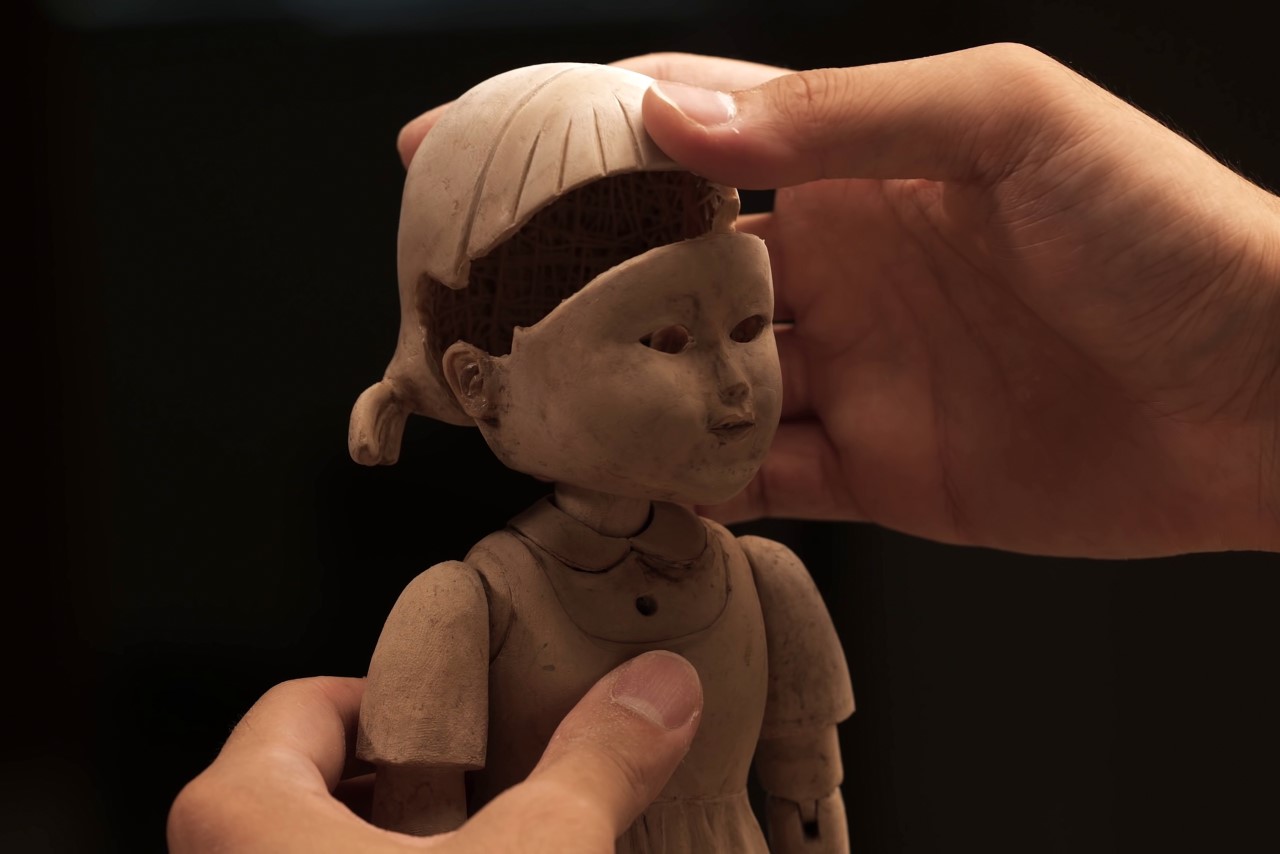
The finishing process finally begins with a heated carving tool, that Sanago uses to melt the noodly texture on the doll and make it smoother. It’s a laborious process that requires time and patience, but turns the basic rough 3D model into something that looks much more like the final product. It also allows Sanago to carve in details like lips, eyelids, and the lines on the hair. Although Sanago’s MacGyvered heating tool isn’t something every household would have, the easiest way to really get the job done is either a knife and a candle or using a heat-gun or hair-dryer if you’re comfortable. One great benefit to the creative process here is that you can pretty much use any color filament you’ve got lying around. As long as the filaments are of the same material, they should adhere well, and the entire model gets a coat of paint in the end, so any underlying color works for your design.

At this point, it’s sort of like working with any 3D printed, CNC-machined, or hand-made model. Sanago gets to work sanding the surfaces with a Dremel tool and a sanding bit, making sure there aren’t any bumps or inconsistencies in the surface. Parts don’t need to be modeled with fixtures here because the 3D Pen simply lets you glue components together, while the Dremel tool easily lets you sand or buff out welding/joining marks.

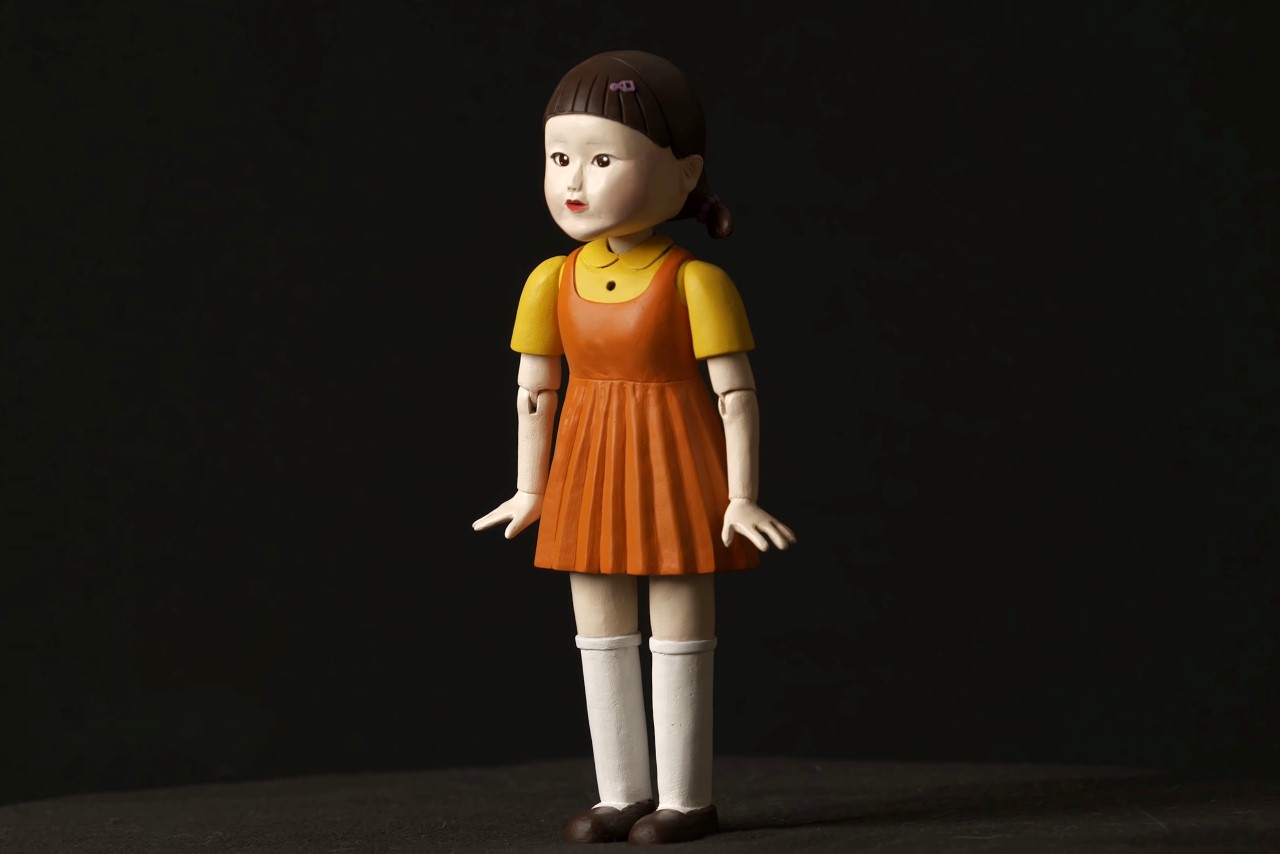
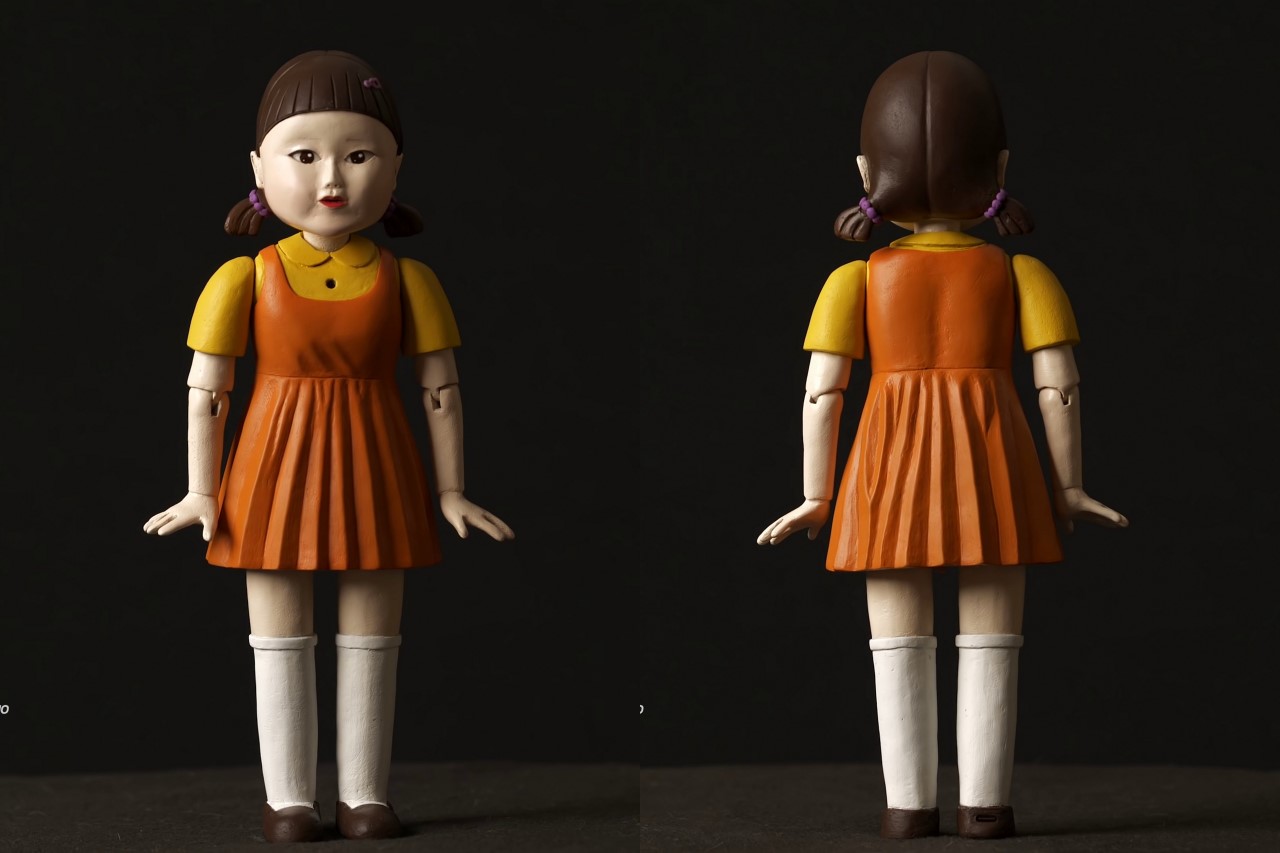
When the entire thing’s ready, it gets a coat of paint, applied in this case, using a spray gun (although you could just hand-paint your toys too). Sanago’s toy also comes with movable hands, details that just require a bit of planning beforehand (followed by some sanding and finishing), and a switch at the bottom lets you switch the toy on or off. Cleverly enough, Sanago even outfits the doll’s microphone unit behind its petticoat button, and a buttonhole lets you easily record what your doll’s going to say, while a speaker in the back plays out the doll’s deadpan dialogues. The video ends with Sanago even hacking together a Pink Guard Helmet using a 3D pen, and creating a demo video of the Red Light Green Light game in progress. While it doesn’t cinematically match up to what Netflix pushes out, it’s gotten over 14 million views on YouTube, which is pretty impressive if you ask me!

Designer: Sanago

Click Here to Buy A 3D Pen

The post How to make your own Squid Game Doll using an iPad and a 3D Pen first appeared on Yanko Design.